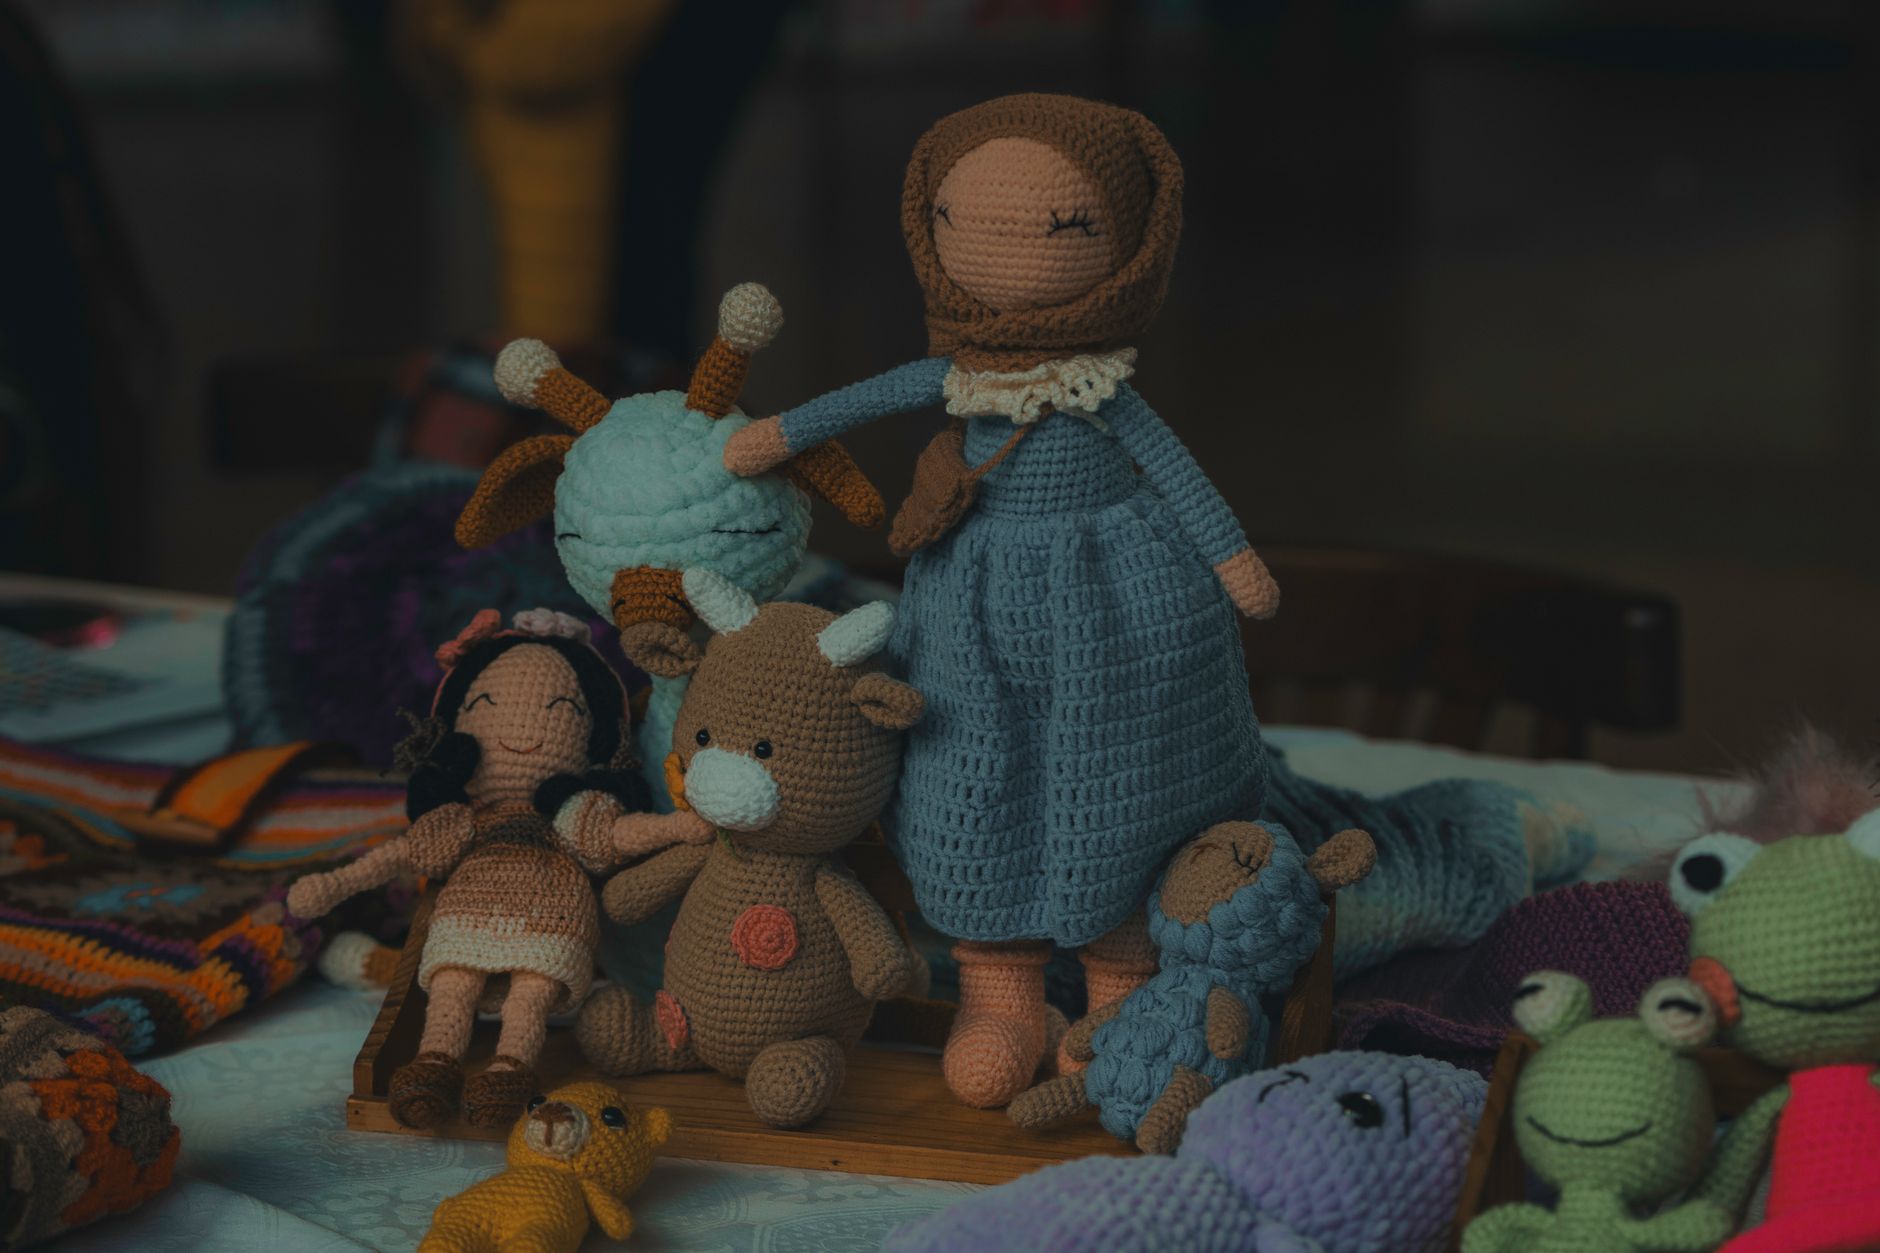
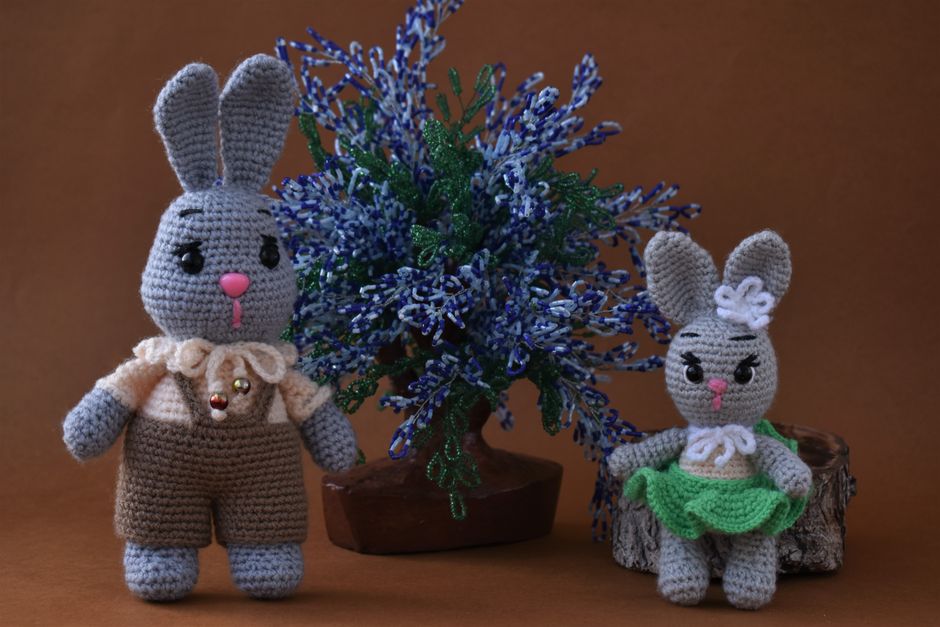
Patterns for Advanced Crochet Stuffed Animals: Master Unique Designs and Sell Them
The hard truth about selling crochet plush is this, "advanced" isn't what sells. Clean shaping sells. A face that reads from across the room sells. Seams that don't scream "handmade" sells.
If you're searching for patterns for advanced crochet stuffed animals, you probably want two things at once: a more complex build that feels like a flex, and a finished toy that people will actually pay for. This guide is how we build that on purpose, not by adding random stitches until it looks complicated.
The Real Problem with "Advanced" Crochet Plush
Most advanced plush patterns fail in two places: structure and finishing. The body might be clever, but the neck flops. The limbs are detailed, but they twist. The shaping is impressive, but the muzzle is sewn on crooked, so the whole face looks off.
"Advanced" should mean you control the toy's silhouette (the outline), you can repeat the result, and you can write it down so another crocheter can follow it.
Here are the most common pain points we see when makers move past basic amigurumi (small stuffed crochet):
- Proportions drift as the pattern grows, so two toys don't match.
- Color changes leave steps or jogs, especially on stripes and eye patches.
- Limbs and ears attach at slightly different angles, which changes the expression.
- Stuffing looks lumpy because stitch tension changes between parts.
If you fix those, you can take a "simple" animal and make it feel premium.
Transition point: once you know what actually breaks a plush, you can design patterns that stay solid and still look unique.
Patterns for Advanced Crochet Stuffed Animals Start with a Design Plan
We design advanced plush patterns from the outside in. That means we decide what the toy needs to look like first, then we engineer the crochet to hit that shape.

A Simple Decision Framework (Pick Your "Advanced" Lever)
Choose one main lever to push, then keep the rest simpler so the pattern stays makeable and repeatable.
- Silhouette lever: unusual body shape (long neck, chunky paws, hunchback, wings that sit right).
- Surface lever: texture and fabric (bobble "fur," ribbing, spike rows, colorwork).
- Construction lever: fewer seams, cleaner joins, or tricky attachments (jointed legs, inset muzzle, sculpted cheeks).
- Personality lever: face design (eyelids, brows, shaped snout, weighted body that "poses").
If you push all four levers at once, you usually end up with a toy that's hard to finish and hard to sell.
The "Spec Sheet" We Write Before We Crochet
This is the non-obvious step that saves hours. Before you write a single round, write a mini spec sheet:
- Finished size (height sitting, height standing).
- Head-to-body ratio (example: head is 55% of total height for "cute," 40% for "realistic").
- Key landmarks (where eyes sit, where muzzle starts, widest point of belly).
- Attachment method (sew-on, crochet-on-as-you-go, or jointing).
- Yarn and hook target fabric (tight enough that stuffing doesn't show).
If you want help choosing yarn that photographs well and holds shape, our guide crochet yarn types for sellable plushies breaks down what works and what causes headaches.
Transition point: with a plan in hand, you can build complexity in a way customers notice, not just other crocheters.
Worked Example: Designing a "Forest Lynx" Plush You Can Sell
Here's a worked example you can copy and adapt. The goal is an advanced stuffed animal that looks original, has stable structure, and uses repeatable steps.
Design Goal
A sitting lynx with tufted ears, big paws, a shaped muzzle, and a slightly weighted belly so it sits upright for photos.
Advanced lever chosen: personality + silhouette. We keep surface texture simple so assembly stays clean.
Build Plan (Parts and Why)
- Head: one piece, with a defined brow ridge (changes expression).
- Muzzle: inset oval muzzle (cleaner than a flat circle).
- Body: pear shape with a flat-ish base (helps sitting).
- Legs: "paws first" shaping so the feet look wide.
- Ears: tall triangles plus separate tufts (lets you adjust expression).
- Tail: lightly stuffed, attached low to support sitting pose.
Concrete Shaping Choices (the Bits That Make It Look Advanced)
- Head with brow ridge
Crochet a standard sphere, but add two short increase zones above the eye line. That creates a brow that casts a shadow in photos.
Practical note: place the eye line first (with stitch markers), then build the brow. If you build the brow first, you'll fight symmetry.
- Inset oval muzzle
Instead of sewing a muzzle on top, cut an opening in the head shape by crocheting a few short back-and-forth rows (flat rows) in the front center. Then crochet an oval muzzle to fit the opening and sew it in like an inset.
This is slower, but it makes the face look "designed," not "stuck on."
- Flat base body
Build the body as a pear, then stop decreasing early and crochet 2 to 4 even rounds. That makes a small platform. Add a little poly pellets in a fabric pouch if you want weight.
Safety note: weighted pellets are not kid-safe unless fully secured and sold with clear labeling. If you sell toys for children, keep it simple and consult local safety rules for your market.
- Paws first legs
Start each leg with a wider oval (like a mini sole), then build upward with decreases to form an ankle. When you attach, the wide paw reads instantly as "lynx."
Assembly Tricks That Prevent the "Lopsided Face"
- Pin every part first. We use at least 6 pins per muzzle.
- Mark a center line on the head with running stitch (temporary yarn) so both eyes land evenly.
- Sew in a full circle, then pull tight only at the end to avoid puckers.
This is the difference between an advanced-looking plush and a messy one.
Transition point: once your plush looks great, selling it requires pattern choices that reduce support emails and buyer confusion.
How to Make Your Pattern Sellable, Not Just Impressive
A pattern that only you can follow won't scale. If you sell crochet patterns (like we do), the "product" is clarity.
Write for the Moment Someone Gets Stuck
Advanced patterns need extra guardrails. Add notes right before the tricky step, not in a separate wall of text.
Include:
- A stitch count at the end of every round.
- Landmarks (example: "marker is centered on the nose bridge").
- Photos for steps that change shape (muzzle inset, paw sole, ear angle).
- Finishing instructions that match the look you're selling.
If you want a broader list of what makes a plush pattern beginner-friendly versus complex, this article helps you compare styles: how to pick the perfect plush pattern.
Price and Complexity: the Trade-Off Most Designers Miss
More steps do not automatically mean higher value. Buyers pay for results and confidence.
Add complexity where it shows:
- Face shaping
- Pose and proportions
- Clean color placement
Reduce complexity where it only adds frustration:
- Too many tiny parts that have to align
- Constant hook changes
- Overly fussy stitch combos that don't change the final look
A good advanced pattern feels like a smooth build with one or two "wow" moments.
Test Like a Seller
We test patterns with three passes:
- Speed pass: make it once without stopping to edit, and write down where you hesitated.
- Clarity pass: read your own pattern like you didn't write it. Fix vague lines.
- Variation pass: change yarn size or color placement, confirm the shaping still works.
If you plan to offer multiple animal styles, build a "base body system" (same body, different head and ears). That's how you create a recognizable lineup without reinventing everything each time.
Common Advanced Plush Mistakes (and Clean Fixes)
Small issues can make a great design look "off." Here are fixes we use constantly.
- Stuffing shows through: go down a hook size, or switch to a yarn with better coverage. Also stuff in smaller pieces, not one big wad.
- Color changes look jagged: use a jogless change method (carrying the new color in the last yarn-over of the prior stitch). Keep the change on the back side of the work when possible.
- Limbs twist: add a stitch marker "front of leg" line and attach with that line facing forward.
- Necks flop: make the neck opening smaller, or add a short internal "support column" (a tightly crocheted tube) between head and body.
You don't need to redesign the whole pattern. Most of the time, it's a fabric and finishing adjustment.
Make Something Only You Would Make
Patterns for advanced crochet stuffed animals are worth it when the result looks intentional and repeatable. Pick one advanced lever, plan the silhouette, then obsess over the face and finishing.
If you want to go deeper on building original toys from scratch (instead of remixing the same base shapes), start with tips and techniques for creating unique crochet toy patterns.
If you're building a new design and want it to feel like it came from a "signature style," that's exactly what we do at https://artncraftartncraft.art. We sell patterns and we love making plush that looks impossible, but still stitches up clean.