
How to Crochet Detailed Patterns for Unique Stuffed Toys, Step by Step
A tiny change in stitch count can turn a "cute bunny" into a confused potato, and that's why learning How to Crochet Detailed Patterns matters so much for stuffed toys. If you want crisp faces, even limbs, and clean color changes, you need a repeatable method, not guesswork. This guide walks you through reading patterns, shaping parts, and finishing with pro-level detail, without making it feel complicated.
Stuffed toys (amigurumi) look simple from far away, but up close they're all about small decisions. Tension, stitch markers, and invisible joins make the difference between "handmade" and "wow, that looks store-perfect." Let's build a step-by-step system you can use on any toy pattern, even when the design has lots of tiny parts.
Build a Detail-First Setup Before You Start Stitching
The fastest way to improve toy results is to set yourself up like a careful maker, not a speed crocheter. Detailed toys need consistent stitch size so the stuffing doesn't peek through and the shapes don't twist. That consistency comes from the boring stuff: yarn choice, hook size, lighting, and how you track rounds.
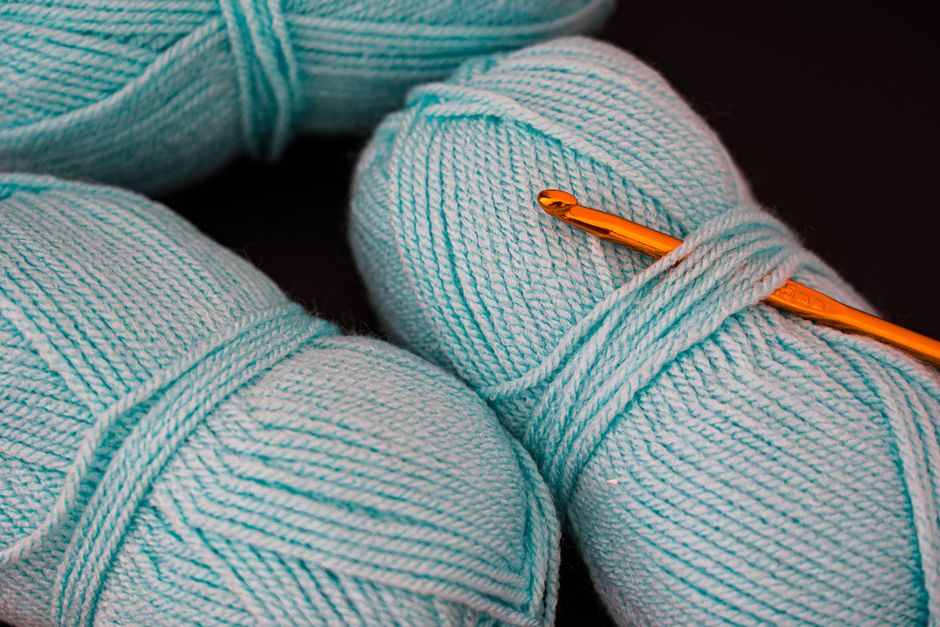
For most stuffed toys, you'll want a hook that's a bit smaller than the yarn label suggests. This makes tight stitches that hold stuffing in. You also want a stitch marker you trust, because losing the start of the round can slowly shift facial features off-center. If you're selling finished toys or patterns, these habits are also part of your quality control.
Here's a simple "detail-first" kit I keep next to me for every plush project:
- A smaller hook than recommended (often 2.25 mm to 3.5 mm for plush yarns)
- Smooth, firm yarn (cotton or cotton blends show stitches clearly)
- Two stitch markers (one for round start, one for key landmarks)
- A blunt yarn needle and sharp embroidery needle (for sewing and face details)
- Polyfill stuffing and a small chopstick or stuffing tool
- Good light and a high-contrast surface (so you can see stitches)
If you're still experimenting with pattern formats, it helps to compare PDF styles and photo-heavy options. I break that down in unique crochet patterns for sale, because pattern clarity is a huge part of getting crisp results.
How to Crochet Detailed Patterns by Reading Like a Designer
How to Crochet Detailed Patterns starts with reading the pattern like you're the person who wrote it. Stuffed toy patterns aren't just "do 6 sc, inc, repeat." They're a map of shape changes, symmetry, and where details must land. Before you crochet a single stitch, scan the pattern for three things: shaping points, attachment rounds, and detail placement.

Shaping points are where increases (inc) and decreases (dec) control curves, like cheeks, bellies, and paws. Attachment rounds are where limbs, ears, horns, or tails are meant to line up. Detail placement includes eye position, muzzle height, and where color changes happen. If you mark these ahead of time, you stop making last-minute decisions that lead to lopsided faces.
Do this quick "pattern pre-check" every time:
- Read the full materials list and confirm yarn weight and hook size
- Count how many separate parts you'll make (head, body, limbs, ears, etc.)
- Highlight any special stitches (bobble, puff, surface crochet, popcorn)
- Circle any notes about eye placement or assembly order
- Note the finished size so you don't over-stuff or under-stuff
If you're newer to pattern shopping, where to buy crochet patterns online can help you pick designers and marketplaces that include the kind of step photos and clarity that make detailed toys easier.
Pattern terminology can also trip people up. For example, "sc2tog" is a single crochet two together (a decrease), and "inv dec" is an invisible decrease (a neater decrease that hides the front loops). Many modern amigurumi patterns use invisible decreases because they look smoother. The Craft Yarn Council has a helpful list of standard crochet abbreviations, which is great when a pattern uses shorthand you don't see every day.
Shape Plush Parts so They Look Clean From Every Angle
Great stuffed toys hold their shape, even when you squeeze them. That comes from clean increases, tidy decreases, and smart stuffing. If you increase too fast, you get corners or a wavy "hexagon" look. If you decrease too sharply, you get dents. The goal is smooth curves that look good from the front, side, and back.
A practical trick is to stagger increases and decreases. Instead of stacking them in the same spot each round, you shift where they land. Many patterns already do this (they'll start a round with a half-repeat), but if your toy is getting pointy, staggering is often the fix.
Use these shaping habits for more polished parts:
- Use invisible decreases for smoother surfaces, especially on faces and bellies
- Spread increases evenly around the round so the circle stays round
- Count stitches every round where the stitch count changes
- Add a second stitch marker at the "front center" so details stay aligned
Stuffing is its own skill. Under-stuffing makes toys collapse and wrinkle. Over-stuffing stretches stitches and shows white stuffing through gaps. I like to stuff in layers, pushing small bits into the edges first (like cheeks, feet, or the end of a tail), then filling the center.
Here's a simple stuffing sequence that works for most limbs and heads:
- Break stuffing into small pieces, don't use a big ball
- Pack edges first with a tool (toes, tips, curves)
- Fill the center gradually, checking the shape every few pinches
- Stop before stitches stretch, the fabric should feel firm but not strained
Safety is worth mentioning if your toys are for kids under 3. Safety eyes can come loose if not installed correctly, and some makers prefer stitched eyes for baby toys. The U.S. Consumer Product Safety Commission is a solid place to start if you want to understand general toy safety expectations and labeling, especially if you sell finished items.
Add Faces, Colorwork, and Tiny Details Without the "Homemade Mess"
Detail is where stuffed toys become unique. A basic bear body becomes a character when the eyes are placed evenly, the muzzle is centered, and the blush is subtle. The good news is you don't need fancy tools. You need a plan, pins, and patience.
First, treat face placement like tailoring. Don't "eyeball it" and commit. Pin, step back, adjust, then sew. I usually pin both eyes, then count stitches between them, then check that they sit on the same round. For embroidered details like lashes or smiles, I sketch the path with pins first.
These are my go-to detail techniques that keep things clean:
- Invisible color change in single crochet (keeps stripes crisp)
- Surface crochet for outlines (great for mouths, eyebrows, or clothing edges)
- Needle sculpting (thread shaping) to create cheeks and eye sockets
- Simple embroidery with fewer passes (less bulk, more control)
If you want a simple rule for cute faces, aim for symmetry first, then personality. Symmetry means both eyes same height and similar distance from center. Personality can be a slight tilt of the brows, a tiny smirk, or a blush patch.
Colorwork can look messy if your yarn tails are bulky. Weave ends in the direction of the stitches, and split the plies (yarn strands) with the needle when you can. That makes the tail lock in without leaving a bump. If you're using plush or fuzzy yarn, keep in mind it hides stitches but also hides mistakes. That's great for cuddly monsters, but harder for crisp, detailed animals.
Assemble Unique Stuffed Toys with a Repeatable, No-Slop Method
Assembly is where a beautiful set of parts can still go wrong. Arms end up uneven, heads tilt, ears fight each other. The fix is a repeatable method: pin everything, measure, then sew with consistent tension.
I like to assemble in a specific order because it keeps the toy stable as you work. You also avoid sewing a limb where you later need to stitch a collar or add a belly patch. If your pattern gives an assembly order, follow it. If it doesn't, a standard sequence saves you time.
Try this assembly flow for most animals and dolls:
- Attach head to body first, check that the face points forward
- Add ears, horns, or hair next, using the face as your reference
- Sew arms, matching round counts and using pins for symmetry
- Sew legs and feet, making sure the toy sits or stands as intended
- Add tail, wings, or accessories last
After you pin a part, look at the toy from every angle. Front, side, back, and top-down. It feels extra, but it's faster than ripping out sewing later. For sewing, use the same yarn as the project when possible, and keep stitches small. Big whip stitches can leave gaps.
If you're aiming for truly one-of-one designs, you can also customize at assembly time. Rotate an ear slightly, add a slight head tilt, or stitch a tiny belly button. Those micro-choices create "character," even when the base pattern is the same.
FAQ Master Step-By-Step Crochet Patterns for Unique Stuffed Toys
How Do I Keep Stitch Counts Correct on Detailed Amigurumi?
Use a stitch marker for the start of every round, and count after any increase or decrease round. If a round should end at 42 stitches, don't move on until it does. Many errors come from missing a single increase early, then the whole shape slowly drifts. A second marker at the front center helps you keep facial features straight.

What Hook Size Works Best When Learning How to Crochet Detailed Patterns?
A smaller hook than the yarn label suggests usually looks best for toys. Tight stitches make the fabric firm and help hide stuffing. For worsted weight yarn, many crocheters like 3.0 mm to 3.5 mm hooks for amigurumi, but your tension matters. Make a small swatch in single crochet and stretch it. If you can see gaps, go down a hook size.
How Do I Make Clean Color Changes in Single Crochet Rounds?
Change color on the last yarn over of the stitch before the new color. That means you finish the stitch with the new color on your hook. Then pull the new color snug, but don't choke it tight. For stripes, carry the yarn only if it won't show through, otherwise cut and weave ends neatly.
Why Do My Stuffed Toy Limbs Look Uneven After Sewing?
Most uneven limbs come from skipping the pinning step. Pin both limbs in place, then count stitches from a clear landmark, like the side seam or the front center marker. Also check the angle. One arm can be one stitch higher and still look "off" if it points forward more than the other. Sew a few stitches, then recheck before finishing.
What's the Easiest Way to Add Personality to a Simple Toy Pattern?
Start with the face. Small changes in eye spacing and eyebrow angle create a new expression fast. Then add one signature detail: a tiny scarf, a patch on the belly, or a different ear color. If you want patterns that already build in these options, explore crochet patterns for advanced projects for designs that include extra details and alternate parts.
Final Step: Practice One Detail at a Time, Then Combine Them
Learning How to Crochet Detailed Patterns is less about doing harder stitches, and more about building a careful workflow you can repeat. Read the pattern like a map, mark key rounds, shape with smooth increases and invisible decreases, and assemble with pins before sewing. Do that, and your stuffed toys will start looking crisp, balanced, and truly unique.
If you want a next project that's designed to show off details, choose a pattern with clear face placement notes and lots of photos. Then pick one skill to focus on, like cleaner color changes or better stuffing. You'll be shocked how fast your toys level up when you practice on purpose.