How to Crochet Unique Stuffed Animals: Advanced Techniques That Make Them One-Of-A-Kind
Have you ever finished a plush and thought, "Why does mine look a little... generic?" If you're searching for How to Crochet Unique Stuffed Animals, the good news is you don't need magic yarn or a secret pattern vault. You need a handful of advanced crochet techniques that change shape, texture, and personality on purpose.
This guide explains the pro-level moves that make stuffed animals look custom, not copy-paste. You'll learn how to control shaping, sculpt faces, build better limbs, and add details that survive hugs. If you already know the basics, this is the next step.
How to Crochet Unique Stuffed Animals with Intentional Design Choices
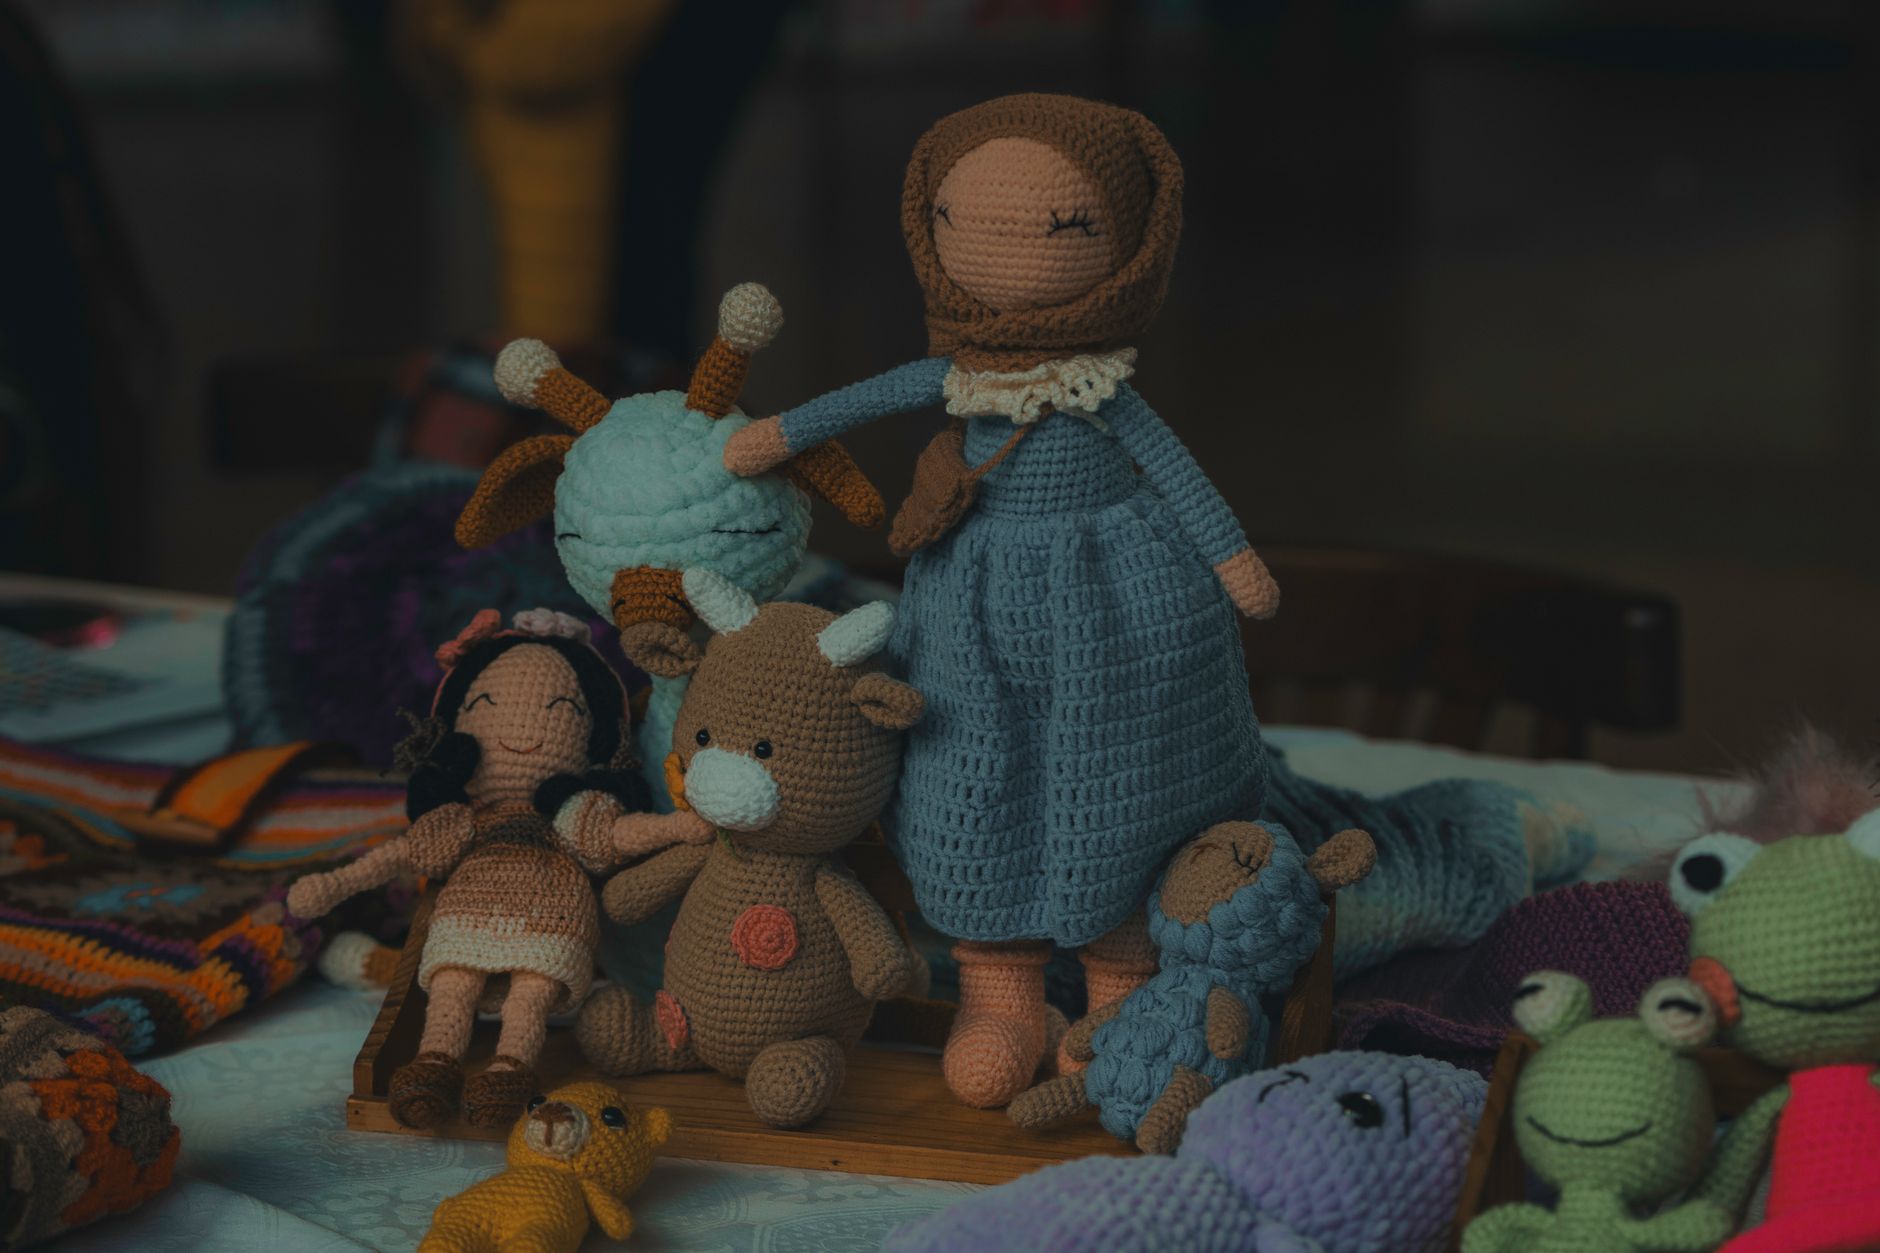
Uniqueness starts before you pick up your hook. Most "samey" plushies come from using the same proportions, the same yarn, and the same basic sphere shapes. Your goal is to design like a character artist. Think silhouette first (the outline you'd recognize from across the room), then texture, then tiny details.
A quick way to break out of basic shapes is to change the ratio between head and body. A bigger head reads "cute," while a longer torso reads "realistic." Even a small shift, like moving the eyes lower or widening the muzzle, can change the whole vibe.
Here are design levers I use when I want a stuffed animal to look original, even if the stitches are standard:
- Change proportions (giant head, tiny paws, long neck)
- Pick a defining feature (oversized ears, beak, horns, tail tuft)
- Mix textures (smooth body, fuzzy mane, bobble belly)
- Add asymmetry (a wink, a bent ear, a patch)
- Use color blocking (belly panel, mask marking, striped tail)
- Choose a "pose" (sitting, curled, mid-pounce)
If you want a bigger idea bank, pair this article with How to Crochet Unique Items. It's great for brainstorming unusual features and finishing touches.
Advanced Shaping: Invisible Increases, Sculpting, and Curves
Most plush patterns rely on basic increases and decreases. That's fine, but advanced shaping makes your work look smoother and more intentional. The first upgrade is learning to hide shaping lines so the fabric looks clean. A "clean" surface helps details stand out, like eye placement and color changes.
Start by using invisible decreases (also called invdec). They reduce bulk and avoid little holes. For increases, stagger them so they don't stack into a visible seam line. Instead of doing "inc, sc" repeated in the same place every round, shift the starting point each round. That simple change makes a head look more like a real sphere.
If you want curves, you can sculpt by changing stitch height in one area. Taller stitches create lift, shorter stitches create a dip. This is especially useful for snouts, cheeks, and bellies.
Try this step-by-step shaping habit on your next head or belly panel:
- Place your stitch marker at the true start of the round every time
- Move the marker forward by 2 to 4 stitches each new increase round
- Use invisible decreases for all "shaping in" rounds
- Add short rows (partial rounds) where you want a bump or bend
- Stuff in stages, not all at once, so you can adjust firmness
Stuffing as you go sounds slow, but it's the difference between "lumpy" and "sculpted." It also helps you keep symmetry, because you can feel the shape before you close it.
For stitch technique references and standardized terms, the Craft Yarn Council is a reliable source. If you sell patterns, using standard terms reduces confusion and returns.
Texture and Colorwork That Actually Looks Clean on Plush
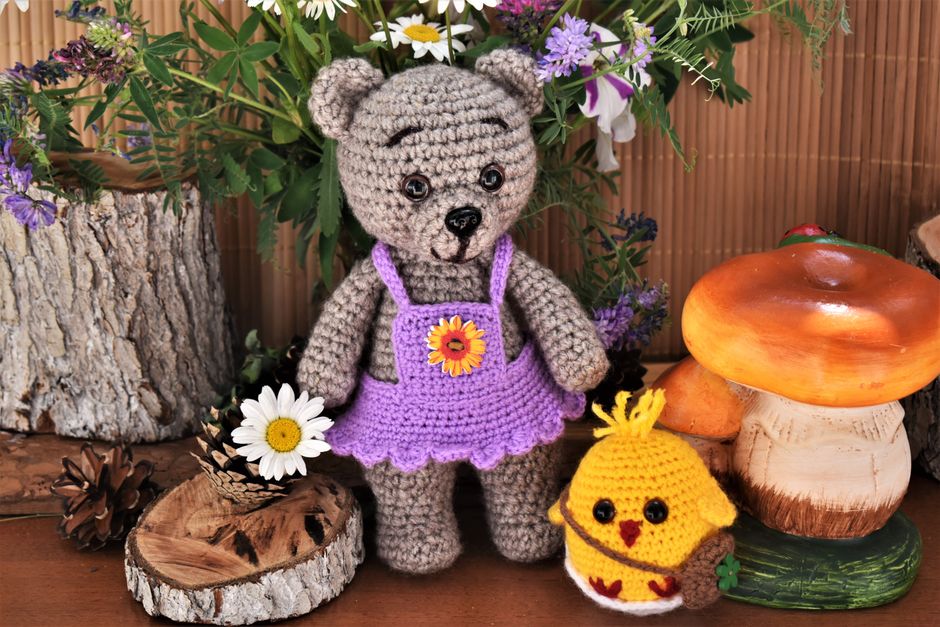
Texture is one of the fastest ways to make a plush look custom. Even if you crochet the same animal as someone else, your texture choices can make it feel like a different species. Think of texture as "fur direction," "scales," "feathers," or "spots." The trick is choosing textures that don't snag easily and still feel soft.

For fur effects, you can brush out certain yarns or use loop stitches in specific zones like cheeks, chest, or tail tip. For scale or armor effects, use surface crochet or back-loop-only ridges that create raised lines.
Colorwork is another uniqueness multiplier, but plush color changes can look jagged. The fix is learning clean color joins. You change color on the last yarn-over of the previous stitch, then tighten both strands gently. For stripes in the round, try jogless stripes (a small adjustment round) so the seam doesn't stair-step.
Here are advanced texture and color options that work well on stuffed animals:
- Back-loop-only rounds for subtle ribbing and "fur direction"
- Front-post stitches for raised spine ridges or turtle shells
- Surface crochet for facial lines, whisker pads, and markings
- Bobbles for paws, paw pads, or "toes" on dragons
- Mosaic-style blocks for blankets and accessories (not tight on bodies)
- Brushed-out yarn sections for mane tufts and tails (test first)
Yarn choice matters here, because not every yarn shows texture well. Smooth cotton shows crisp stitches, while fuzzy plush yarn hides details but looks cuddly. If you want to compare yarn types and stuffing options, see Crochet Supplies and Materials.
For yarn safety and fiber facts (especially if kids will chew on it), CPSC toy safety guidance is worth reading. It helps you think about secure eyes, small parts, and durability.
Face, Limbs, and Details: the "Personality" Techniques
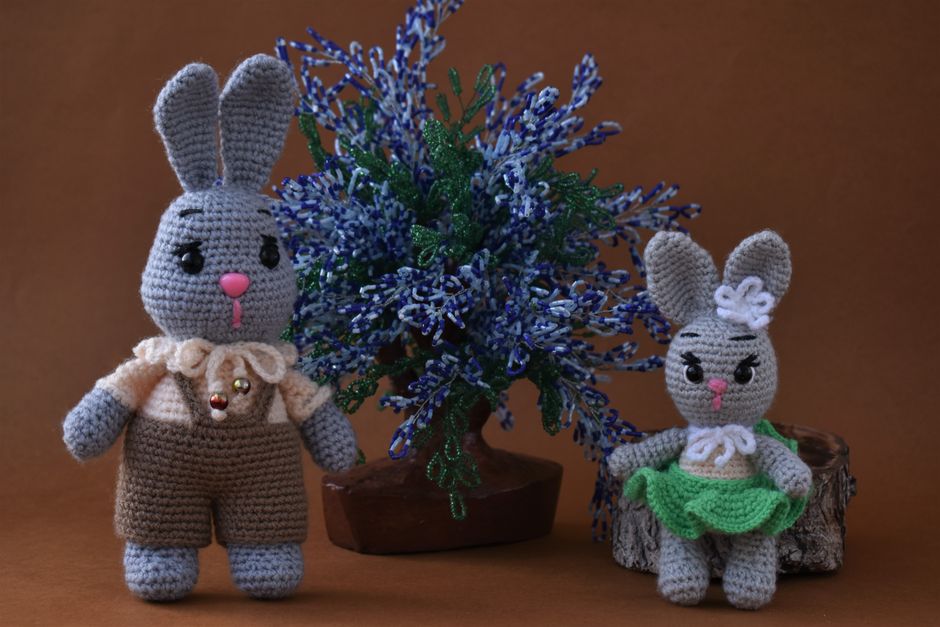
The face is where uniqueness lives. Two plushies with the same body can look totally different if you change eye spacing, nose shape, and mouth angle. The easiest "advanced" upgrade is using needle sculpting (shaping with a yarn needle and strong yarn or thread). You can pinch in a muzzle, create cheeks, or add an eye socket.
Eye placement tip that works almost every time: put the eyes lower than you think. High eyes often make a plush look startled. Lower eyes tend to look cute, calm, or sleepy. Also, try offsetting eyes by one stitch for a curious look, but keep it subtle.
Limbs also change character. Basic tubes work, but shaped limbs look designed. Add a flat foot, a bend at the elbow, or a taper at the wrist. You can use short rows to bend paws naturally instead of forcing a pose with stuffing.
If you want details that last, think like a toy maker. Stitch-on details beat glue. Strong sewing beats quick sewing.
Use this attachment checklist for cleaner results:
- Pin limbs in place and take a photo before sewing, photos show odd angles
- Sew through both loops for strength, not just outer loops
- Add a few "anchoring" stitches inside the body, then come out to start the seam
- Use the same yarn as the body, or a matching strong thread for tiny details
- Knot inside the body and bury the tail (pull needle through and trim)
For facial features, embroidery thread can look neat, but it can also snap. I often use a thin strand of the main yarn or a strong crochet thread for mouths and brows. If you sell finished plush, test by tugging gently on every stitched detail.
One more angle that's especially relevant in 2026: more makers are building "collector plush" with higher detail and fewer safety eyes, because some marketplaces flag small plastic parts for kids' items. A 2025 trend report from Etsy has consistently pointed to personalization and character-driven gifts as strong categories, and plush fits that perfectly when you offer custom colors, names, or outfits.
FAQ
How Do I Make My Crochet Stuffed Animals Look Less Like Everyone Else's?
Pick one signature element and push it further than usual. That could be a special ear shape, a dramatic tail, or a unique color pattern. Then support it with smaller choices like eye placement and texture zones. Even changing the head-to-body ratio can make a familiar animal look brand new.
What's the Best Stitch for Amigurumi Fabric That Doesn't Show Holes?
Single crochet is the standard, but tight tension and the right hook size matter most. Invisible decreases help keep the fabric smooth when shaping in. If holes still show, size down your hook and stuff in small pieces so the fabric doesn't stretch.
How Can I Add a Snout or Cheeks Without Making the Face Bulky?
Use needle sculpting and small stuffed appliques instead of big add-ons. A lightly stuffed muzzle piece that's sewn on, plus a few sculpting passes to define cheeks, often looks cleaner than a giant protruding snout. Keep stuffing soft in the face so you can shape it with your fingers.
Are Safety Eyes Always Safe for Stuffed Animals?
Safety eyes are more secure than glued eyes, but they're still a small part. For items meant for babies or toddlers, many makers choose embroidered eyes instead. Follow toy safety guidance and consider the recipient's age, especially if the plush will be chewed or tossed.
How Do I Design My Own Pattern After I Learn These Techniques?
Start with a simple base shape you can repeat, like a head sphere and an oval body, then test one change at a time. Keep notes on stitch counts, rounds, and where you placed increases. If you want a structured next step, explore Crochet Patterns for Advanced Projects to see how advanced patterns handle shaping and assembly.
Make Your Next Plush a "Can't-Stop-Looking-At-It" Original
"How to Crochet Unique Stuffed Animals" really comes down to making deliberate choices. Hide your shaping lines, sculpt with stuffing and needle work, and treat texture like a design tool. Add details with strong sewing, and your plush will look professional and feel sturdy.
If you want patterns that already bake in these advanced techniques, visit my Squarespace shop at https://artncraftartncraft.art. I design patterns with personality-first shaping, clean finishes, and options for custom colors so your next stuffed animal looks like yours, not everyone else's.