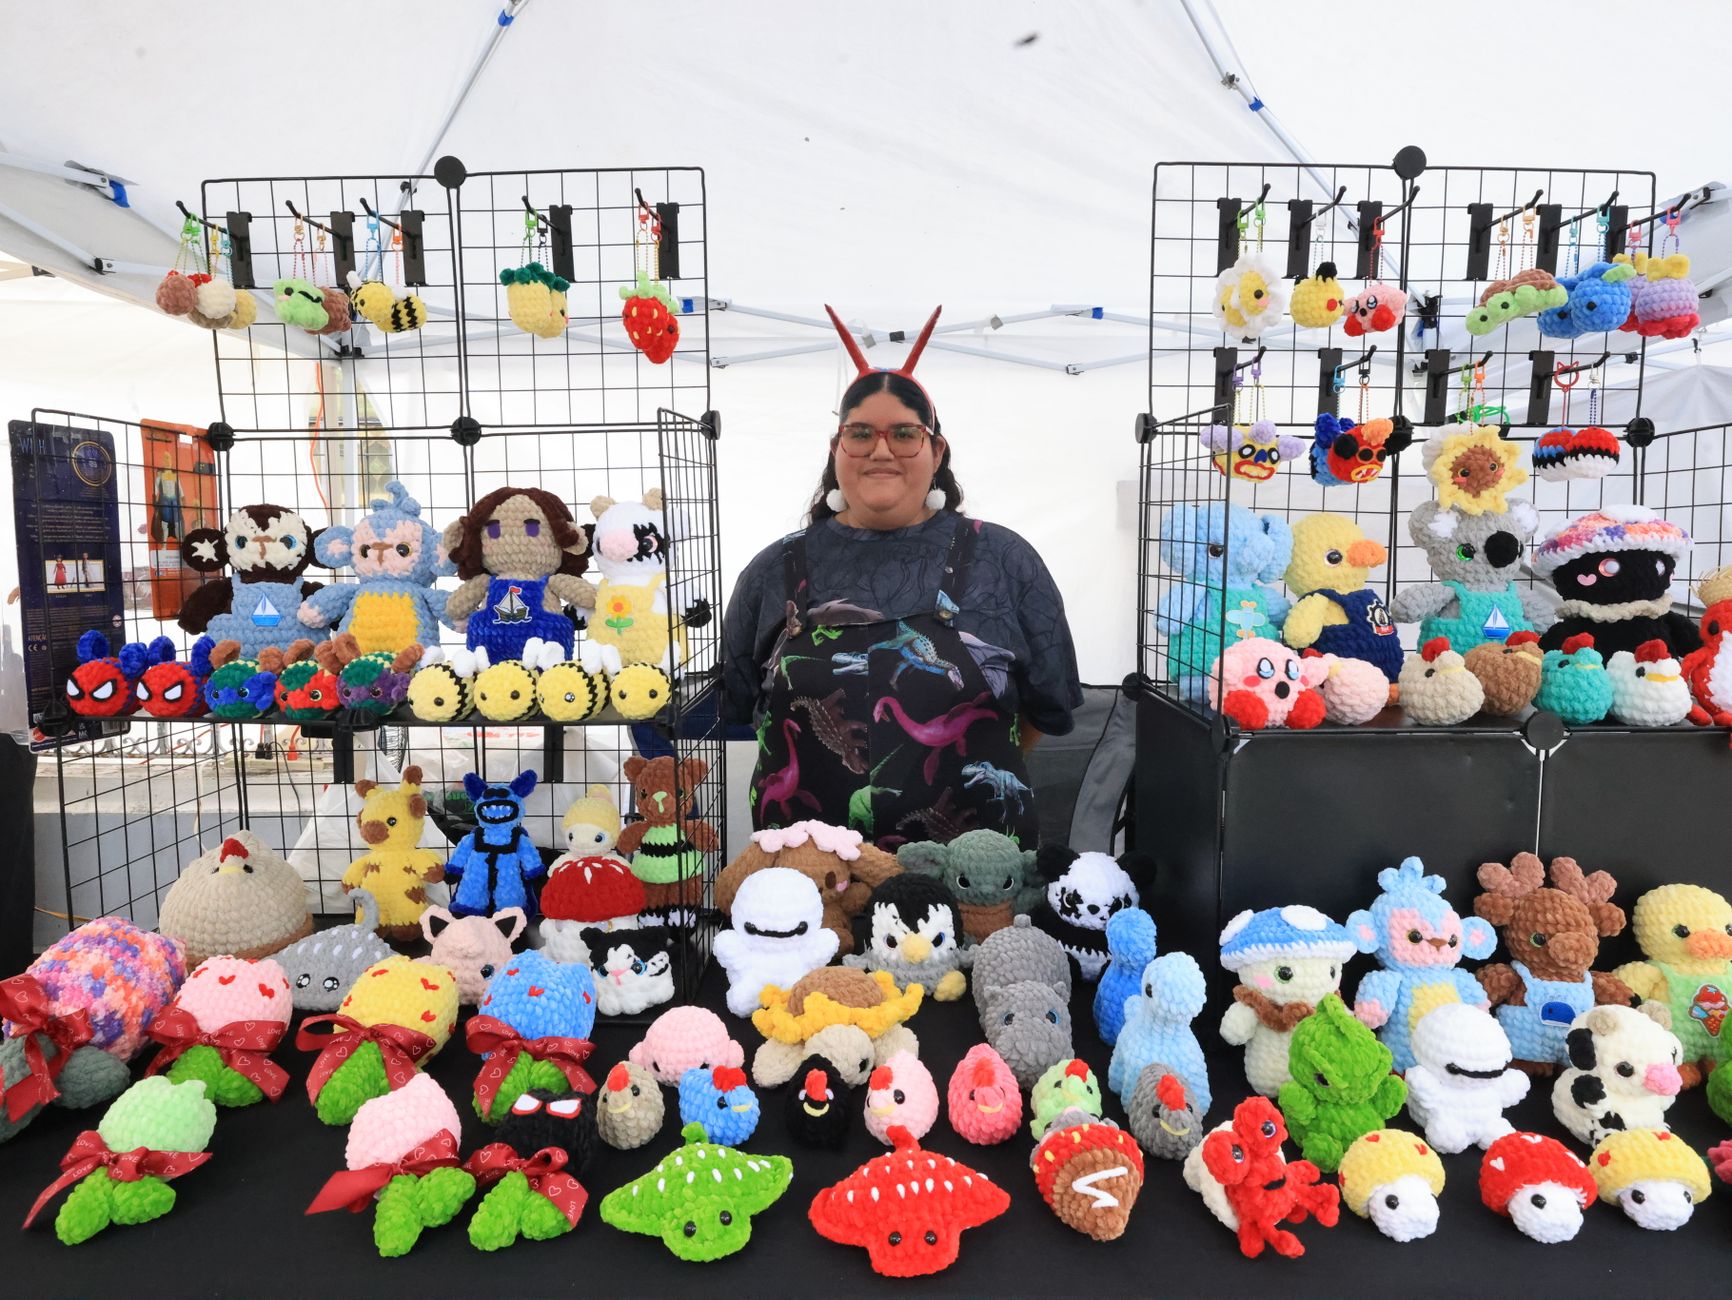
Custom Crochet Patterns for Stuffed Animals: a Step-By-Step System for Designing Unique Plushies to Sell
A weird thing happens when you start selling plushies: the "cute idea" is the easy part, but the pattern that actually reproduces that idea is the hard part.
If you're making custom crochet patterns for stuffed animals to sell, you're really selling repeatable results. Your buyer needs to get the same shape, same vibe, and same stability you did, even if their tension (how tight they naturally crochet) is different from yours.
Below is the exact step-by-step system we use for turning a one-off stuffed animal into a pattern people can follow, finish, and feel proud of.
Step 1: Choose a Sellable Concept (Not Just a Cute One)
If you want a pattern that sells, you need a concept that reads clearly at thumbnail size and still looks good without perfect yarn choice.
Start by locking in three things before you crochet a single stitch:
- Silhouette: Can you tell what it is from the outline alone (bear, axolotl, dragon)? Strong silhouettes sell better than fussy details.
- One "signature" feature: Oversized ears, a chunky tail, tiny wings, long legs. Pick one. This is what makes it feel original.
- Difficulty target: Beginner-friendly shapes (simple limbs, fewer parts) usually sell more. Advanced shapes can sell too, but buyers expect clearer photos and tighter instructions.
A non-obvious trade-off: the more "custom" the design looks, the more you must simplify the build.
Lots of sellers make patterns that look amazing in their hands, then buyers struggle because there are 14 tiny pieces and every piece has a different tension requirement.
Step 2: Build a Prototype with Pattern-Writing in Mind
Crochet your first draft like you're already writing the pattern. That means you're tracking every change, not improvising and hoping you'll remember later.

Here's how we prototype so it's easy to document:
- Pick a standard yarn and hook combo and stick to it for the entire prototype. This becomes your "reference build."
- Use a stitch counter or running notes every round. Write down the round number and total stitch count at the end of each round.
- Mark the start of the round and keep it consistent. Moving it around changes where increases land, which changes the shape.
- Decide early if parts are sewn or crocheted on. Sewing gives cleaner placement control, crochet-on parts can reduce finishing time.
If you need help choosing yarn that holds shape well (and doesn't pill into fuzz after hugs), our yarn breakdown is here: yarn choices that keep plushies looking crisp.
Shape Rule That Saves Hours: Increases Control "Where the Chub Sits"
Most stuffed animals are just spheres and tubes with a few controlled bulges.
- Evenly spaced increases make a rounder, smoother ball.
- Clustered increases (in the same area across several rounds) create a belly, cheeks, or a forehead.
Write down not only "inc 6 times," but also where you placed them. "Inc around" and "inc evenly" are not the same for shaping.
Step 3: Convert the Plush Into a Clean, Repeatable Pattern
This is the step that separates a personal project from a product.
A sellable pattern has three layers: exact instructions, checks for the crocheter, and clear assembly.
A Pattern Format Buyers Actually Finish
We format stuffed animal patterns so a crocheter can glance and keep moving:
- Materials: yarn weight, hook size, safety eyes size (if used), stuffing, needle.
- Abbreviations: keep it short and standard (sc, inc, dec). Define once.
- Piece list: body, head, ears, arms, legs, tail, extras.
- Round-by-round instructions: include stitch counts every round.
- Assembly map: where each piece goes, plus pinning tips.
The stitch count is not "nice to have." It's how buyers debug mistakes without messaging you.
Stuffing and Stability Notes (Most Patterns Skip This)
Stuffing changes the shape more than people expect. If you don't guide it, buyers get lumpy heads and wobbly necks.
Add 2 to 4 lines like this in your pattern:
- Stuff head firmly, especially around the muzzle/face.
- Stuff body medium-firm so it sits without tipping.
- Add a little extra stuffing right before closing, then smooth with fingers.
If your plush has a big head, mention options like adding a small weight pouch (poly pellets in a fabric bag) in the bottom. This is a safety-sensitive item for kids and pets, so remind buyers to keep weights fully enclosed and stitched securely.
Step 4: Worked Example: Designing a "Long-Eared Forest Bunny" Pattern
Here's a concrete example of how we take a unique idea and turn it into a pattern that's still beginner-friendly.

Design goal: a bunny that looks original in photos, but uses simple shapes.
Signature feature: very long, slightly curved ears.
Construction plan: one-piece head+body (less sewing), plus separate ears and arms.
Prototype Notes (What We Track)
- Head and body are one continuous piece to avoid a weak neck seam.
- Cheeks are created by placing increases toward the front for a few rounds.
- Ears use a flat oval start, then a tube, then slight decreases to curve.
Example Shaping Decisions
- Head: standard sphere method (increase to widest point, work even rounds, then decrease).
- Cheeks: 2 rounds where increases are placed more toward the front than the back. This creates a "face" without adding a muzzle piece.
- Ears: start oval, then work in the round. Add 1 decrease every few rounds on the inner edge only. That makes a gentle bend.
Pattern-Writing Checks We Add
Instead of hoping the buyer sees the face shape, we build in checkpoints:
- "After Round X, the head should be as wide as it is tall."
- "Pin ears before sewing. The inner edges should angle slightly forward."
- "If your ears look too stiff, go up one hook size for ears only."
That last one is a pro move. Ears are where tension differences show up fast.
This is the kind of "buyer-proofing" that leads to good reviews because people finish successfully.
Step 5: Test Like a Seller (Not Like a Maker)
A pattern isn't done when your plush looks cute. It's done when someone else can reproduce it.
Here's the testing ladder we use:
- Self-test from your own draft (no memory allowed). Put the plush away for a day, then crochet from the written pattern only.
- Tension stress test: crochet one key piece (usually head) with slightly looser tension and see if it still works.
- Assembly clarity test: hand the assembly section to someone and see if they can place parts correctly using only your notes and photos.
If you want to push into higher-skill designs, add one new technique at a time (color changes, surface crochet, shaping tricks). We go deeper on advanced build choices here: advanced stuffed animal crochet techniques that sell.
Step 6: Price and Package Your Pattern so It Sells
Pricing depends on your market and complexity, so we won't throw a random number at you. But you can price confidently if you package confidently.
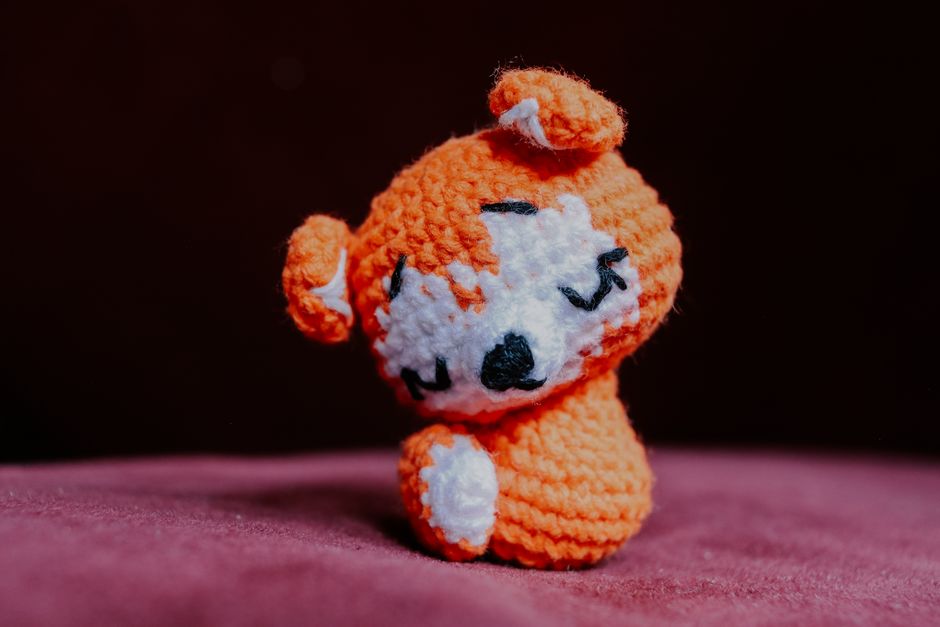
A pattern feels "worth it" when the buyer sees:
- Clear photos of front, side, and back
- A clean materials list
- Stitch counts every round
- Assembly guidance (pinning, placement, symmetry)
- Optional add-ons (like embroidery vs safety eyes)
Decision Framework: Simple Pattern or Detailed Pattern?
Choose simple if:
- The design uses basic shapes and minimal sewing.
- Your buyer is likely newer.
- You want fewer support messages.
Choose detailed if:
- The plush has complex shaping or many parts.
- The final look depends on placement and sculpting.
- You want to stand out with premium-level instructions.
Both can sell. The mistake is mixing them, like offering a complex plush with "trust me" instructions.
Common Selling Pitfalls (and How to Avoid Them)
A few issues pop up again and again with custom plush patterns.
- The plush only looks right in chenille yarn. If a design relies on fuzzy yarn to hide shaping, buyers using smooth yarn may hate the results. Include yarn alternatives and show at least one photo in a smooth yarn if you can.
- Too many tiny parts. Tiny horns, spikes, and toes look cool, but sewing fatigue is real. Combine pieces or crochet details on where possible.
- Unclear safety guidance. If your pattern includes safety eyes, mention they're not recommended for babies and toddlers. For U.S. readers, the CPSC has general toy safety resources here: CPSC toy safety information.
- No stitch counts. This is the fastest way to trigger customer questions and refunds.
FAQ
Can I Sell the Finished Stuffed Animals Made From My Pattern?
Yes, if you're the designer, you can set your own terms for finished items. If you're using someone else's pattern, check their listing rules and follow them.
How Do I Make Sure My Design Is "Unique Enough" to Sell?
Focus on a distinct silhouette plus one signature feature, and write the pattern in your own structure and wording. Avoid copying another designer's exact shaping, accessories, or photos.
What If Buyers Say Their Plush Looks Different Than Mine?
Plan for tension differences. Add gauge guidance (a small swatch note), include stitch counts, and give 1 to 2 fix-it tips like changing hook size for a single part.
Turn Your Next Plush Into a Pattern People Recommend
Selling patterns is selling clarity. If you build with repeatability in mind, test like a stranger is following your notes, and package the pattern like a real product, you'll stand out fast.
We design and sell crochet patterns at Art'n'Craft, and we're obsessive about making them reproducible. If you want more design ideas for pushing beyond basic shapes, start with unique stuffed animal pattern ideas and design tips.