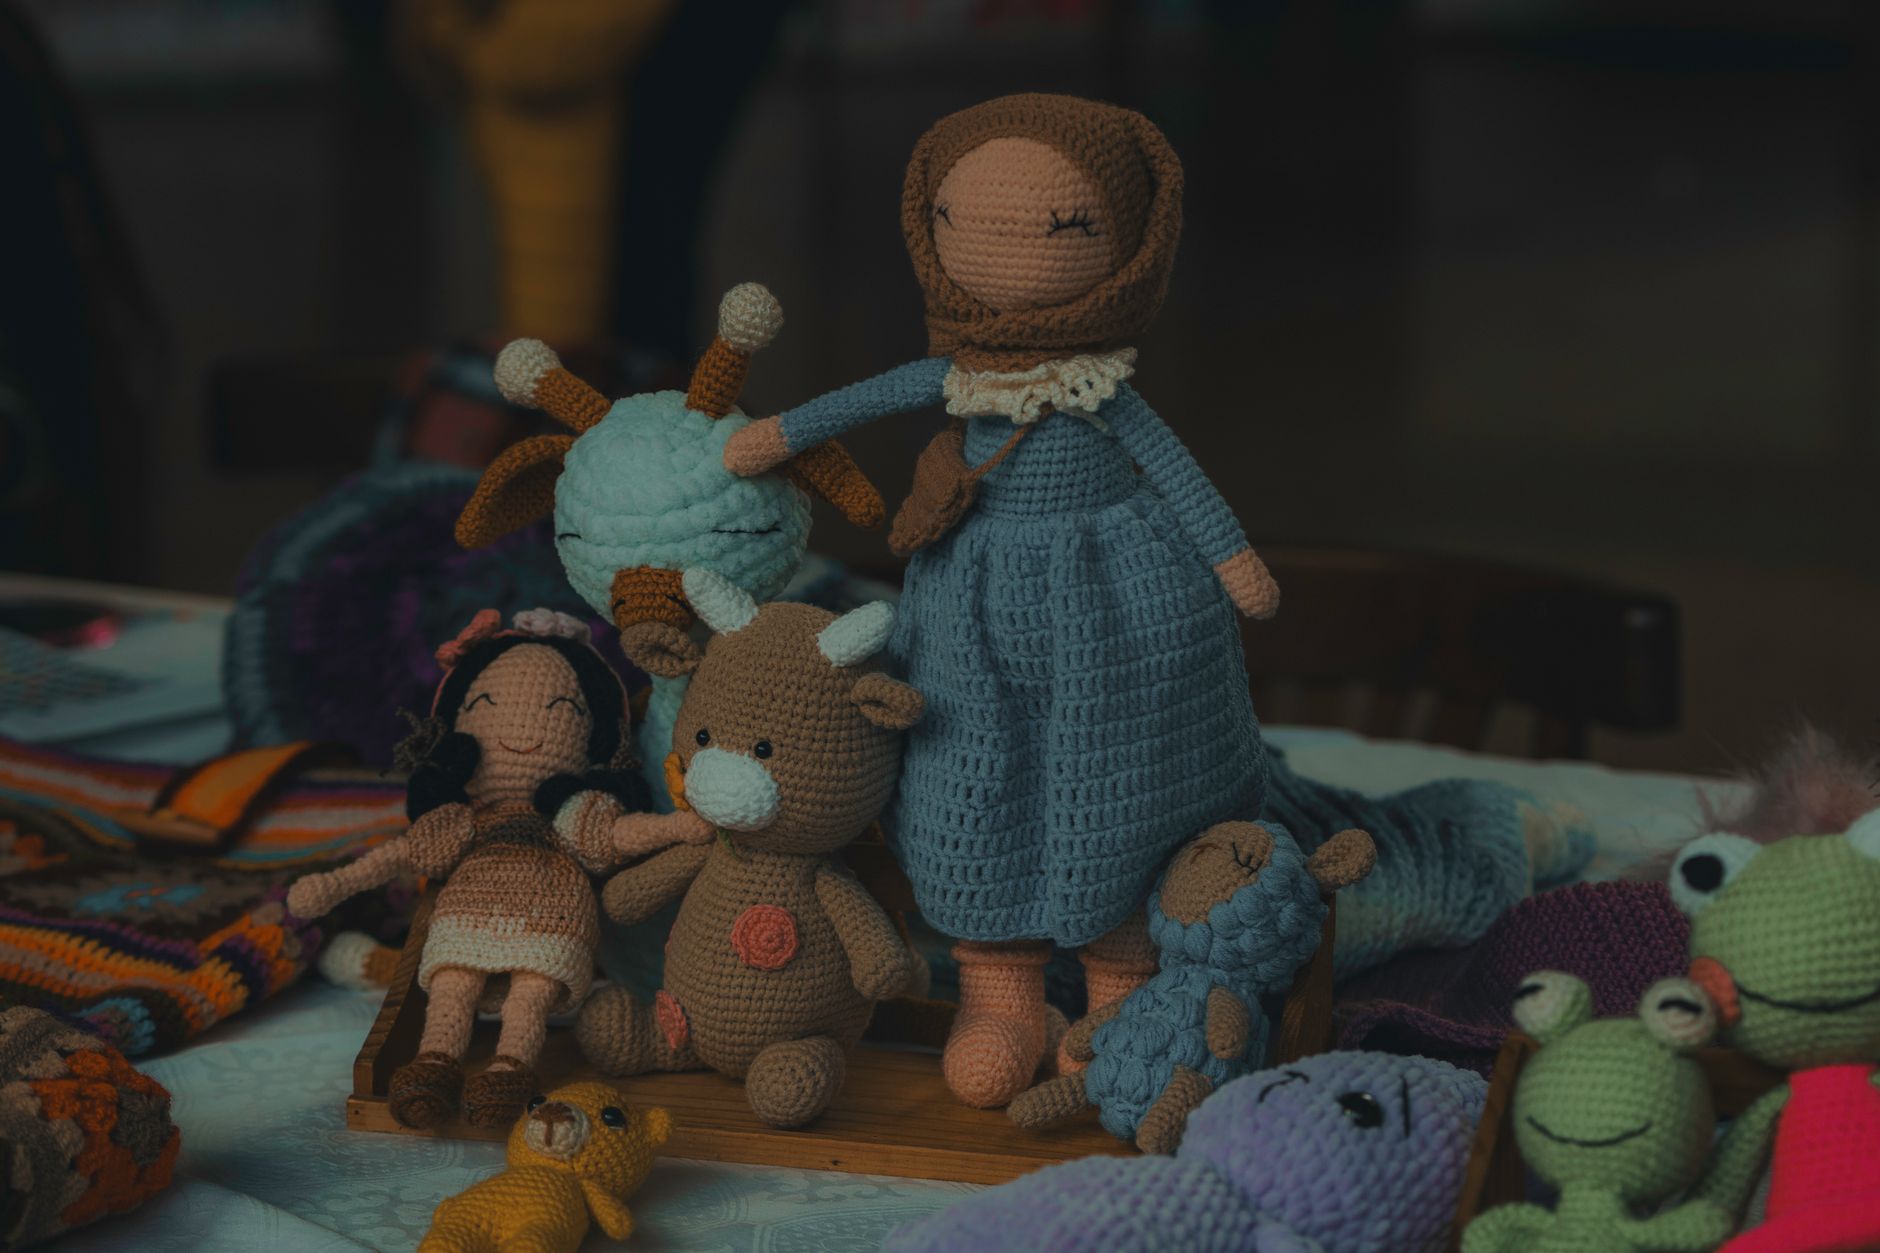
Crochet Pattern Tutorials for Stuffed Animals: Complex Techniques That Sell
The fastest way to spot a "sellable" plush pattern is this: the toy keeps its shape even when you squeeze it, and the details still read from across the room.
That doesn't happen by luck. It happens because the designer uses a handful of complex choices on purpose, then explains them clearly. This guide breaks down crochet pattern tutorials for stuffed animals that feel unique (not generic), and the advanced techniques that help your patterns stand out in a crowded market.
Crochet Pattern Tutorials for Stuffed Animals: What Makes a Pattern Feel Premium
"Premium" isn't a fancier yarn or extra stitches. It's a pattern that gives the maker control. Control of shape, control of symmetry, and control of the toy's face (which is what sells the whole thing).
In our pattern work, the biggest difference between a pattern that gets saved and one that gets bought is predictability. The maker can follow your steps and get the same result you show.
Here are the technique choices that make that happen.
- Sculpted shaping, not just increases and decreases. Use short rows (partial rows) to push fabric outward for cheeks, bellies, and snouts. The toy looks "designed," not "inflated."
- Hidden or planned color changes. Put color changes on the back of the head, under arms, or along a "seam line" you actually want. Clean colorwork photos sell patterns.
- Tight fabric strategy. You can't stop stuffing from showing if the fabric is loose. Use smaller hook sizing guidance, yarn suggestions, and a note on stuffing density.
- Symmetry systems. Things like "place eyes between rounds X and Y, Z stitches apart, centered on the round marker" reduce the maker's guesswork.
- Assembly that locks into place. A great plush pattern tells the maker where to pin, where to stitch, and what direction to sew so parts don't drift.
If you're building a product line, your best next move is designing around a repeatable "shape language," like big heads with tiny limbs, or long bodies with small faces. Makers love consistency.
Transition point: once you know what makes a pattern feel premium, the next step is choosing which complex techniques are worth the effort, and which ones add pain without adding value.
The "Sellability" Framework: Choose Complex Techniques That Pay You Back
Not every advanced move belongs in a pattern you plan to sell. Some techniques look cool but are hard to teach, hard to photograph, or cause maker frustration.

Here's a simple decision framework we use.
Choose These Techniques If You Want Better Reviews
These raise the maker's success rate, so they pay you back in fewer questions and better feedback.
- Invisible decrease and clean increase placement. Cleaner fabric, fewer holes.
- Jogless stripes in the round. Helps with banded animals (tigers, bees) without ugly steps.
- Strategic stitch markers. Use "marker A" and "marker B" to keep limbs aligned.
- Embroidery maps for faces. A few anchor points beats "embroider a smile."
Choose These Techniques If You Want Higher Perceived Value
These make the finished toy look like a "designer" plush, which supports higher pricing.
- Short-row shaping for snouts, cheeks, and paws.
- Surface crochet lines to create defined toes, eyelids, or jacket seams.
- Integrated limbs (join-as-you-go) so arms and legs sit at the right angle.
- Planned flattening (like crocheting across to close an opening) for ears, fins, and tails.
Avoid (or Offer as Optional) If You Want Fewer Support Emails
These can be great, but they often need extra photos, diagrams, and troubleshooting.
- Complex multi-color tapestry in small rounds. It's easy to miscount and hard to keep tension.
- Fuzzy novelty yarn as the only option. Many makers can't see stitches well enough.
- Micro pieces (tiny horns, tiny fingers) that are hard to sew on neatly.
A "sellable" pattern isn't the hardest one. It's the one that gives a maker a win.
If you want more ideas for patterns that feel gift-ready (and sell well as gifts), pair this with advanced crochet pattern ideas for presents.
Worked Example: Designing a Unique "Mochi Bear" Head with Cheeks (Short Rows + Clean Face Placement)
Here's a concrete example you can steal as a design approach. We'll build a round bear head that has visible cheeks without adding separate pieces.
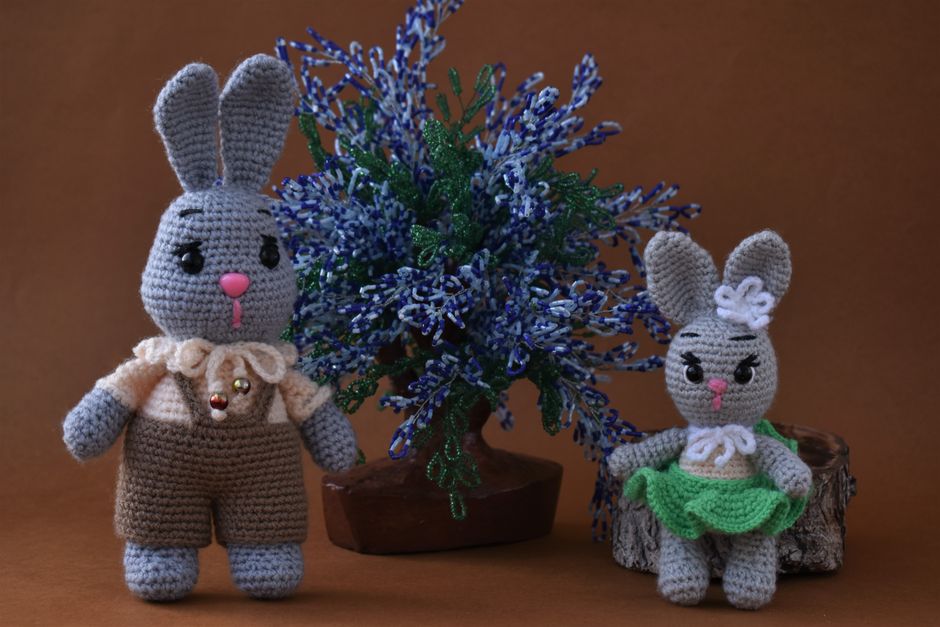
The goal is a head that reads "cute" in photos. That usually means a bigger forehead, a defined muzzle area, and cheeks that push forward.
Step 1: Build the Base Sphere with a Clean Stitch Rhythm
Start with a standard sphere so the maker doesn't get lost.
- Crochet a tight sphere in single crochet (sc) in the round.
- Use evenly spaced increases to reach your widest round.
- Work a few even rounds to set the width.
In your tutorial, tell the maker what "tight" means for your design. For example: "Your stitches should touch with no gaps when stretched." (You can suggest they size down their hook, but let them test.)
Step 2: Add Cheeks with Short Rows (the Premium Move)
Short rows create extra fabric in one area. That fabric has to go somewhere, so it bulges.
A simple method that's easy to teach:
- Place a marker at the center front of the head.
- Work short rows across a small section around that marker.
- Turn your work each short row, then rejoin the round.
Teaching tip that reduces confusion: write the short-row section as a mini-block in the pattern, not buried inside a long round. Also state exactly where the maker should be sitting on the round before they begin.
Common edge case: short rows can create a "step" where you rejoin. Your fix is to place the rejoin under the future muzzle embroidery, or inside a color-change zone.
Step 3: Lock the Face in Place with a Measurement System
Faces are where patterns live or die.
Instead of "place eyes evenly," give the maker a method:
- "Insert safety eyes between rounds 12 and 13, 7 stitches apart, centered on the front marker."
- "Embroider the nose with the bottom edge on round 14, centered between the eyes."
This is one of the biggest differences between hobby notes and crochet pattern tutorials for stuffed animals that people pay for.
Safety note: if you mention safety eyes, add a line that they are not recommended for children under 3. That matches widely shared toy safety guidance (small parts can be a choking hazard). If you want a formal reference, see the U.S. Consumer Product Safety Commission small parts information.
Step 4: Assembly That Doesn't Drift
Even a perfect head can look "off" if ears slide back.
Write assembly like a map:
- "Pin ears so the front edge sits 2 rounds behind the eyes."
- "Sew through both loops on the ear and the head stitches for a tight join."
That one sentence about placement often prevents the "my bear looks like an alien" review.
Transition point: now that you've got a premium-looking design, you still need to package the pattern like a product, so buyers trust it.
How to Package and Sell Complex Stuffed Animal Patterns Without Confusing Buyers
Buyers don't just buy the toy. They buy the promise that they can make the toy.
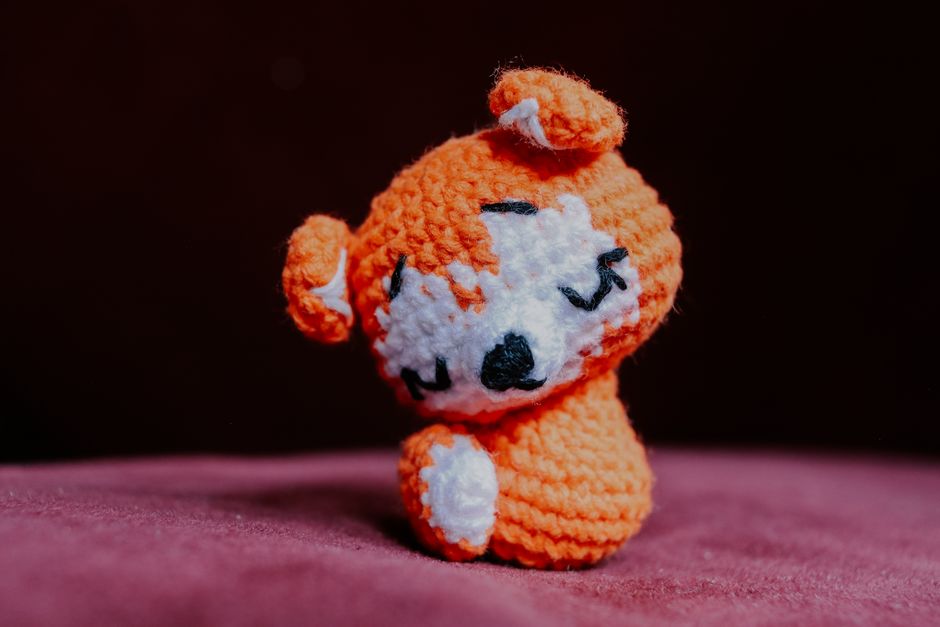
If you sell patterns, your listing and your pattern PDF should do three jobs: set expectations, prevent mistakes, and make your technique choices feel achievable.
Make Skill Level Honest and Specific
"Advanced" is too vague. Spell out what "advanced" means in your pattern.
- Needs: magic ring, single crochet in the round, invisible decrease
- Includes: short rows for cheeks, surface crochet for details
- Assembly: sew ears and muzzle with pinned placement
This also reduces refunds and unhappy messages.
Add a "What Yarn Works" Section (and a Why)
Stuffed animals are sensitive to yarn choice because stitch definition affects the face.
Give options like:
- Smooth cotton or cotton blend for sharp stitches and clean color changes
- Acrylic for softer feel and easier washing
- Velvet-style yarn as optional, with a warning that stitches are harder to see
If you want a deeper, practical guide to picking yarn, hooks, and stuffing for plush toys, link readers to crochet supplies and materials for plush projects.
Photograph the Technique, Not Just the Finished Toy
Complex techniques sell better when the buyer can see you will teach them.
Include at least:
- One photo of shaping in progress (cheeks, muzzle, or belly)
- One photo of eye placement on the unstuffed head
- One photo of pinned assembly before sewing
A simple rule: show the three moments where a maker usually panics.
Price with the Buyer's Time in Mind
A complex plush pattern can be worth more, but only if it's written like a product.
If your design includes shaping blocks, optional yarn paths, or multiple sizes, call that out. Buyers pay for clarity, not just difficulty.
If you'd rather purchase patterns that already lean into these "premium" technique choices, we keep a curated set in our shop. Start with unique crochet patterns for sale that make great gifts.
Closing Checklist: the 8 Things That Make Your Plush Pattern Sell
Before you publish, scan your pattern and make sure it includes these:
- Clear stitch count at the end of each round
- A front-center marker system for face symmetry
- Tight fabric guidance (hook sizing and stuffing notes)
- At least one premium shaping choice (short rows, surface crochet, or join-as-you-go limbs)
- Photo support for the hard parts
- Assembly placement instructions (with "pin here" language)
- A realistic skill list (not just "advanced")
- A finished size estimate and yarn requirements
Complex techniques are fun, but clear teaching is what builds a pattern business. If you design for repeatable results, your unique stuffed animals won't just look good, they'll sell.