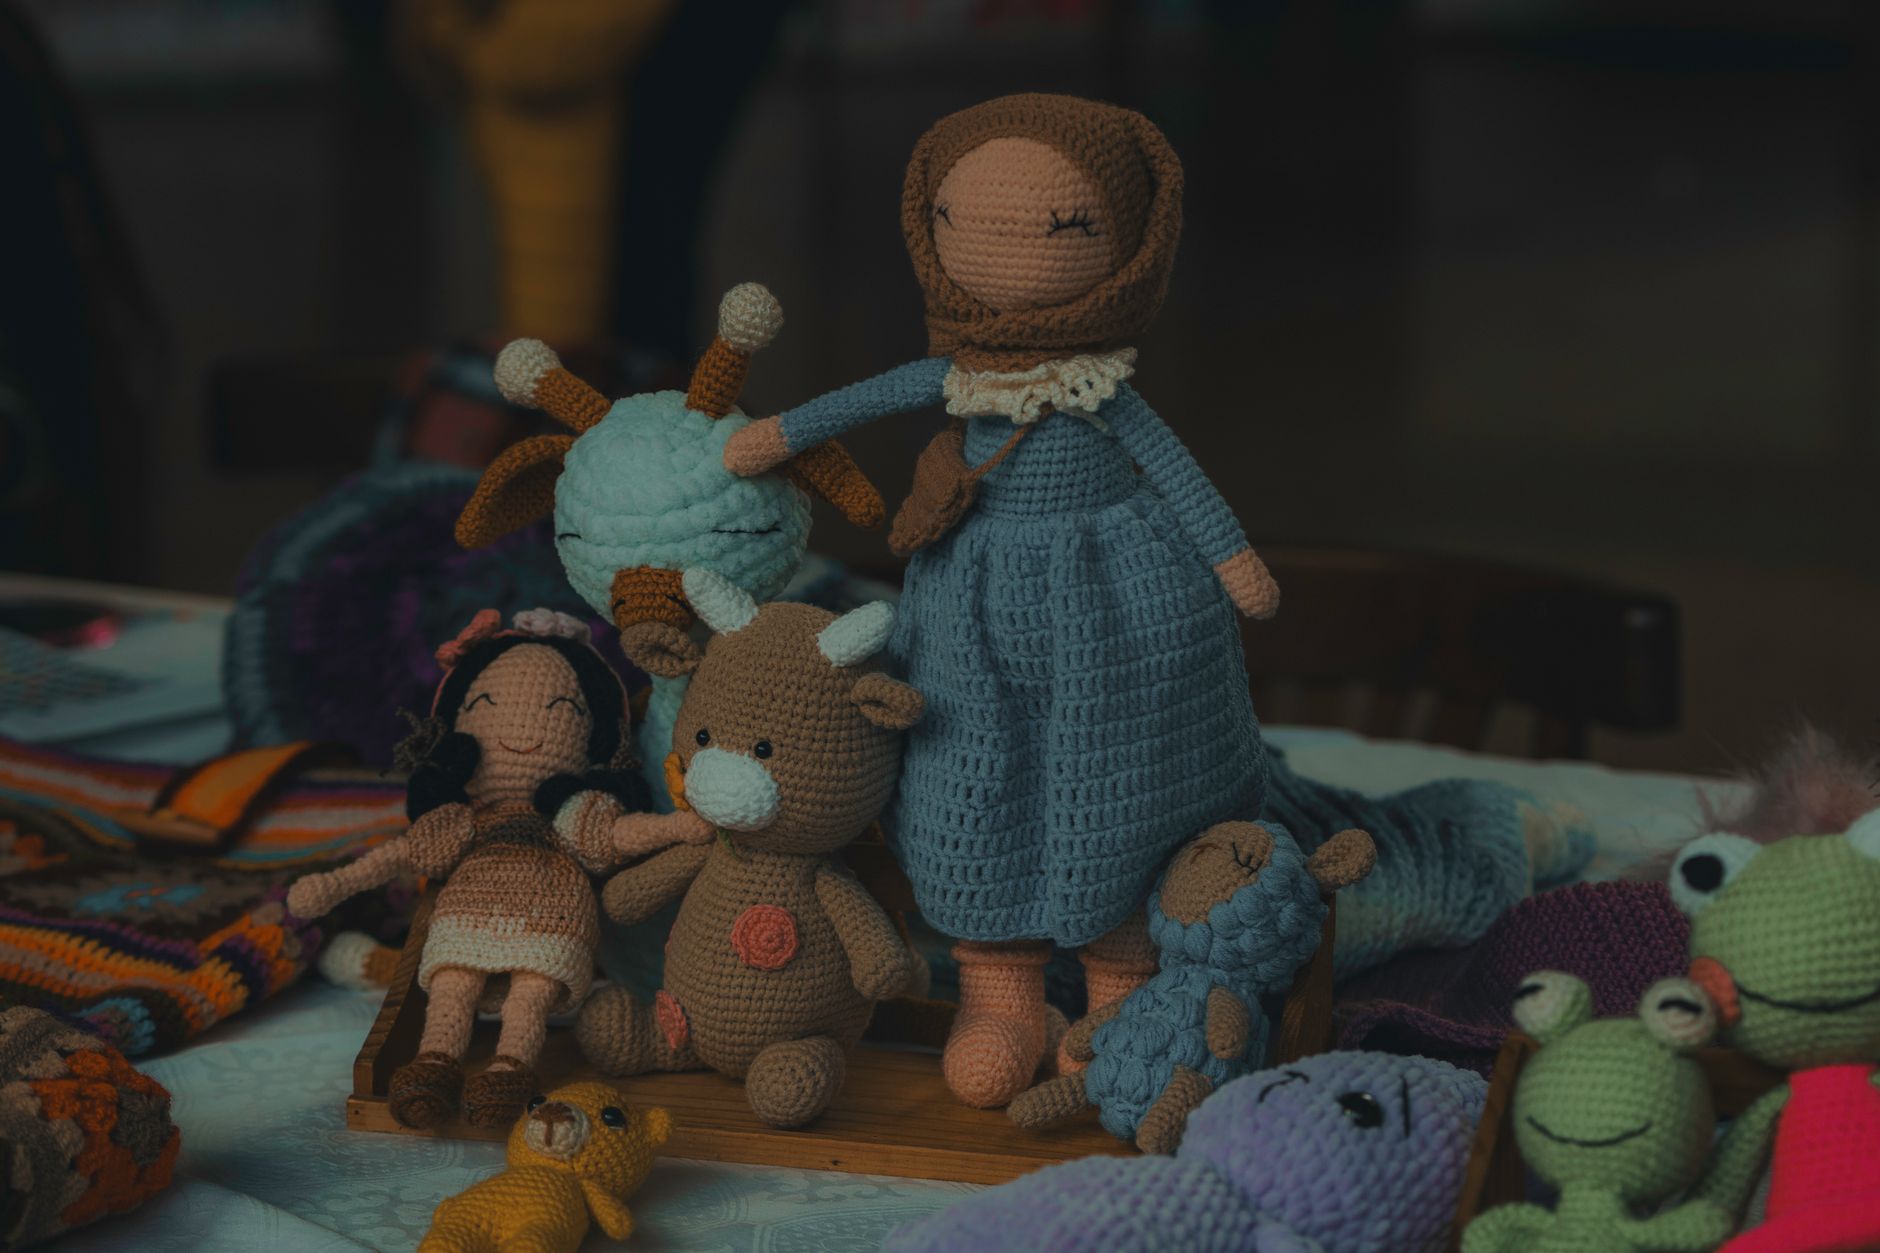
Crochet Toys for Kids Patterns: Unique Designs to Sell and Showcase
The fastest way to lose confidence in selling handmade toys is finishing a cute plush, then realizing it's the wrong size, the face feels "off," or the parts don't feel safe for a kid.
If you're searching crochet toys for kids patterns because you want designs that look pro, photograph well, and sell without constant do-overs, you're in the right place. Below is how we choose toy concepts, build patterns that hold up in real hands, and turn them into listings that feel special.
Pick Toy Concepts That Sell and Still Feel Original
"Unique" doesn't have to mean complicated. The toys that sell best usually hit a familiar shape, then add one twist that makes it yours.
Start with one of these proven "bases," then add your signature detail:
- Classic animal (bear, bunny, cat) with an unexpected texture (bobble belly, ribbed ears, fluffy tail)
- Simple sea creature (whale, octopus) with colorwork spots or striped tentacles
- Food plush (croissant, strawberry, dumpling) with a tiny face and removable "topping" scarf
- Vehicle plush (rocket, train) with chunky, easy-to-grab shapes
Next, decide what your pattern is really optimized for. This is the part many makers skip, and it's why a toy can look adorable in one photo but not in a kid's arms.
Use this quick decision framework:
- Choose a "giftable" toy if you want fast makes and impulse buys. Aim for 5 to 8 inches tall, minimal sewing, simple shapes.
- Choose a "statement" toy if you want higher price points and showcases. Aim for 10 to 16 inches, more shaping, fewer color changes (so it still looks clean).
- Choose a "repeatable" toy if you want product consistency. Use the same base body for multiple animals (swap ears, snout, tail).
A practical tip from our own pattern design: if the toy's identity depends on one tiny detail (like a small beak), it's harder to keep consistent across batches. Build identity into bigger shapes like ear style, body silhouette, or color blocking.
If you're newer to plush construction, keep your first designs simple and get the basics solid. Our guide on beginner crochet stuffed animals and the core techniques that make them look clean will save you a lot of frogging.
Make Toys Kid-Friendly Without Making Them Boring
Kid-friendly doesn't just mean "soft." It means the toy survives squeezing, dragging, and the occasional laundry accident.

Here's what we build into crochet toys for kids patterns when we want them to hold up.
Choose Yarn with the End Use in Mind
For items meant for kids, we usually reach for smooth, washable yarns that don't shed much. Texture yarns can look amazing, but they also hide stitches, which makes consistent shaping harder.
A simple way to choose:
- Acrylic: easy care, budget-friendly, consistent. Great for selling repeat items.
- Cotton: crisp stitches, less stretch, often great for small details. Can feel firmer.
- Chenille/velvet: super soft and trendy, but can "worm" (stretch out) and show weak seams.
If you want a deeper yarn breakdown, keep a tab open for crochet supplies and materials choices for 2026 makers.
Keep Faces Safe and Still Expressive
Safety eyes are popular, but for baby gifts many buyers prefer embroidered features. A lot of markets also have rules about small parts.
If you sell to parents of babies and toddlers, consider making two versions of the same pattern:
- "Baby-safe face" version with embroidered eyes and a stitched smile
- "Classic" version with safety eyes for older kids (still attached correctly and securely)
If you want to reference the formal guidance, the U.S. Consumer Product Safety Commission shares plain-language info on small parts hazards for young children in its Small Parts Regulations guidance. (This is not legal advice, it's a helpful starting point.)
Engineer Your Sewing so It Doesn't Pop
The secret to durable plushies is not "tighten your tension," it's planning attachment areas.
We like these construction rules:
- Attach limbs into flatter surfaces, not tight curves. Flat contact areas give more grip.
- Use longer tails than you think you need, then weave in through multiple stitch paths.
- Add a "locking round" of stitches after placement, like a second pass around the join.
If your toy has long ears, tails, or tentacles, add structure by crocheting them slightly shorter than the "cute drape" you want. Stuffing and gravity will stretch them over time.
A Worked Example: One Pattern, Three Products, Clean Photos
Here's a concrete pattern plan we'd use if we wanted one design to sell as a pattern, a finished plush, and a quick market item.

The Concept
Base toy: a chunky "sleepy cloud" plush.
Twist: interchangeable mini accessories (tiny star, moon, or rainbow) that attach with a stitched loop (not a hard button).
Why it works: the base is simple and fast, but the accessories create collectability. People buy one, then want a second variation.
The Build Choices
- Yarn: worsted weight acrylic for the cloud body (smooth photos, washable, consistent)
- Hook: one size smaller than label suggests to keep stuffing from showing
- Size target: 7 inches wide (giftable, also ships easily)
- Face: embroidered eyes and blush so it's baby-friendly
The Pattern Structure (What You Write Down)
Write it as modules so you can reuse pieces:
- Cloud body (same every time)
- Face placement guide (counts and rows, not "about here")
- Accessories set (star, moon, rainbow)
- Attachment method (loop placement and stitch path)
The non-obvious part: include a "shape check" line in the body instructions.
Example: "After Round 10, your piece should measure about X inches across and look like a shallow bowl." This catches tension issues early, before you build the whole toy.
Turn It Into Three Sellable Items
- Digital pattern: sell the full modular pattern, plus a photo of each accessory variation.
- Finished plush: offer a "choose your accessory" option so buyers feel it's custom.
- Mini add-on: sell the accessories alone as small gifts or bag charms (use a soft loop, not metal, if it's for kids).
For your product photos, aim for one clean "front face" shot and one "hand scale" shot (in an adult hand). The hand photo reduces returns because buyers stop guessing the size.
Pricing and Product Listings: a Simple Framework That Doesn't Undersell You
Pricing handmade toys can feel emotional, especially if you're comparing yourself to mass-produced plushies. We treat it like a repeatable system.
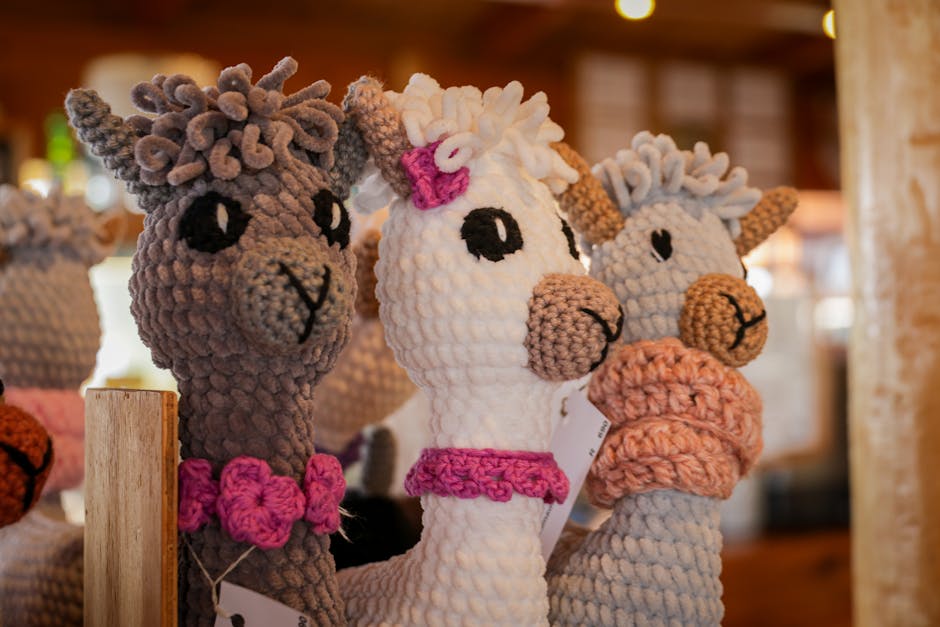
Choose a Pricing Method You Can Stick To
Pick one of these and use it consistently:
- Materials + time: yarn cost plus your hourly rate plus platform fees
- Tiered menu: small, medium, large plush sizes with set prices, add-ons priced separately
- Pattern-first pricing: set pattern price based on uniqueness and support (photo steps, skill level, updates)
If you sell both patterns and finished items, don't price the finished item based on the pattern price. They're different products with different costs.
Write Listings That Help the Right Buyer Say Yes
A strong listing reduces back-and-forth messages and builds trust.
Include:
- Exact size (in inches or centimeters)
- Materials (fiber type) and care notes (hand wash, gentle cycle, air dry)
- Face style (embroidered or safety eyes)
- What's included (accessories, colors)
- Processing time expectations
Avoid vague claims like "child-safe." Say what you actually did, like "embroidered eyes" or "no hard plastic parts."
If you're selling patterns, make the first lines crystal clear:
- Skill level and what stitches are used
- Whether the pattern is written in U.S. or U.K. terms
- Whether it uses continuous rounds (spiral) or joined rounds
If you want more ideas for building patterns that stand out, our design-focused guide how to create unique crochet patterns that feel like your style goes deeper on shaping and signature details.
FAQ
What Stitches Make Crocheted Toys Look the Neatest?
Single crochet in continuous rounds (spiral) is the workhorse for plushies. Tight, even stitches stop stuffing from showing and keep shapes crisp.
How Do I Keep Stuffing From Poking Through?
Use a slightly smaller hook than the yarn label suggests and keep your tension steady. If the fabric still gaps, switch to a firmer yarn or add an inner fabric lining for big statement toys.
Should I Include Safety Eyes in Toys I Sell?
Many customers love them, but some buyers want embroidered faces, especially for babies and toddlers. Offering both versions of the same design can widen your market without doubling your work.
What Makes a Crochet Toy "Unique" Without Making It Harder?
Build uniqueness into big, repeatable features. Think ear shape, color blocks, or a signature accessory set. Tiny fussy details slow you down and are harder to reproduce.
If you want crochet toys for kids patterns that sell, focus on repeatable shapes, durable construction, and a clear "one twist" style choice. That combo makes your work recognizable, and it makes production smoother.
When you're ready, browse our patterns on https://artncraftartncraft.art and pick one base design to remix into a small collection. Collections sell. Single one-off items get lost.