Beginner Crochet Stuffed Animals: Master the Basics for Unique Sales Success
Two things changed how handmade plush sells lately: buyers expect "cute" plus a clean, polished finish, and they want a story they can spot in one photo. That's why beginner crochet stuffed animals can absolutely sell, but only if you pick the right projects and finish them like you meant to.
This guide is a sales-first path for beginners. You'll learn what patterns to choose, what materials matter, the few details that make a plush look store-bought, and a simple way to price so you don't burn out.
The Real Problem: "Cute" Isn't Enough to Sell
Most first plushies look adorable in your hands, then a little wonky in photos. The issue usually isn't your stitching. It's shape, symmetry, and finishing.
If you're aiming for sales, your job is to reduce "risk" for the buyer. They can't touch it. They're judging from one listing photo. So your plush has to read as clean and intentional fast.
Here's what matters most for beginner sellers (and what we see newer crocheters miss):
- One clear silhouette (a shape that looks good from 10 feet away). Tiny limbs and fussy details blur in photos.
- Repeatable construction (you can make it again without hating your life). If it takes you forever, you'll underprice it.
- Finishing that hides beginner tells (no gaps, no lumpy stuffing, no wobbly eye placement).
A simple truth: the easiest plush to sell is often the easiest plush to make well.
Choose the Right Beginner Crochet Stuffed Animals (Decision Framework)
Not every "beginner" pattern is beginner-friendly for selling. Some are easy to crochet but hard to make look consistent.
Use this choose-this-not-that framework.
Pick Shapes That Forgive Small Mistakes
Choose A (best for first sales):
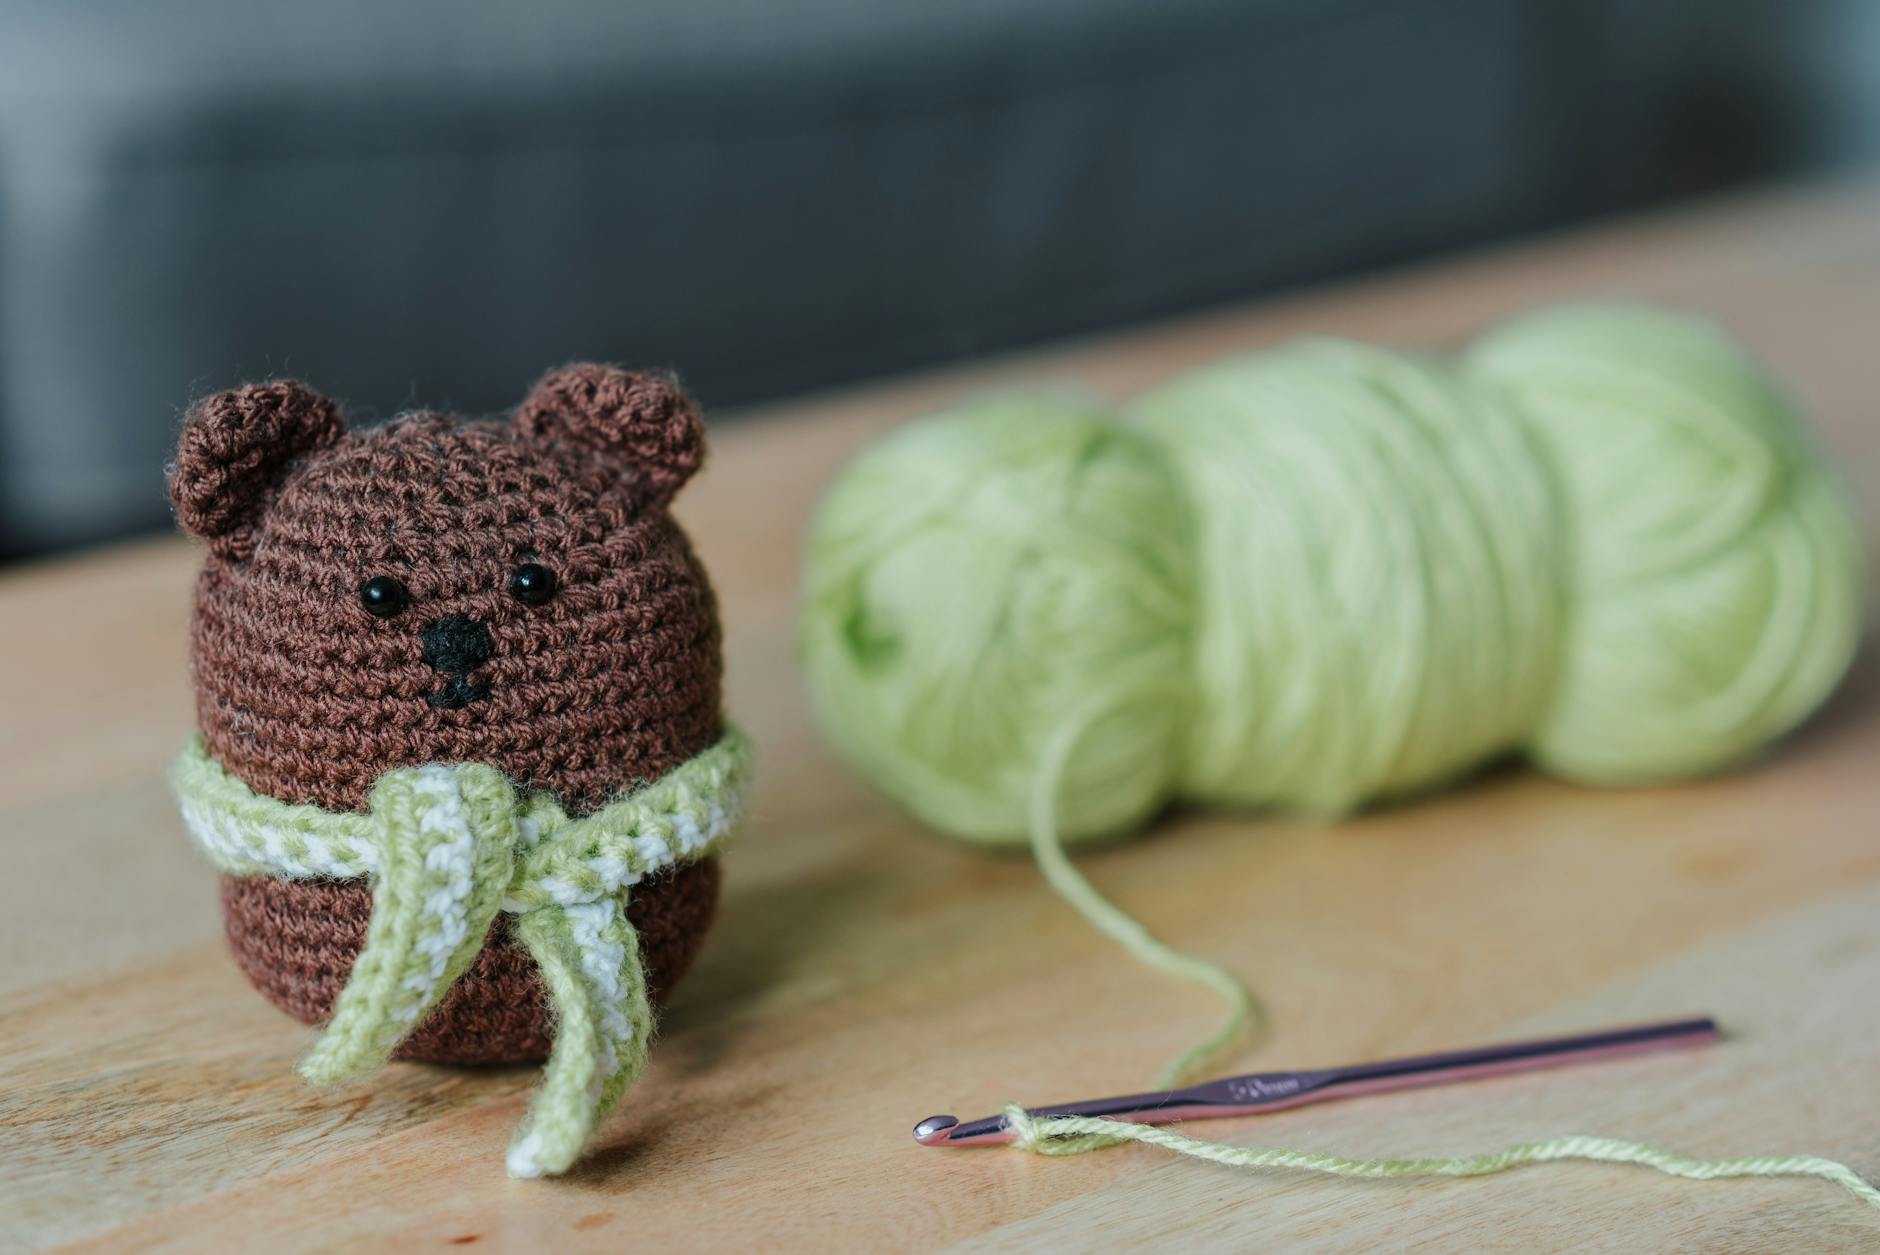
- Round bodies (bears, cats, chicks, whales)
- Stubby arms and legs
- Big heads, small bodies (kawaii style)
Avoid B (until you're confident):
- Long skinny limbs (they twist)
- Thin necks (they look weak)
- Very flat pieces sewn together (alignment shows every error)
Round shapes hide tiny tension changes. Long tubes expose them.
Pick Details That Photograph Well
Safety eyes and a simple face can be your best friend. But embroidered faces also sell well if they're clean and symmetrical.
For sales, keep details bold:
- Big eyes, simple mouth, small nose
- One accent color (like inner ears or a belly patch)
- One "signature" add-on (tiny scarf, bow, or backpack)
Save micro-details for later. They slow you down and can look messy on a first run.
Pick Patterns You Can Scale Into a Mini Collection
One product rarely makes a shop. A small collection does.
A smart beginner plan is one "base body" you can remix into 4 animals by changing ears, snout, tail, and color.
If you want patterns designed to branch like that, start with our curated options in buy unique crochet patterns for gift-worthy plushies.
Materials and Finishing: the Fastest Way to Look "Pro"
People think selling plush is about having the cutest idea. It's mostly about finishing.

Yarn Choice Matters More Than You Think
For beginner crochet stuffed animals, pick yarn that shows your stitches clearly.
- Smooth worsted or DK (a standard medium weight) is easiest for learning shape.
- Chenille/velvet plush yarn looks expensive fast, but it hides mistakes and can make it harder to count stitches.
If you use plush yarn anyway, size up your hook less than you think. The goal is still tight fabric so stuffing doesn't show.
The "No Gaps" Rule (and How to Get It)
Stuffing peeking through is a top reason plush looks homemade in a bad way.
Use these fixes:
- Use a smaller hook than the yarn label suggests.
- Use the "yarn under" method (wrap yarn under the hook) if you like tighter stitches.
- Add stuffing in small bits, not one big wad.
- Stop and massage the shape, then add more stuffing.
Tight stitches plus gradual stuffing gives that smooth toy-store look.
Eye Placement: the Make-Or-Break Detail
Even perfect stitching can look off if the eyes are placed wrong.
Our rule of thumb: place eyes, pin them, then walk away for a minute. Come back and check symmetry from three angles.
Do this before you lock anything in:
- Pin both eyes.
- Take a photo straight-on.
- Flip the photo (most phones can do this).
- If the face looks "tilted," move one eye by one stitch.
One stitch can change the whole personality.
Safety Note on Toys for Kids
If you sell plush meant for small children, be careful with small parts like safety eyes, buttons, and beads.
In the U.S., there are federal toy safety rules for children's products, including rules around small parts and labeling. If you plan to market to kids under 12, read the official overview from the U.S. Consumer Product Safety Commission (CPSC) on children's product safety.
Many makers choose embroidered eyes for kid-friendly listings. It can also become a style signature.
A Worked Example: One Plush Design, Three Price-Friendly Listings
Let's build a simple sales plan from one beginner base pattern.
The Base Build
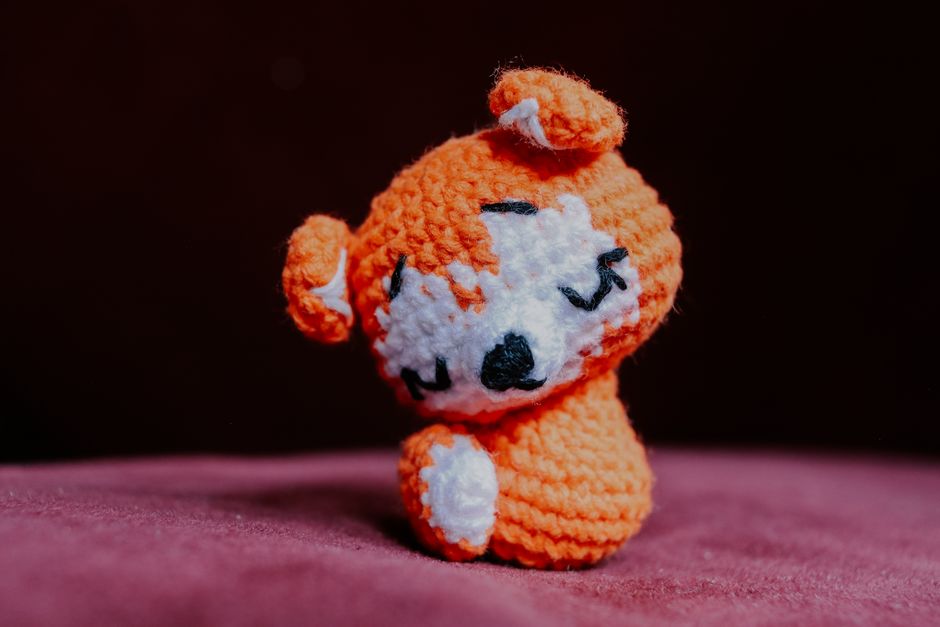
Make a chubby "bean" body:
- Round body with a slightly larger head
- Two small arms
- Two small legs
- Simple ear shapes you can swap
This is quick, repeatable, and forgiving.
Turn It Into Three "Different" Products
Listing 1: The Classic (fastest)
- Solid color
- Tiny embroidered smile
- No accessories
This is your baseline and your fastest restock.
Listing 2: The Gift Version (higher perceived value)
- Add a removable scarf or bow
- Add a second color (belly patch)
Same crochet time, but it reads as "special occasion."
Listing 3: The Personalization Add-On (highest margin)
- Add initials on the belly with surface crochet (stitching on top)
- Or add a tiny name tag
You're selling the feeling of "made for you," not extra yarn.
Pricing Without Guessing
Here's a practical way to set a price floor:
- Track how long one plush takes start to finish (crochet + sewing + face + weaving ends).
- Write down your material cost (yarn + stuffing + eyes).
- Add packaging (bag, tag, label).
- Add a buffer for time you forget (photos, messaging, listing, mistakes).
If the number feels too high for your market, don't instantly drop the price. Adjust the pattern to be faster: fewer color changes, fewer separate pieces, simpler limbs.
Underpricing is the fastest way to quit.
Common Selling Mistakes (and What to Do Instead)
New sellers usually don't fail because they can't crochet. They fail because they pick projects that don't fit selling.
Mistake 1: Making Complicated Plush Too Early
Complex shaping, lots of sewing, and tiny parts can look amazing, but it slows you down.
Build confidence with simple shapes first, then level up. If you're ready to push past basics without jumping to "impossible," our crochet patterns for advanced beginners that sell well is the bridge.
Mistake 2: Sewing That Shows
Visible seams and misaligned parts scream "first attempt."
Fix it with process, not talent:
- Pin every piece before sewing.
- Sew a few stitches, then re-check alignment.
- Use matching yarn for sewing.
- Tighten and hide ends inside the body.
Mistake 3: Too Many Options Too Soon
Ten colors, three sizes, and custom requests can trap you.
Start with:
- 2 colorways
- 1 size
- 1 personalization option (or none)
Get consistent, then expand.
Mistake 4: Photos That Don't Show Scale
Buyers want to know if it's palm-sized or pillow-sized.
Use a simple scale cue in at least one photo, like the plush in a hand or next to a mug.
A Simple Path to Unique Sales Success
Beginner crochet stuffed animals sell best when they're easy to recognize, easy to repeat, and finished clean. Pick one forgiving base shape, make it look polished, then turn it into a tiny collection with small changes that photograph well.
If you want patterns built for that "repeatable but still unique" sweet spot, explore our shop at https://artncraftartncraft.art and start with one design you can master, then own.