Crochet Stuffed Animal Patterns Free: Craft Unique Plushies You Can Sell Today
"Cute isn't enough. The plushies that sell are the ones that look like someone couldn't walk away without taking it home."
If you're searching for crochet stuffed animal patterns free, you're probably doing two things at once: trying to save time and trying to make something people will actually buy.
Free patterns can be a great start, but only if you choose the right kind for selling, make smart edits, and understand the rules around pattern use. Below is a step-by-step way to pick a pattern, make it look unique, and price it so you're not working for pennies.
Step 1: Pick a Free Pattern That Can Become a "Signature" Item
Not every free plush pattern is a good product. Some look flat in real life, some take forever, and some don't scale well when you change yarn.
Start by choosing a pattern that hits three checkboxes: clear shaping, simple parts, and room to customize.
Here's a quick decision framework we use when we test plush designs.
- Choose a simple body with one big "feature" (ears, horns, mane, tail) if you want a fast seller and easy batching.
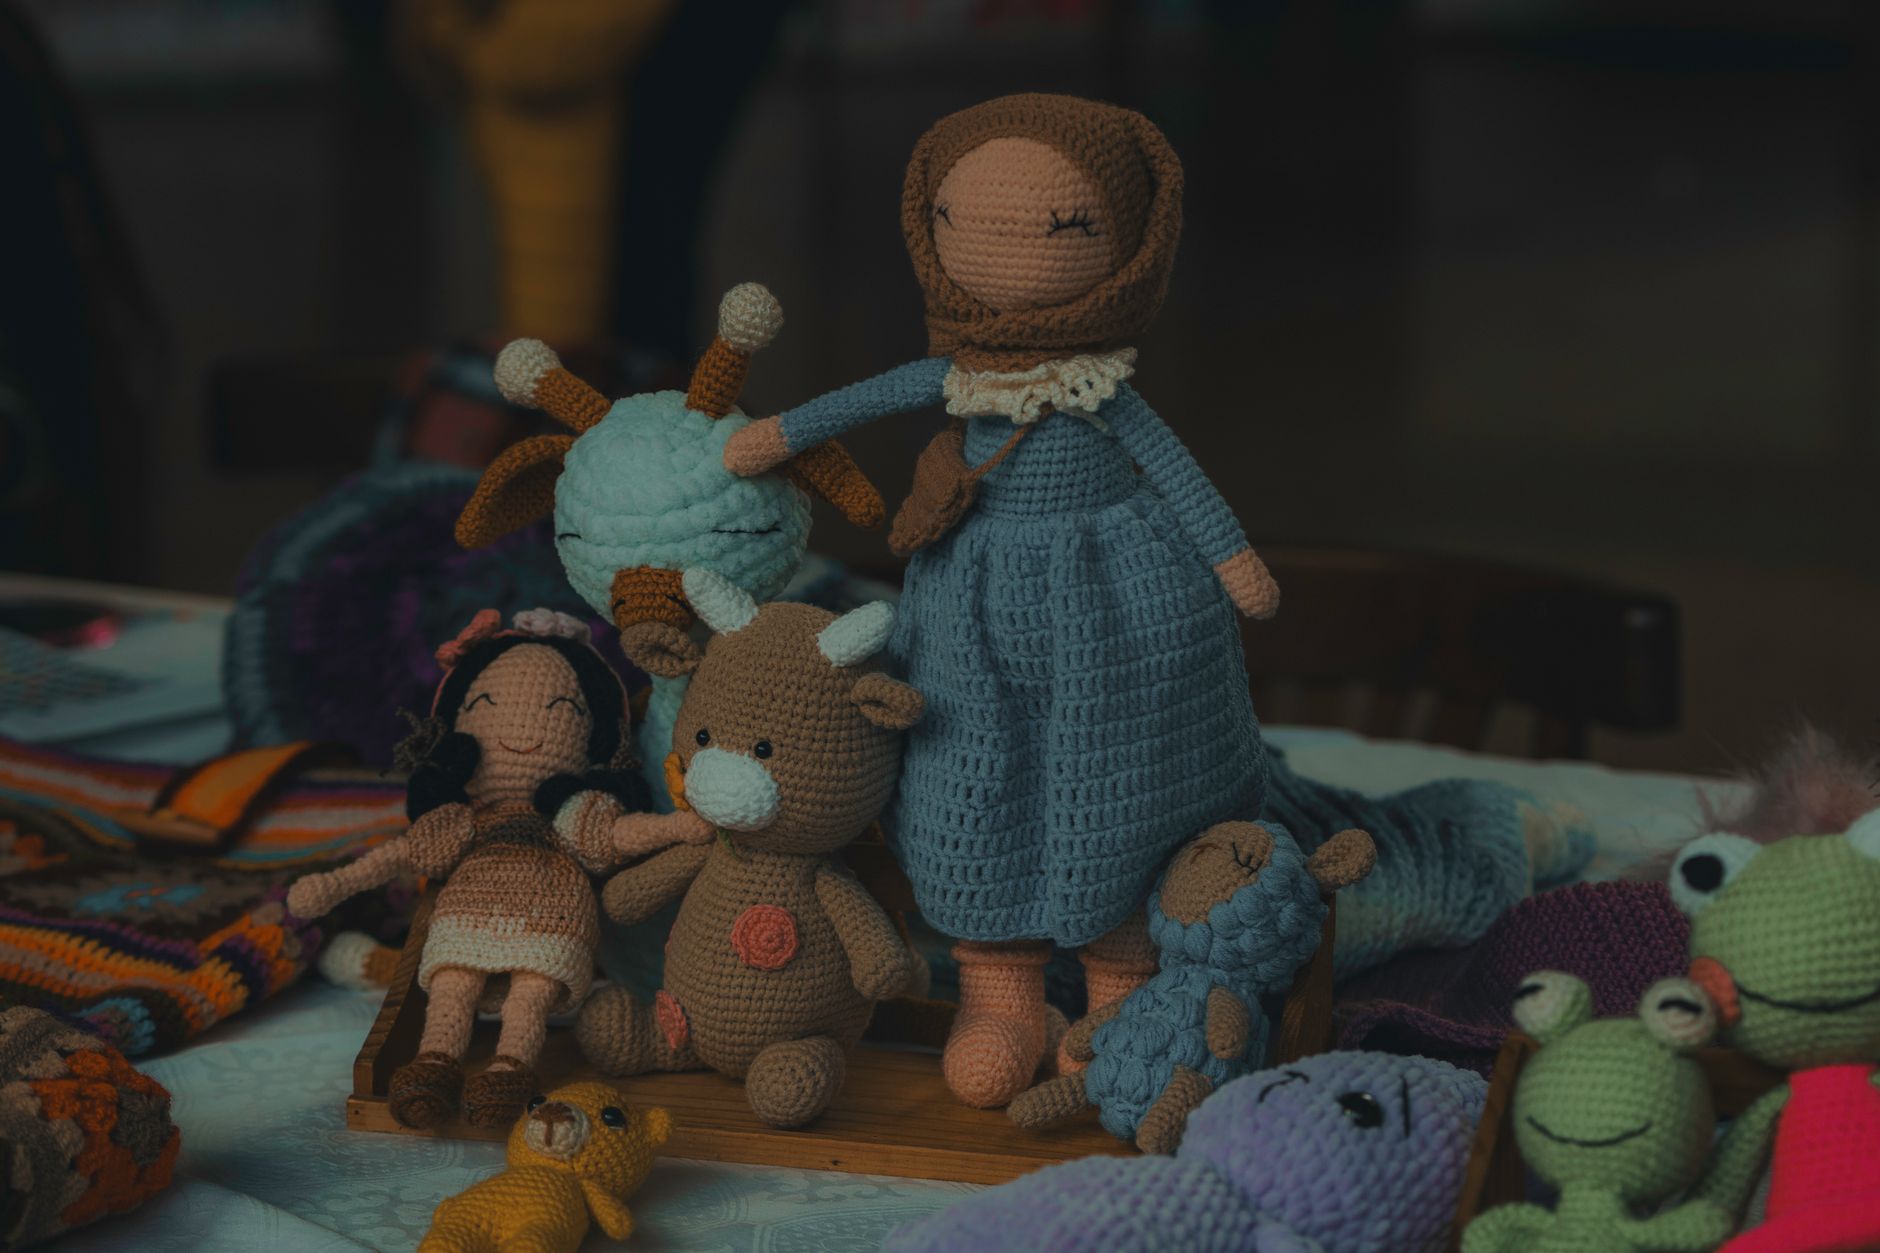
- Choose a character-style animal (frog with a hat, bear with a backpack) if you want higher prices and more "gift" appeal.
- Skip patterns with tiny fiddly parts (lots of little toes, many spikes) if you plan to sell in volume. They slow you down, and they break more often in handling.
Also, read the comments if the pattern is posted publicly. If lots of people say "mine came out huge" or "head doesn't line up," that's not a dealbreaker, but it's a warning that you'll need to adjust.
One more thing, look for patterns that tell you what stitch they use for shaping. If it's mostly single crochet (sc), that's usually best for plushies because it makes a tight fabric.
Step 2: Make It Look Original Without "Redesigning" It
Selling plushies from a common free pattern can feel risky because everyone's seen it. The trick is to change the parts buyers notice first.

You don't need to rewrite the whole design. You need 2 to 4 visible choices that become your style.
Use this order, from biggest visual impact to smallest.
- Change the yarn texture: plush/velvet yarn, boucle, or a smooth cotton all read totally different.
- Change the face: eye size, eye placement, and muzzle shape change the personality.
- Change the proportions: longer legs, a bigger head, a chubbier belly.
- Add one "story" accessory: a scarf, tiny tote bag, flower crown, sleepy cap.
Edge case that surprises newer sellers: plush yarn can hide your increases and decreases (where you add or remove stitches). That's great for looks, but it can make mistakes harder to spot while you're crocheting.
If you're switching yarn types, do a 10-minute mini test.
- Crochet a small circle with the same stitch you'll use.
- Stuff it and squeeze it.
- If you can see stuffing through holes, go down a hook size.
If you want to level up the "unique" part fast, our guide on detailed toy pattern techniques covers the shaping tricks that make plushies look professional instead of homemade.
Step 3: Build One Sellable Plush, Start to Finish (Worked Example)
Here's a concrete build that keeps time reasonable and still looks special.
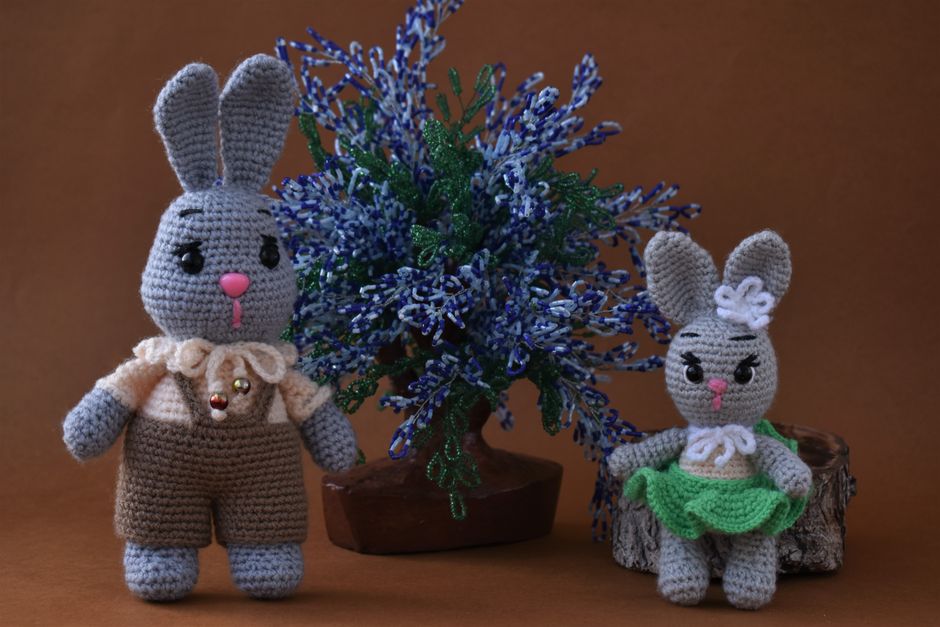
Goal: a small "pocket plush" bunny that can be made in a few sittings, sold as a gift, and customized by color.
Base pattern type: free amigurumi bunny with a round head, oval body, and two ears.
Our sell-friendly modifications:
- Yarn: worsted weight acrylic (easy care) for the main body.
- Hook: one size smaller than the label suggests, for tighter fabric.
- Face: safety eyes (or embroidered eyes for baby-safe versions), plus a small embroidered nose.
- Signature detail: one ear folded and stitched down, so it looks "floppy."
- Accessory: a removable mini scarf made from a simple chain and single crochet rows.
Production steps (the order matters):
- Crochet head and body first, then stuff and close.
- Add eyes before stuffing the head fully. Eye placement is much easier on a flatter surface.
- Crochet ears and sew them on with the plush sitting upright. This helps you avoid "ears pointing backwards."
- Embroider nose and mouth last. If you do it early, you'll distort the stitches while sewing parts.
- Add scarf as the final photo-ready touch.
Time-saving reality check: sewing is where most people lose time. If a pattern has 8 pieces, it might take longer than a "harder" pattern with 3 pieces.
Pricing thought process (without fake numbers):
- Add up your real materials (yarn, stuffing, eyes, shipping mailer).
- Track your time once, honestly.
- Decide what hourly pay makes selling worth it for you.
- Price so you can remake it without resentment.
If the price feels "too high," that's often a sign the pattern is too slow for your market. Switch to fewer pieces, thicker yarn, or a smaller size.
Step 4: Know the Rules Before You Sell Plushies From Free Patterns
This part matters, because it's where sellers accidentally step on toes.
A pattern is copyrighted writing. The finished plush you make from it is a separate item. Many designers allow you to sell the finished item, but they might ask for credit, or they might limit mass production.
Here's the safest way to handle it.
- Read the pattern's "terms of use," "copyright," or "permissions" section.
- If it says you can sell finished makes, follow the rules (credit wording, limits, no pattern sharing).
- If it says "personal use only," don't sell that exact design.
- If there are no terms listed, assume you need to be respectful. If you can, message the designer.
Also, don't repost the free pattern as your own, even with edits. Selling the plush is one thing. Repackaging the pattern text is another.
If you want patterns that come with clear selling permissions and a more "boutique" feel, we keep our paid options organized in our guide to choosing crochet pattern formats and yarn matches.
Step 5: Make Your Listings Stand Out Without Overpromising
The fastest way to lose sales is confusing photos or vague titles. The fastest way to get returns is promising "toy safe" without doing the work.
A simple listing formula works well for plushies.
- Title: animal + vibe + size (example: "Sleepy Pocket Bunny Plush, 6 inch")
- First line: what it is and what it's made of
- Second line: how it feels (soft, squishy, firm)
- Care: washable or spot clean, be honest
- Safety note: if using safety eyes, state "not recommended for children under 3"
Non-obvious photo tip: take one photo that shows scale in a clean way, like the plush in a hand, next to a mug, or beside a book. Buyers struggle with size, even when inches are listed.
If you plan to sell at markets, bring 2 to 3 colorways of the same design. People love "the one in green," but you only get that sale if the green version is physically there.
FAQ
Can I Sell Plushies Made From Crochet Stuffed Animal Patterns Free?
Often, yes, but you have to read the designer's terms. Many allow selling finished items with credit. Some don't allow sales at all.
What Yarn Is Best If I Want Plushies to Look Expensive?
Texture does a lot. Plush or velvet yarn looks high-end fast, but it can be harder to count stitches. Smooth cotton shows detail cleanly and photographs well.What's the Biggest Mistake That Makes Stuffed Animals Hard to Sell?
Loose stitches and visible stuffing. Use a smaller hook, stuff firmly, and pick yarn that holds shape.Turn One Free Pattern Into a Product Line
Free patterns are a starting point, not a business plan. Pick one design you can repeat, make a few smart changes that become your "signature," and build a small set of variations that look intentional.
If you want to move beyond basic shapes and create plushies people haven't seen everywhere, start with advanced crochet techniques for unique projects and then apply those upgrades to your next toy design.