Step by Step Crochet Patterns: Create Unique Stuffed Animals for Sale
A lot of crocheters are pricing patterns higher in 2026, and buyers are still happily paying for them. The reason is simple, people want gifts that feel personal, not copy-paste. Step By Step Crochet Patterns make that possible because they remove the guesswork and help you finish a cute stuffed animal that looks like the photos.
If you're here to create unique stuffed animals and sell the patterns (or sell the finished plush), you're in the right place. This guide walks you through what makes a stuffed animal pattern feel "premium," how to design it so beginners don't get stuck, and how to package it for sale on a Squarespace shop like mine at artncraftartncraft.art.
I'll also share practical build steps you can reuse for almost any animal. Think of it like a pattern framework you can repeat and remix.
Why Step by Step Crochet Patterns Sell so Well Right Now
Handmade plush is having a moment, but buyers don't just want a "toy." They want a character. You can see this in how people search for "crochet plush frog with accessories" or "custom name bunny." That trend makes Step By Step Crochet Patterns more valuable because the pattern needs to cover details like ears, faces, and tiny add-ons clearly.
Patterns also sell because crocheters like projects that fit into real life. A clear pattern means fewer frogged rows (undoing your stitches), less wasted yarn, and less time staring at confusing abbreviations. If your pattern helps someone finish confidently in a weekend, that's a strong reason for them to leave a good review and buy your next design.
Another reason is gifting. Stuffed animals are easy gifts for birthdays, baby showers, graduations, and "just because." A pattern that includes multiple sizes or mix-and-match parts feels like a bundle, even if it's one PDF.
Here's what buyers usually expect from a pattern that feels worth paying for:
- Clear stitch counts at the end of each round
- Photos of shaping points (muzzle, ear placement, leg joins)
- A materials list with exact yarn weight and hook size
- Notes for different yarn choices and finished size changes
- Simple troubleshooting tips for common mistakes
If you want extra inspiration for building character and detail fast, check out How to Crochet Unique Stuffed Toys.
Step by Step Crochet Patterns Workflow: From Idea to Finished Plush
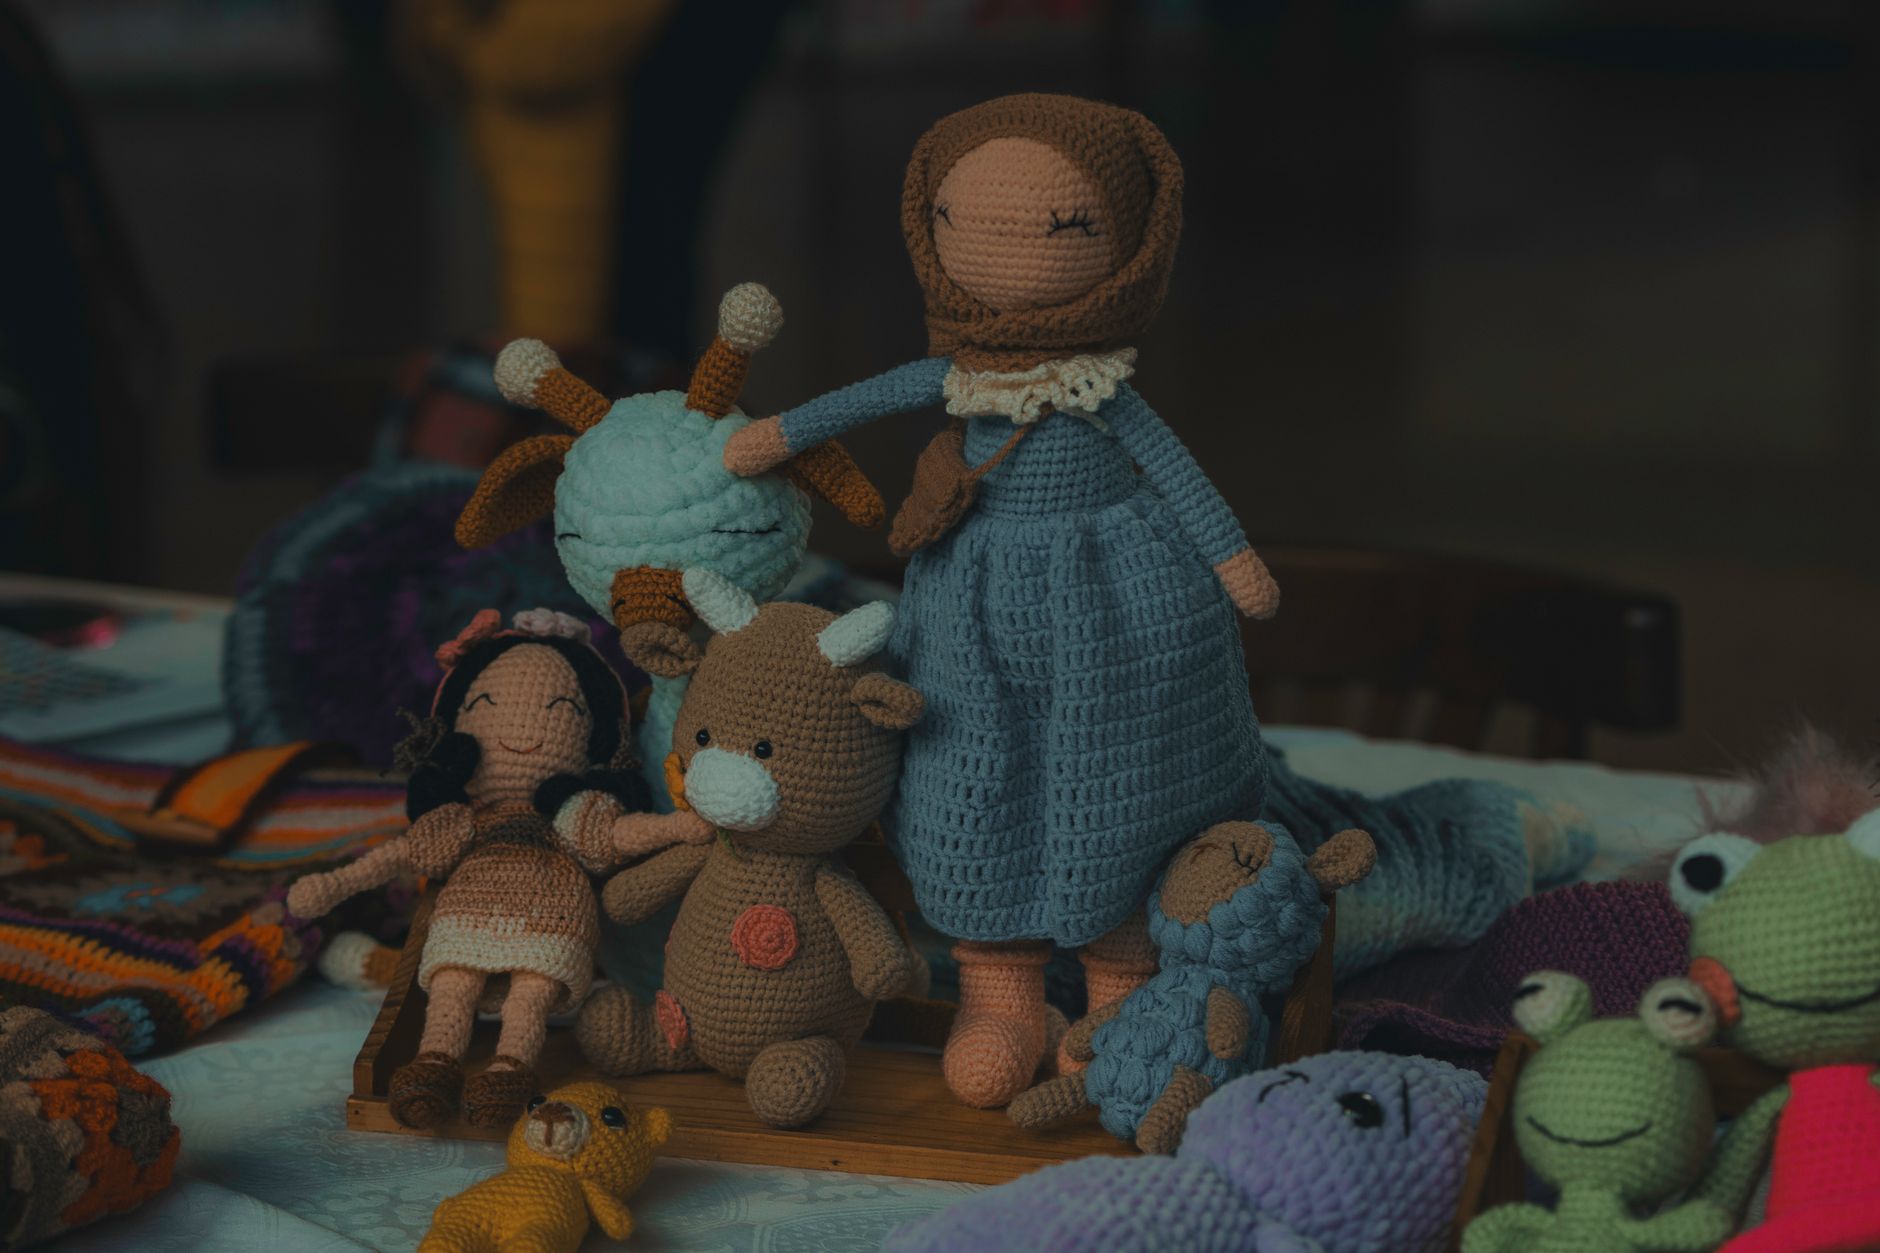
A unique stuffed animal starts with one strong concept. I like to pick one "hook," something unexpected that makes a buyer stop scrolling. It could be a grumpy face, floppy limbs, a tiny backpack, or a food theme (like a strawberry bear). Once you pick the hook, the rest of the design becomes a set of repeatable crochet shapes.
Most stuffed animals (amigurumi, which means small stuffed crochet toys) are built from the same building blocks: a sphere, a tube, and a few flat pieces. The magic is how you shape and place them. If you're selling patterns, your job is to write those building blocks in a way that feels calm and foolproof.
Here's a simple workflow I use for Step By Step Crochet Patterns, even for brand-new designs:
- Sketch the character with 3 to 5 key features (ears, tail, spots, accessories)
- Pick yarn and hook, then crochet a small test head first
- Decide the body shape (egg, pear, cylinder) and match the head scale
- Make limbs and ears, then pin them in place before sewing
- Crochet or embroider the face last, after stuffing and shaping
- Write the pattern while you crochet, not after, so you don't forget counts
- Test the pattern with at least one different yarn to check sizing notes
After you do a workflow like this a few times, you'll notice you're building a "pattern voice." That voice is what makes customers trust you.
A quick note on safety: If your plush is for babies, use embroidered eyes instead of plastic safety eyes. The U.S. Consumer Product Safety Commission shares general toy safety guidance, and it's worth reading if you sell finished items: CPSC Toy Safety.
Create Unique Stuffed Animals with a Reusable Build Formula
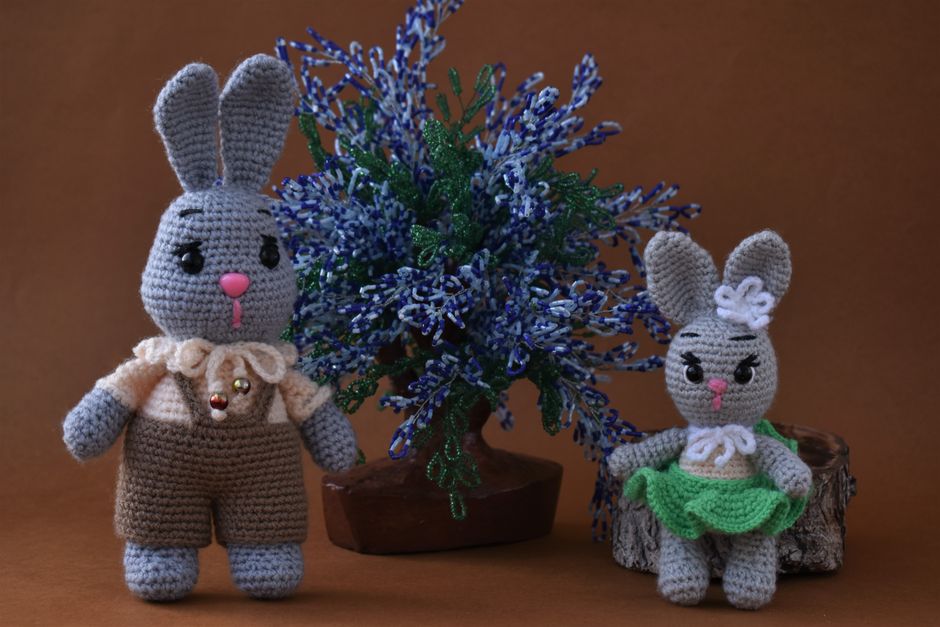
Let's get practical. You can design tons of different animals by changing only a few parts. That's great for pattern sales because it lets you release a series (bear, cat, fox, bunny) that all feel connected, like a collectible set.
Start with a "base body" pattern you can reuse. Your base can be a simple head and body combo with the same stitch rhythm. Then you swap ears, tail, snout, and color changes.
A classic base formula looks like this:
- Head: start with a magic ring (adjustable loop), increase into a sphere, then decrease
- Body: start at the bottom, increase to the widest point, then keep straight rounds, then decrease at the neck
- Legs and arms: small tubes with light stuffing so they stay squishy
- Ears and details: flat ovals or small cones depending on the animal
Now add uniqueness with "signature details." These details should be easy to explain in Step By Step Crochet Patterns, but still make the plush feel special.
Here are signature detail ideas that sell well:
- Removable outfits (tiny hoodie, scarf, dress)
- Textured stitches (bobble stitch for spots, surface crochet stripes)
- A simple prop (mini book, flower, donut)
- Two face options (sleepy eyes vs. bright eyes)
- A special tail shape (curled, fluffy, or segmented)
If you're unsure whether a detail is worth it, ask: does it change the personality from "generic" to "named character"? That's usually the difference between a free pattern vibe and a pattern someone buys.
For a good overview of beginner-friendly structure and clean instructions, you can also see Best Crochet Patterns for Beginners and notice how predictable formatting lowers stress.
How to Write Step by Step Crochet Patterns People Actually Finish
A pattern isn't just stitches, it's a guided experience. Buyers get frustrated when they hit a jump in logic. Your goal is to make each round feel like the next small win.

Start by choosing a consistent format. I like to write round-by-round with a stitch count at the end of every round. If there's a tricky part (like joining legs), I add a mini "slow motion" note with extra words. That's not fluff, it prevents support emails and refund requests.
Here's what to include in every stuffed animal pattern listing and PDF:
- Skill level (beginner, confident beginner, intermediate)
- Finished size in inches and centimeters, with the yarn used
- Abbreviations list (sc, inc, dec) and what they mean
- Materials list (yarn grams, hook size, stuffing, needle)
- Gauge note (even a simple one like "tight stitches prevent holes")
- Photo list (what steps have photos and why)
The step-by-step part is where you can stand out. Add "checkpoints" that tell the crocheter what their piece should look like.
Here are examples of checkpoints you can copy:
- "After Round 12, your head should be a smooth half-sphere."
- "Before stuffing, flatten the opening and check both sides match."
- "Pin ears first, then step back and check the face looks centered."
For stitch standards and term consistency, it helps to follow a known reference. The Craft Yarn Council has widely used crochet term guidance: Craft Yarn Council Crochet Terms.
Also, if you reference safety eyes, note placement clearly. Many makers place eyes between specific rounds, like "between Rounds 10 and 11, 8 stitches apart." This tiny detail reduces fear for beginners.
Pricing and Selling Crochet Patterns on Squarespace (Without Guessing)
Pricing patterns feels personal, but you can make it logical. Think about value, time saved, and the uniqueness of your design. If your pattern includes multiple variations (like two ear styles and three accessories), you can price higher because the buyer is getting a mini collection.
A good pricing method is to compare what similar patterns sell for, then adjust based on your extras. Digital patterns often sit in a range that reflects photo quality, clarity, and support.
Here's a simple checklist that helps you price confidently:
- Count your pages (more pages can mean more photos and help)
- Count your variations (different faces, sizes, outfits)
- Consider your testing time (did you test with multiple yarns?)
- Look at your niche (simple bees vs. detailed dolls)
- Add value with bonuses (print-friendly version, stitch tutorial links)
Squarespace makes the delivery part easy. You can sell a digital download product, upload your PDF, and write a product description that includes finished size, skill level, and what's included.
A few real shop tips that tend to increase sales:
- Use 5 to 7 photos, including close-ups of the face and any texture
- Show scale with a hand or a common object (like a mug)
- Write a "what you'll learn" section in the description
- Add a clear refund policy for digital items
For policy guidance, it's smart to read the platform's own rules so your shop stays smooth. Squarespace explains digital product setup and delivery here: Squarespace Digital Products.
FAQ Step by Step Crochet Patterns for Stuffed Animals
What Makes Step by Step Crochet Patterns "Easy to Follow" for Beginners?
Easy-to-follow patterns remove hidden steps. They include stitch counts every round, clear joining instructions, and photos at the exact moments shaping changes. They also explain the "why" in short notes, like reminding you to keep stitches tight to avoid stuffing showing through. If a beginner can stop mid-project and restart without confusion, the pattern is doing its job.

How Do I Make My Stuffed Animal Pattern Look Unique Without Making It Hard?
Change one or two features, not everything at once. Keep the head and body simple, then add personality with ears, a tail, and a signature accessory. Small touches like embroidered eyebrows, a belly patch, or a removable scarf can make the plush feel original. The key is to explain each extra detail in a calm, step-by-step way.
Should I Use Safety Eyes or Embroidered Eyes for Crochet Plush?
For gifts meant for kids under three, embroidered eyes are the safer choice because they can't pop off. Safety eyes can work for older kids and adult collectors, but you still want to install them correctly and double-check the backing. Many sellers offer two options in the pattern, which also increases the value for buyers.
How Many Photos Should I Include in a Crochet Stuffed Animal Pattern Pdf?
Include photos wherever the shape changes or a choice could confuse someone. That usually means the first rounds, the widest part of the head, any leg joins, face placement, and accessory assembly. For a typical plush, 8 to 15 helpful photos is a solid range. Clear photos can reduce customer questions and lead to better reviews.
Can I Sell Finished Stuffed Animals Made From My Own Patterns?
Yes, and it can be a great way to market the pattern at the same time. If you designed the pattern, you control the terms, and you can state them clearly in your listing. If you're using someone else's pattern, read their license terms first because some designers limit finished item sales. Either way, your photos and branding should be your own.
Your Next Plush Can Be a Best Seller
The fastest way to build a pattern shop is to create one solid base design and then release variations that feel like a themed set. Step By Step Crochet Patterns help you do that because they turn your creative idea into something other crocheters can actually finish and feel proud of.
If you want a quick next step, pick one animal, choose one signature detail (like a tiny outfit), and write your pattern while you crochet the sample. Then test it once with a different yarn, fix the confusing parts, and list it on your Squarespace store with clear photos.
If you'd rather skip the trial-and-error phase and see how a polished listing is structured, explore Buy Unique Crochet Patterns Online for examples you can model, then come back and build your own unique plush collection.