
How to Crochet Unique Stuffed Toys: Master Detailed Patterns Fast
"Details are what make a toy feel alive, not just cute." That's the rule I stick to every time I design a stuffed bear snout, a tiny dragon horn, or a wobbly octopus smile.
How to Crochet Unique Stuffed Toys comes down to three things you can control today, stitch choice, shaping, and finishing. If you've ever made an amigurumi (crocheted stuffed toy) that looked flat, lumpy, or a little "meh," this guide is for you. You'll learn how to pick the right yarn, read patterns like a pro, and add small details that make people say, "Wait, you MADE that?"
If you want a deeper starter path, bookmark How to Crochet Stuffed Toys step-by-step for extra basics and practice rounds.
Start with Materials That Make Details Pop
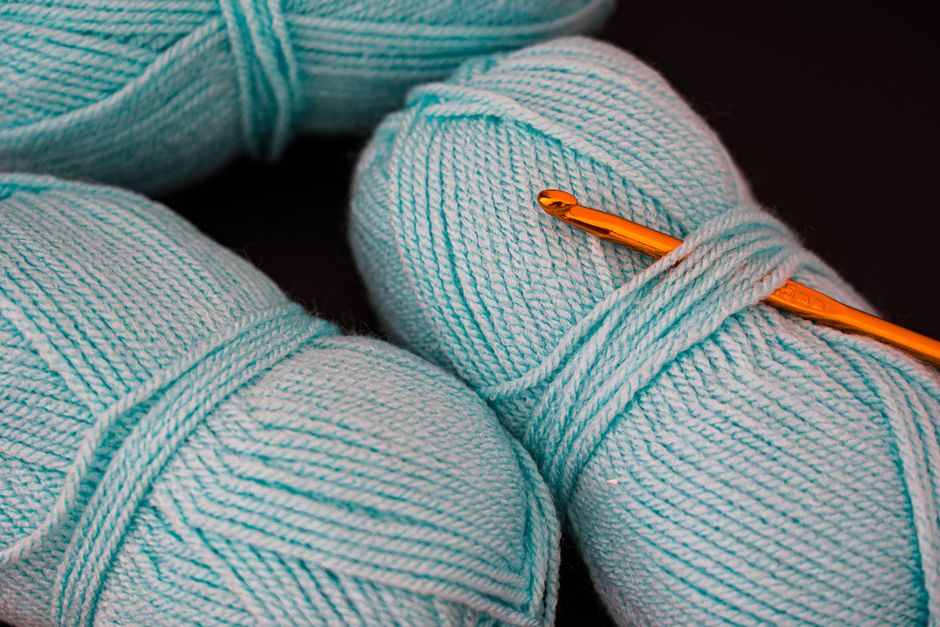
Unique stuffed toys start with smart supplies, not complicated ones. The biggest mistake I see is using a fuzzy yarn that hides stitches. That's cozy for blankets, but it can blur faces and limbs. Pick a smooth yarn first so your increases and decreases show cleanly.
If you're shopping your stash, focus on texture, thickness, and stretch. Cotton yarn gives crisp stitches and sharp edges. Acrylic can be springy and forgiving, which helps if your tension changes mid-project. For tiny details like eyelids or toes, embroidery floss or thin cotton thread can add clean lines without bulk.
Here's the simple supply checklist I use for most detailed toys:
- Smooth worsted or DK yarn in main color (DK is great for smaller, tighter toys)
- Crochet hook 0.5 to 1.5 mm smaller than the yarn label suggests (tighter fabric, fewer gaps)
- Polyester fiberfill stuffing (easy to wash and widely available)
- Stitch markers (one for the round start, one for counting repeats)
- Tapestry needle for sewing pieces and weaving ends
- Safety eyes or black thread for stitched eyes
- Optional: pins for "auditioning" placement before you sew
If you want a full, updated kit rundown for 2026 makers, see crochet supplies and materials you actually need.
You'll also hear a lot about safety eyes. They're fast and cute, but they're not ideal for babies who mouth toys. The U.S. Consumer Product Safety Commission has general toy safety guidance that's worth reading if you sell or gift toys to kids (CPSC). For little ones, stitched eyes are usually the safer choice.
Read Detailed Patterns Like a Designer (Not Just a Follower)
Detailed patterns look "advanced," but they're mostly just organized. Once you understand the pattern logic, you stop feeling lost when you see long rounds, shaping notes, or "work even" sections. That's the shift that helps you master How to Crochet Unique Stuffed Toys.

Most stuffed toy patterns use spirals (continuous rounds), not joined rounds. That means your round start moves unless you use a marker. If your face details keep sliding to the side, it's usually because the round start drifted and you didn't account for it.
Before you crochet a single stitch, scan the pattern for these things:
- Finished size and yarn weight, so you can match the designer's scale
- Abbreviations list (sc, inc, dec, BLO, FLO, etc.)
- Placement notes, like "attach eyes between rounds 10-11"
- Assembly order, because sewing sequence affects shape
Then use this quick "pattern translation" method:
- Highlight all increase rounds (inc) and decrease rounds (dec)
- Circle any special techniques (BLO, bobble, popcorn, surface slip stitch)
- Count stitch totals at the end of each round to catch mistakes early
- Write a tiny note about what the round is doing (widening, narrowing, shaping a curve)
If you're new to reading stitch shorthand, the Craft Yarn Council has a solid abbreviation reference you can trust (Craft Yarn Council).
After you get comfortable, you can start editing patterns on purpose. That's where "unique" really begins. Add two more rounds to make a longer neck. Shift an increase section by 2 stitches to rotate a snout. Swap a plain belly for a contrasting patch. Small tweaks can change the whole personality.
Shape, Sculpt, and Detail: the "Master Detailed" Toolkit
Great toys aren't only stitched, they're sculpted. Your hook makes fabric, but your shaping choices make character. The difference between a basic blob and a collectible-style toy is usually in the curves, the face, and the finishing.
Use Tension and Hook Size as a Design Lever
Tighter stitches make cleaner toys. They also help stuffing stay inside, which matters for durability. I normally size down my hook so the fabric feels firm, like a soft sneaker, not like a loose sweater.
If your hands get tired, don't force it. Instead, try a yarn that glides better, or reduce friction with a comfortable hook handle. Consistent tension matters more than speed.
Add "Invisible" Structure Inside the Toy
You can make a toy stand up, hold a pose, or keep a round head from going pear-shaped. It's not magic. It's internal structure.
Here are a few structure tricks that work well:
- Stuff in layers, add small tufts, then shape with your fingers before adding more
- Add a small stuffing "core," a tight ball, then wrap softer stuffing around it
- Use weighted poly pellets in a sealed pouch for a stable base (for display toys)
- Insert a pipe cleaner armature (wire frame) only for adult collectibles, not baby toys
A small note on pellets and wire, they can be unsafe for kids if not sealed well. If you sell items, label them clearly.
Make Facial Features Look Intentional (Not Random)
Faces are where people fall in love. Even if your stitches are perfect, eyes placed one round too high can change "sweet" into "surprised." I like to pin safety eyes or mark stitched-eye points before committing.
Try this simple face-planning approach:
- Find the center line of the head (use a yarn tail as a guide)
- Place eyes first, then nose, then mouth
- Step back and look from three angles (front, side, top)
- Only then, lock it in with washers or stitches
For a "master-detailed" look, add small sculpting. You can use a long strand of yarn to pinch cheeks, define a muzzle, or dent eye sockets. It takes five minutes and looks like you spent an hour.
Upgrade Details with Stitch Choice
Different stitches create different textures. You don't need many, but you should know what each one does.
Here are easy stitch upgrades that add detail fast:
- BLO (back loop only) creates a ridge, great for turtle shells and hat brims
- FLO (front loop only) leaves loops for adding later details like frills
- Bobble stitch makes bumps, perfect for toes or dragon spines
- Surface slip stitch draws clean lines for smiles, eyebrows, and seams
If you want to practice these without wasting yarn, crochet a small "texture swatch" square. Then reuse it as a coaster or scrap saver.
Case Study: Turning a Basic Teddy Into a One-Of-A-Kind Character
Let's do a real example so you can see how creators think. Say you have a simple teddy pattern: round head, tube body, basic limbs. It's cute, but it looks like every other bear online.
Your goal is not to reinvent crochet. Your goal is to add identity. I like to do that with one bold feature, one texture detail, and one "story" accessory.
First, pick the bold feature. Maybe the bear has sleepy eyelids, a long snout, or oversized paws. Changing proportions is the fastest path to uniqueness. If you add two rounds of increases in the paws, your bear becomes "clumsy and lovable." If you narrow the muzzle earlier, it becomes "fox-like and sly."
Next, add a texture detail. This is where you can switch yarn for one section, like a fluffy belly patch. Or you can keep the same yarn and use stitch texture. For example, add a BLO ridge around the belly to frame a contrasting patch.
Then add a story accessory, something small that suggests a personality. A tiny satchel, a scarf, or a book. This is also where gift value jumps. People don't only see a toy, they see a character.
Here's the exact mini-plan I'd use:
- Crochet the head as written, but add eye sockets with light sculpting thread
- Move the eyes 1 round lower for a calmer, "baby" look
- Make the muzzle 2 stitches wider on the last increase round
- Add a belly patch with a slightly lighter shade, then surface stitch a border
- Crochet a small scarf with simple rows, then add a tassel
After that, you've got a bear that looks like it belongs in a storybook. This is How to Crochet Unique Stuffed Toys in the real world. You're not just following steps, you're making choices.
If you want gift-focused ideas that pair well with toys, see best crochet patterns for gifts that feel custom-made.
Make Your Toys Look Polished (Assembly, Seams, and Finishing)
Assembly is where "homemade" can turn into "handmade." If your pieces are slightly uneven, sewing can fix it. If you rush sewing, it can ruin perfect crochet.
I always block (shape) pieces with my hands before stitching. You don't need steam or mats for most amigurumi. You just need to gently press and round the fabric so seams land where you want.
Use pins to hold limbs in place. Then check symmetry by looking from the top down. If one arm is even a half stitch off, it'll show.
Here's a sewing sequence that keeps shapes stable:
- Attach facial features to the head first (eyes, nose, mouth, blush)
- Sew head to body with strong whip stitches, add extra stitches at stress points
- Attach legs next so the toy can sit or stand evenly
- Sew arms last, because they can hide small seam lines
- Add accessories and final details, like tail, ears, or spots
For finishing, weave in ends deep inside the toy, not just under a few stitches. Pull the yarn tail through, exit at a different spot, then trim. The tail retracts inside and stays hidden.
One more polish trick, light blush. A tiny bit of pink yarn, or even a safe cosmetic blush for display toys, adds warmth to cheeks. If the toy is for kids, skip makeup and use stitched blush instead.
Finally, if you plan to sell patterns or finished toys, keep an eye on marketplace trend shifts. A 2025 trend across many handmade categories is "micro-collectibles," small, detailed items people can display on desks. Etsy's annual trend reports often highlight personalization and character-driven gifts, which pair perfectly with detailed stuffed toys (Etsy Trends). Use that as inspiration, not a copy plan.
FAQ
How Long Does It Take to Crochet a Unique Stuffed Toy?
Most small stuffed toys take 3 to 8 hours once you know the basics. A highly detailed toy with color changes, sculpting, and accessories can take 10 to 20 hours. Your yarn choice and hook size matter too. Smaller yarn usually means more stitches and more time.

What Yarn Is Best for Detailed Amigurumi Toys?
Smooth cotton or cotton blends are great for detail because the stitches look crisp. Acrylic works well too, especially if you want a softer squeeze and easy washing. Avoid very fuzzy yarn while you're learning, since it hides stitch definition and makes counting harder.
How Do I Keep Stuffing From Showing Through?
Use a smaller hook than the yarn label suggests and keep your tension firm. Add stuffing in small amounts, then shape it with your fingers before adding more. Overstuffing makes gaps open up. If gaps still show, switch to a slightly thicker yarn or tighten your stitches.
Can I Sell Toys I Make From a Pattern I Bought?
Many designers allow selling finished items in small batches, but rules differ. Always read the pattern's licensing note. If it's unclear, message the designer and keep a screenshot of the permission. Selling the pattern itself or reposting it is almost never allowed.
What's the Easiest Way to Make My Toy Look "One of a Kind"?
Change one major proportion and add one signature detail. For example, bigger feet plus a stitched heart patch, or longer ears plus eyelids. You can also create a color story, like matching scarf and belly patch, so it feels designed. Small choices stack up into a unique look.
Your Next Toy: Pick One Detail and Start Today
How to Crochet Unique Stuffed Toys gets easier the moment you stop trying to make "the perfect toy" and start trying to make "a specific character." Pick one pattern you already like. Then choose one upgrade, a new face shape, a textured belly, or a simple accessory that tells a story.
If you want to go even deeper, build a small notebook of experiments. Track hook size, yarn brand, and what you changed. After a few toys, you won't just follow detailed patterns, you'll write your own.
If you're ready for your next pattern shopping step, visit How to Crochet Unique Stuffed Toys patterns online and grab something that matches the character you're itching to make.