How to Crochet Unique Toys: One-Of-A-Kind Patterns You Can Sell
Your toy looks cute in your hand, but the photo feels flat. Then you scroll a marketplace and see ten versions that look almost the same. That's the real problem you're solving when you search how to crochet unique toys.
Uniqueness isn't luck. It's a set of choices you can repeat, like shape, texture, character details, and how the toy "reads" from six feet away. We design crochet toys and patterns for a living, and the toys that sell best are the ones with a clear idea and clean execution.
How to Crochet Unique Toys (Without Inventing a New Stitch)
You don't need rare techniques to make a toy feel original. You need a strong "signature" that's easy to see in a thumbnail and even better in real life.
Here's the checklist we use when we want a toy to look like nobody else's.
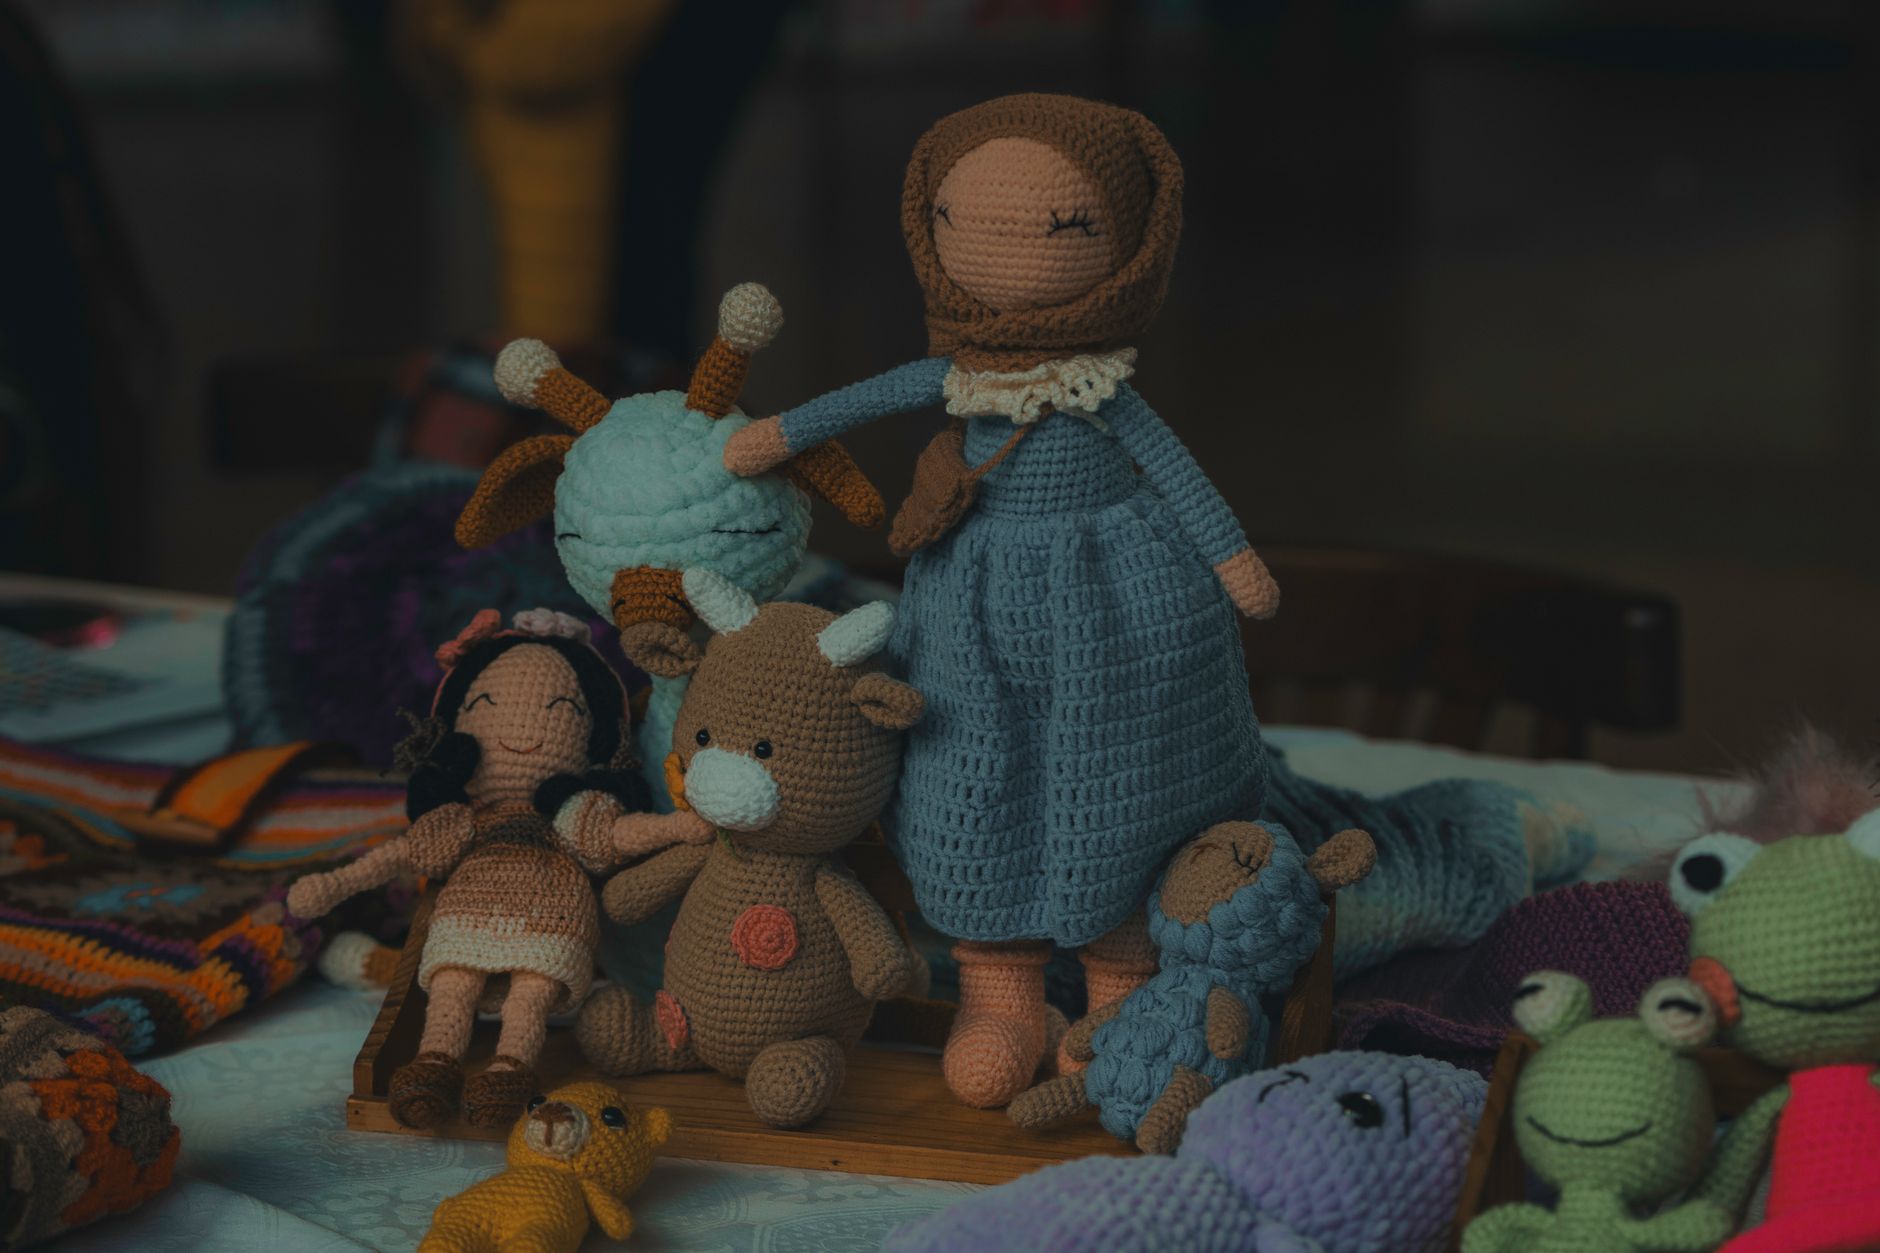
- A clear silhouette: Big head and tiny body, long limbs, a chunky tail, oversized ears, or a weird little hunch. Silhouette is what makes someone stop scrolling.
- One standout texture: Bobbles on cheeks, a ridged belly, loop stitch "fur", or crocodile stitch "scales". Pick one hero texture, not five.
- A tiny design twist: A mismatched ear, a heart-shaped nose, a droopy eye patch, a pocket on the belly, or a removable accessory.
- A limited color story: 2 to 4 colors that feel intentional. Too many colors can make even good work look messy.
- An "identity prop": A mushroom hat, a mini backpack, a scarf with tassels, or a little book. Props turn "bear" into "bear with a job."
A quick trade-off that most people miss: the more tiny pieces you add, the more time you spend sewing, and the harder it is to make each toy consistent.
If you want a toy that's still fun to make in batches, keep your uniqueness in the shape and surface texture, then limit accessories to one removable piece.
A Worked Example: Turning a Basic Bunny Into a One-Of-A-Kind Toy
Let's take the most common base: an amigurumi bunny. If you sell patterns, this is a great test because it's crowded. Your goal is to make it feel new in three changes, not twenty.

Step 1: Change the Silhouette (Fastest Uniqueness Win)
Keep the same head size, but change the body to a pear shape and add a slight belly.
- Head: standard sphere
- Body: start like a sphere, then increase slower, and add a few extra rounds at the widest point before decreasing
That tiny "toddler belly" makes the bunny read as a character, not a generic animal.
Step 2: Add One Signature Texture Panel
Add a ribbed belly panel using back loop only (BLO) single crochet.
- Mark a 6 to 10 stitch section on the front of the body
- Work those stitches in BLO for every round
From the front, it looks like a sweater texture, even if the bunny is naked. That's a photo-friendly detail.
Step 3: Give It an Identity Prop That's Easy to Repeat
Make a removable bonnet with a chin tie.
- Use simple increases to form a half-dome
- Add two chains for ties
Now it's not "a bunny." It's "a sleepy bedtime bunny." That identity helps buyers picture it as a gift.
Pattern-Seller Bonus: Make the Twist Measurable
If you write patterns to sell, "add a belly" is too vague. Use repeatable instructions:
- "Work BLO sc in stitches 7 to 16 of each round for 14 rounds."
- "Bonnet fits a 36-stitch head round, adjust by adding one increase round."
Clarity reduces customer questions and bad reviews, and it makes your design feel professional.
If you want to push the realism further, our guide on complex stuffed animal shaping and details goes deeper on structure, not just decorations.
Decide What to Sell: Pattern, Finished Toy, or Both
A lot of crocheters try to do everything at once, then burn out. You'll make better toys (and better listings) if you pick a primary path.

Use this decision framework.
Choose Patterns If You Like Designing and Explaining
Patterns are a good fit if you enjoy:
- Testing and tweaking until the shape is "right"
- Writing clean steps and labeling parts
- Answering technique questions
Practical tip: your uniqueness should be easy for other crocheters to reproduce. A design that requires perfect tension or super specific yarn can lead to frustrated buyers.
Choose Finished Toys If You Like Making and Shipping
Finished items are a good fit if you enjoy:
- Repeating the same build with consistent results
- Photographing the toy like a product
- Packing and shipping carefully
Practical tip: limit the number of parts to sew on. Sewing is where most time leaks happen.
Choose Both Only If You Can Separate Your Workflows
Both can work if you treat them like two products.
- Patterns: schedule time for writing, tech editing (a careful proofread), and making clean step photos
- Finished toys: schedule time for production batches, then list and ship
If you mix them in the same week without a plan, you'll end up with half-written patterns and half-finished toys.
For more design-forward pattern thinking, advanced ways to build your own unique patterns is a helpful next step.
Make Your Toy Stand Out in Photos (so It Actually Sells)
A unique toy can still look generic if the photos don't show the "special part." Most buyers decide from the first image, and they zoom in on the face and texture.

Here's what we build into a toy design so it sells well online.
- One "thumbnail feature": Oversized ears, a dramatic hood, a big tail, or contrast cheeks. If it can't be seen small, it won't stop the scroll.
- Face contrast: Use a lighter muzzle, blush cheeks, or embroidered eyelids. A face that reads clearly sells better than a face that's technically detailed.
- Texture placement: Put texture on the front, not the back. Ridges on the belly beat fancy stitches on the spine.
- Scale cues: Photograph next to a mug or your hand so buyers know the size.
A non-obvious caveat: safety eyes and small attachments can be a choking hazard for young kids.
If you sell finished toys, consider embroidered eyes or securely stitched features for "kid-safe" designs, and be clear in your listing about who the toy is intended for. For U.S. sellers, children's products can fall under federal safety rules. The starting point is the CPSC guidance for children's products.
Pricing Your One-Of-A-Kind Crochet Toy (Without Guessing)
Pricing is where many sellers underpay themselves. A unique design often takes longer, so your price needs to reflect that.
Use a simple method that keeps you honest.
- Time cost: Track how long the toy really takes, including sewing and finishing.
- Materials cost: Yarn, stuffing, eyes, thread, and packaging.
- Complexity bump: Add extra for heavy sewing, multiple color changes, or advanced texture.
- Consistency check: Make sure you can repeat it without hating your life.
If your toy only sells at a price that feels too low for the hours, simplify the design.
Good simplifications that keep the "unique" feel:
- Replace many small appliqués with one bold color block
- Swap fiddly fingers for mitten hands
- Use embroidered details instead of extra pieces
Uniqueness should raise perceived value, but it shouldn't make the toy impossible to produce.
A Simple Uniqueness Checklist Before You Publish or List
Run this before you write the final pattern or post your listing.
- The toy is recognizable from a thumbnail
- There's one signature feature (shape, texture, or prop)
- The face reads clearly in a photo
- The number of sewn parts is realistic for repeat making
- The uniqueness is described in one sentence (your listing headline)
If you can't describe the toy in one sentence, the design usually needs one stronger idea and fewer small ideas.
If you want us to turn your wild idea into a pattern you can actually sell, check out the patterns and designs we publish at https://artncraftartncraft.art, and keep an eye on new drops. We build toys to be memorable, makeable, and worth the time.