How to Crochet Stuffed Animals: Master Advanced Techniques for One-Of-A-Kind Amigurumi
A lopsided head, wobbly legs, and a face that looks "off" can happen to anyone. If you've ever searched How to Crochet Stuffed Animals and still felt stuck at the "why doesn't mine look like the photo?" stage, this guide is for you. You'll learn the advanced moves that make plushies look polished, like clean shaping, invisible color changes, and strong joints that hold a pose.
The goal is simple: you'll be able to design or customize unique stuffed animals, not just follow a basic pattern. You'll also get a step-by-step workflow you can reuse for any creature, from a tiny frog to a long-bodied dragon.
Plan Your Unique Stuffed Animal Like a Designer
Great results start before you make your first stitch. Advanced amigurumi (crocheted stuffed toys) looks "professional" because the maker planned the silhouette (overall shape) and the fabric (how tight and smooth the stitches look). You don't need fancy software. You need a clear idea of scale, body proportions, and how parts will connect.
Pick a "hero feature" that makes the animal special. Maybe it's extra-long ears, a chunky snout, or embroidered sleepy eyes. Then decide what must be firm (like a standing body) versus floppy (like a tail). This shapes your choices for yarn, hook size, and stuffing.
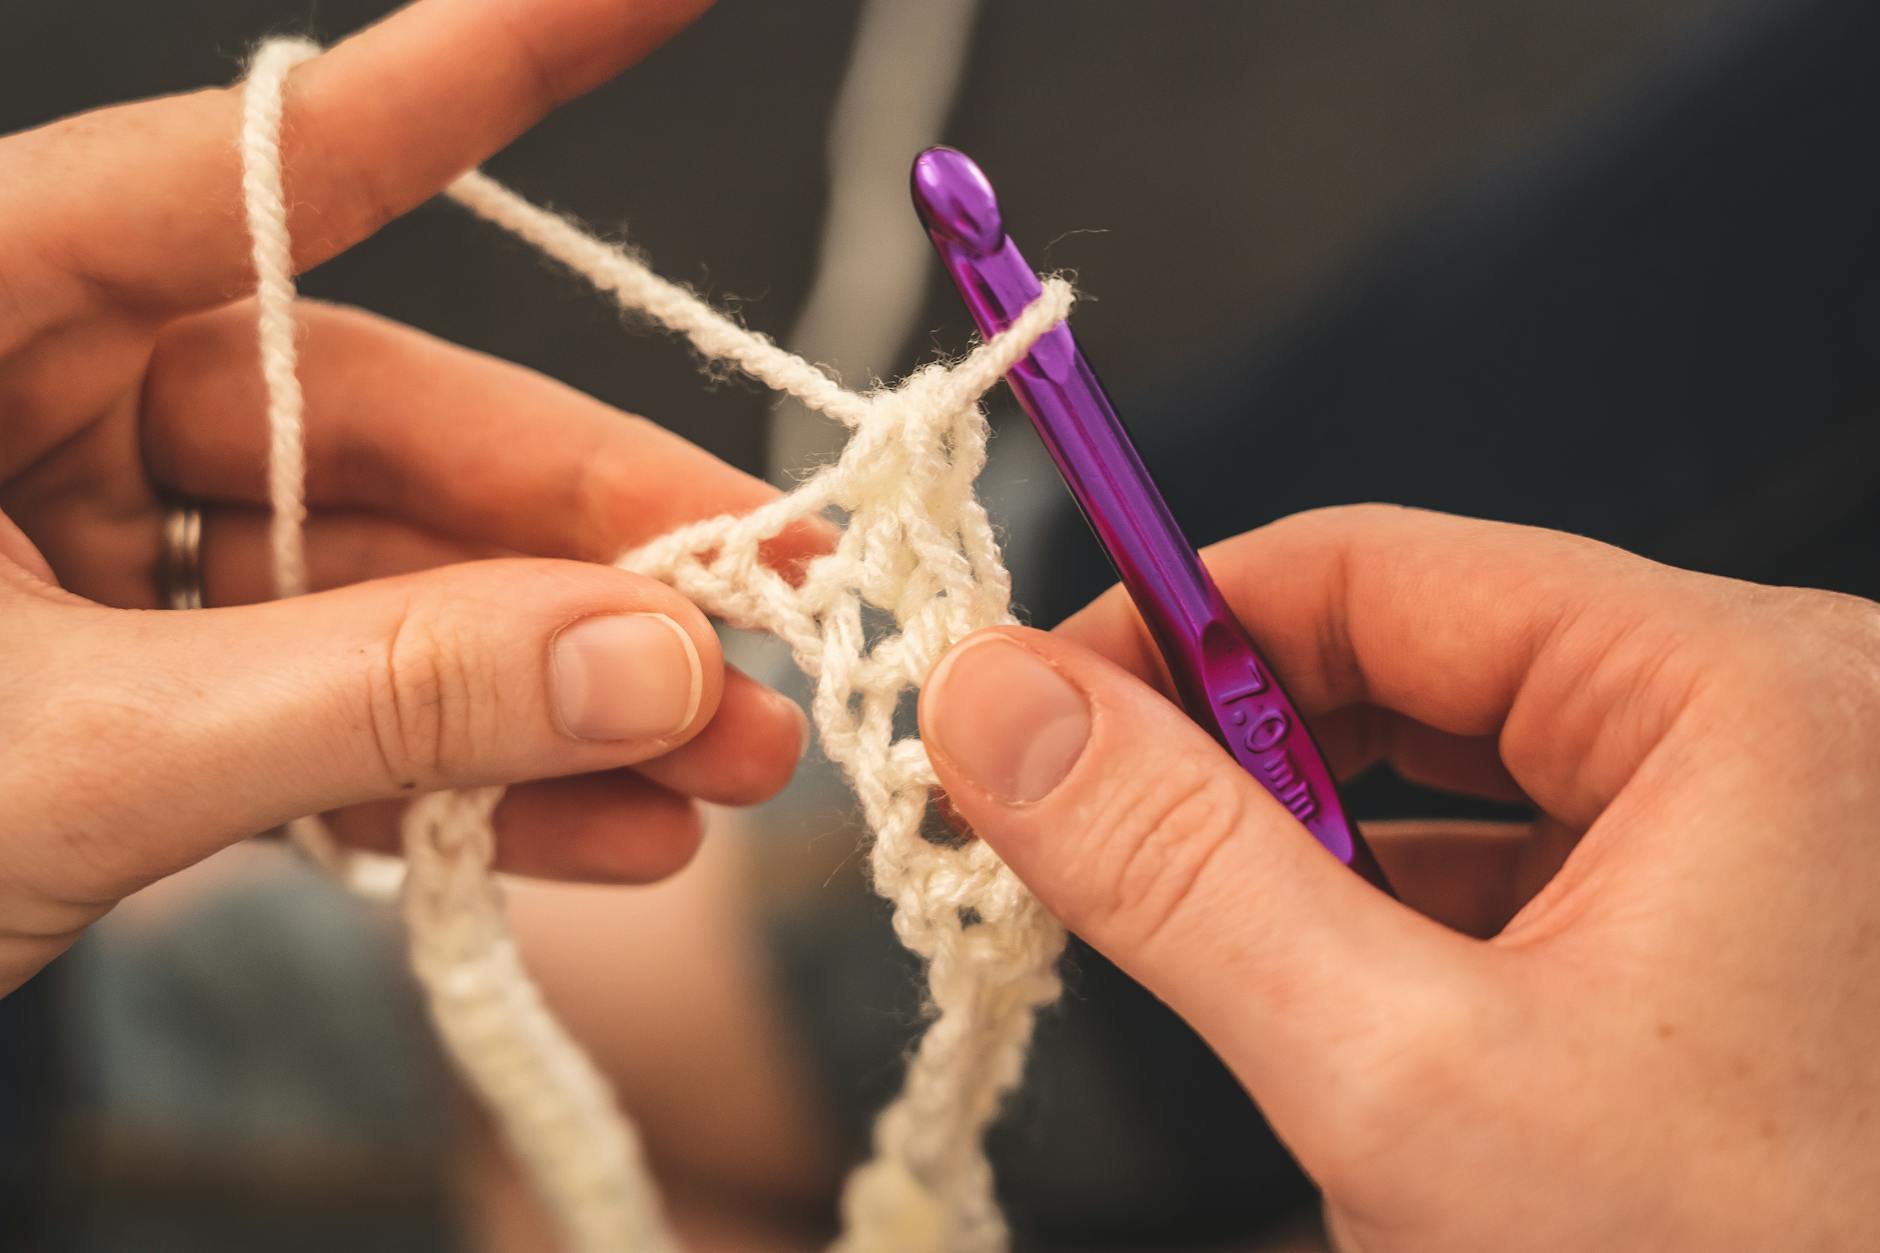
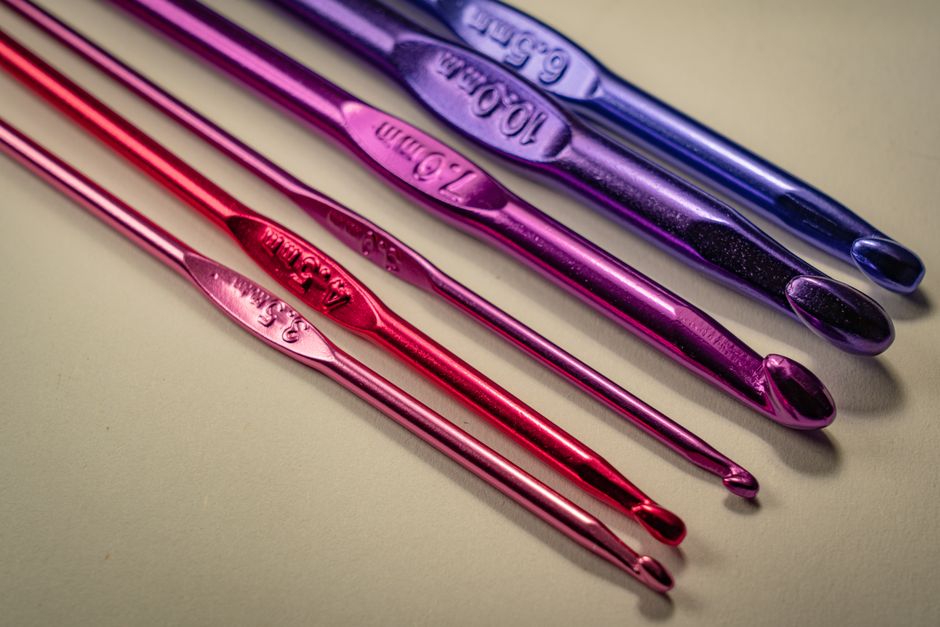
If you want a quick refresh on supplies and what each tool actually does, check crochet supplies and materials.
Here's a planning checklist that saves time later:
- Choose the finished height (6 inches, 10 inches, or larger)
- Decide the pose (sitting, standing, curled, flying)
- Sketch simple shapes (sphere head, oval body, tubes for limbs)
- Mark where weight should go (bottom-heavy for standing toys)
- Pick a stitch "texture" (smooth single crochet, bobbles, faux fur)
- Decide safety needs (embroidered eyes for babies, safety eyes for display)
After you plan, you'll notice patterns make more sense. You'll also start spotting which steps are "style choices" and which steps are "structure."
Build Cleaner Shapes with Advanced Shaping Techniques
Most people learning How to Crochet Stuffed Animals focus on counting stitches, but shaping is what makes your animal look alive. The big leap is learning to control curves and angles on purpose. That means placing increases and decreases in a way that hides them and creates smooth lines.
Use invisible decreases (often called inv dec) to avoid little bumps. Many designers use the front loops only method so the decrease blends into the fabric. If your pattern calls for a standard decrease and you see gaps, swap to an invisible decrease and keep tension steady.
Also, stagger your increases and decreases. If you stack them in the same spot every round, you'll get corners. Staggering means you offset the placement each round, so the shape stays round.
Try these shaping upgrades in your next toy:
- Use invisible decrease for most shaping decreases
- Stagger increases (shift the increase position by 1 to 2 stitches each round)
- Add short rows (partial rows) to build cheeks or a belly bump
- Use "yarn under" single crochet for tighter, more square stitches
- Switch hook sizes mid-part to tighten necks or firm up feet
Short rows deserve a quick example. If you want a bunny with a forehead that slopes into a snout, you can work a few short rows over the face area, then continue in rounds. The extra fabric creates a gentle projection without needing a separate muzzle piece.
For long limbs that don't look like plain tubes, shape them like real anatomy. Add subtle increases at the thigh, then taper at the knee, then slightly widen again at the paw. Small stitch changes make big visual changes.
Make Color Changes, Stripes, and Spots Look Invisible
Colorwork is where a "cute" stuffed animal turns into a truly unique one. Clean color changes matter because faces and markings sit at eye level. If your stripes jog (shift) each round, or you see tiny steps between colors, your toy can look messy even if your stitches are perfect.
For stripes in continuous rounds, use a jogless stripe method. One common approach is to end the last stitch of the old color, then slip stitch and chain with the new color to "step up" neatly. There are a few variations, so test on a small tube before committing to the body.
For spots and patches, you can either change colors mid-round or sew on felt or crocheted appliques. Mid-round changes look more "built in," but they need clean carrying and tension.
Use this process to get smoother color changes:
- Change color on the last yarn over of the stitch before the new color
- Pull the new color snug, but don't choke the stitch
- Carry yarn only when it won't show (inside dark areas or under surface crochet)
- Use surface crochet (crochet on top of the fabric) for crisp outlines
- Weave ends through the color area, not across light sections
Surface crochet is my favorite for details like tiger stripes, dinosaur spikes, and eyebrows. You crochet a line on top of finished fabric using slip stitches. It gives clean lines without fighting mid-round color changes.
If you want to follow complex charts or read advanced pattern notes for markings, you'll like how to read crochet patterns. It helps a lot once patterns start mixing shaping instructions with color instructions.
For freshness and trends, 2026 makers are also mixing "micro details" into plushies, like tiny blush cheeks and shaded paws. This lines up with the broader DIY personalization trend reported across crafting communities and platforms. Pinterest has continued to highlight personalization and handmade gifting as major drivers of saves and searches in recent years, which matches what I see from pattern buyers and commission requests Pinterest Business.
Engineer Strong Joints, Poses, and Faces That Stay Put
A stuffed animal can be perfectly crocheted and still feel "off" if it can't sit straight or the head flops. Advanced crochet stuffed animals use simple engineering tricks. You can add structure without making the toy hard or scratchy.

First, think about the skeleton. Many standing toys need support in the legs and neck. You can use pipe cleaners, floral wire, or jointed doll armatures, but only for display toys. For children's toys, avoid wire and focus on shaping, stuffing, and weight placement.
Second, learn to stuff in stages. Stuffing is not a final step. It's an ongoing step. Add small amounts, push it into curves, and check symmetry every few rounds.
Here are reliable ways to level up structure:
- Add poly pellets (weighted beads) in the bottom of the body, inside a fabric pouch
- Use a smaller hook on feet and neck to reduce stretch
- Add a cardboard or plastic canvas foot insert for flat bottoms (display only)
- Use thread jointing (button joints) for movable arms and legs
- Use a "neck plug" (a tight, flat stuffed circle) to hold a head upright
Faces deserve their own strategy. Safety eyes are fast, but embroidery gives you full control. If you want a unique expression, stitch the face after the head is stuffed. Use pins or removable markers to map placement first.
For embroidery that looks clean, use these tips:
- Use strong embroidery floss or cotton thread
- Anchor your thread inside the head, not at the surface
- Pull stitches snug, then stop before the fabric puckers
- Mirror your stitches (left side, then right side) to keep symmetry
To keep cheeks from sinking, add a tiny bit of stuffing behind the face area before closing. This supports embroidered smiles and keeps eyes from "drooping" over time.
Step-By-Step Workflow: How to Crochet Stuffed Animals with Custom Features
You can reuse this workflow for almost any animal. It's my go-to system when I'm designing new pattern ideas or tweaking an existing design. It keeps you moving forward without ripping out half a project.
Start with the head because it sets the vibe. If the head looks right, the rest is easier. Then build the body, then test placement for limbs and features before you sew anything down.
Follow this step-by-step path:
- Crochet the head and test expression placement with pins
- Crochet the body and add weight if you want a sitting or standing pose
- Crochet limbs and shape them with subtle tapers and widened paws
- Crochet ears, tails, horns, wings, or other "hero features" last
- Stuff parts in stages, checking symmetry every few rounds
- Pin all parts to the body before sewing, then adjust until it looks right
- Sew with a mattress stitch (hidden seam) and pull tension evenly
- Add final details (embroidered face, blush, stripes, surface crochet)
Before you sew, take a photo from the front and side. Photos show tilt and crooked placement better than your eyes in the moment.
If you want to speed up the creative part, start with a pattern you love and customize one feature at a time. That could mean changing ear shape, adding a belly patch, or swapping a plain tail for a curled tail. For more options, browse unique crochet patterns for sale and treat them like "base models" you can remix.
One more pro move: make a tiny swatch in the same yarn and hook. Then practice your color change and decrease method on that swatch first. It takes five minutes and saves you an hour later.
FAQ
What's the Best Stitch for How to Crochet Stuffed Animals Neatly?
Single crochet in continuous rounds is the most common stitch for amigurumi because it makes a dense fabric. Many advanced makers use "yarn under" single crochet to tighten stitches and reduce gaps. The best choice depends on your yarn and your desired look. If you see stuffing through the fabric, go down a hook size and keep tension steady.
How Do I Stop Gaps Around Increases and Decreases?
Gaps usually come from loose tension or from using a standard decrease that spreads stitches apart. Switch to invisible decrease and pull the yarn snug after each decrease. Also, make sure you're stuffing gradually. Overstuffing can stretch fabric and open holes, especially around the neck and underarms.
How Can I Make My Stuffed Animal Stand up on Its Own?
A standing plush needs balance, not just stiff legs. Add weight to the bottom using poly pellets inside a fabric pouch, then stuff firmly around it. Shape feet wider than ankles, and use a smaller hook on the feet area. If the head is heavy, shorten the neck and add a tight "neck plug" to keep it upright.
Is It Better to Embroider Eyes or Use Safety Eyes?
Safety eyes are quick and give a clean, toy-like look, but they aren't safe for babies or pets that chew. Embroidered eyes take longer, but you can control the exact expression. If you're selling finished toys, always follow current safety guidance for your region and list materials clearly. For U.S. sellers, the Consumer Product Safety Commission shares safety information and recalls that are worth reviewing CPSC.
Why Do My Color Changes Look Like Little Steps?
That "step" is called a jog, and it happens because you're crocheting in a spiral. Use a jogless stripe method, or switch to joined rounds for sections where clean stripes matter most. Surface crochet is another easy fix for outlines and markings because it sits on top and hides small shifts.
Final Thoughts and Your Next Project
Mastering How to Crochet Stuffed Animals at an advanced level is really about control. You're controlling shape, color, and structure so your plushies look the way you pictured them. Start by picking one upgrade for your next toy, like invisible decreases or a better stuffing plan, and practice it on a small project.
If you want a fun challenge, make a "signature animal" that's yours alone. Choose one unusual detail, like a gradient belly, sculpted cheeks, or poseable limbs, then repeat it across a small collection. That's how you build a recognizable style people remember.
Ready to make something that doesn't look like everyone else's plushie? Grab a base pattern, add one advanced technique from this guide, and make your next stuffed animal unmistakably yours.
Sources worth keeping open while you craft: the official crochet stitch reference at Craft Yarn Council and trend insights from Pinterest Business.