How to Crochet Intricate Stuffed Animals: Unique Detailed Patterns to Buy and Create
A 2025 consumer trend report found that handmade and personalized gifts keep growing in demand, especially for "keepsake" items like plush toys that feel one-of-a-kind. If you're searching for How to Crochet Intricate Stuffed Animals, you're in the right place. This guide shows what "intricate" really means, how to pick or buy detailed patterns, and how to build store-bought-looking animals with clean shaping and tiny details.
You'll get practical choices for yarn, hook sizes, shaping tricks, and finishing steps that make your stuffed animals look polished. I'll also share what I look for in a pattern before I sell it or crochet it myself, plus a mini case study so you can see the full process.
What Makes a Stuffed Animal "Intricate" (and Why Patterns Matter)
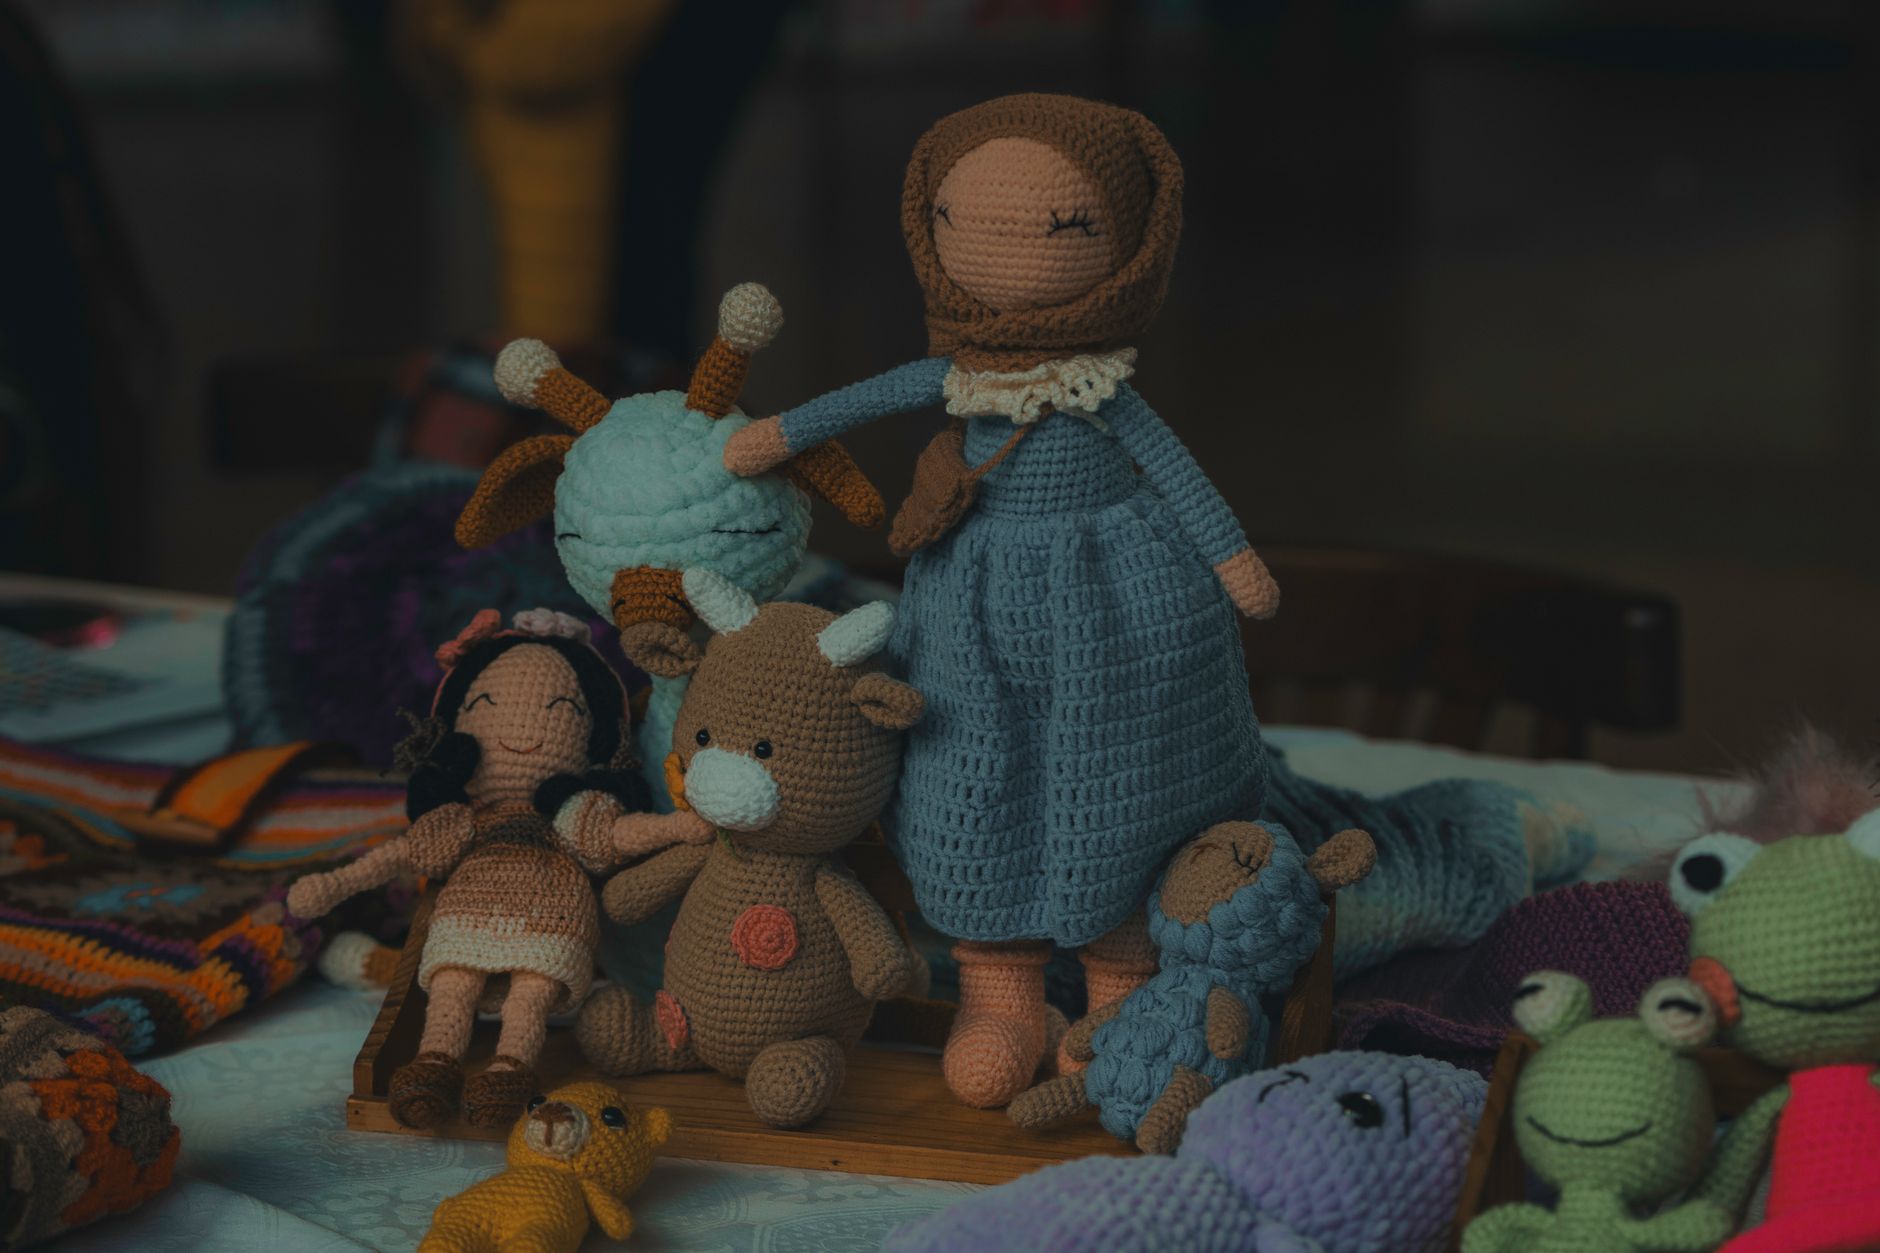
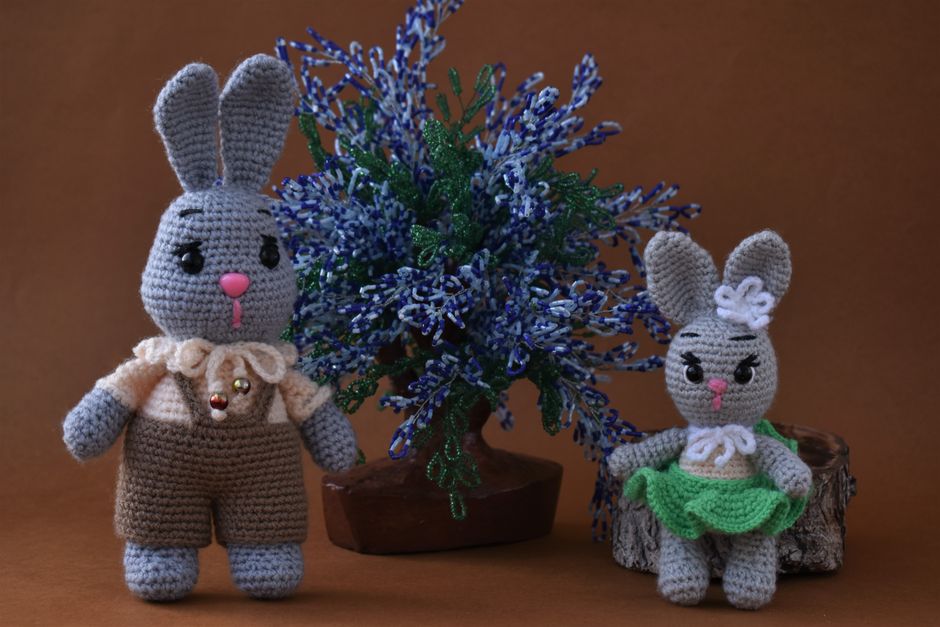
Intricate stuffed animals aren't just "harder." They have more planned shaping, more parts, and more finishing details that change the final look. Think of sculpted snouts, layered ears, toe beans, eyelids, color changes, tiny claws, or embroidered markings that make the face feel alive.
A good detailed pattern works like a map. It tells you where to increase (add stitches) and decrease (remove stitches) so the body curves smoothly. It also tells you how to place details so the toy looks balanced from every angle. Without that map, even skilled crocheters can end up with a lopsided face or a body that looks "tube-y."
If you already enjoy complicated projects, you'll probably like Best Crochet Patterns for Advanced Projects too. It's a helpful next step when you want something beyond beginner amigurumi.
Here are signs a pattern is truly "intricate," not just long:
- Multiple body shapes (like separate chest, belly, and rump shaping)
- Optional facial pieces (eyelids, cheeks, muzzle layers)
- Clear placement guides (stitch counts and landmarks, not "place about here")
- Assembly diagrams or photo steps
- Finishing instructions for symmetry (ears, eyes, limbs aligned)
A pattern with these features usually saves time, because you won't waste hours ripping back and guessing.
How to Crochet Intricate Stuffed Animals with Clean Shaping
Clean shaping starts before you even crochet the first round. Intricate animals need consistent stitch size, firm fabric, and shaping that holds its form. That means the right yarn, the right hook, and the right tension. For most amigurumi, you want a hook that's smaller than the yarn label suggests, so the stuffing won't show through.
For example, if the yarn band recommends a 4.0 mm hook, you might use a 2.75 mm to 3.25 mm hook for a tight fabric. It depends on your tension and yarn ply (how the yarn is twisted). Cotton and cotton blends show stitch detail sharply, while plush velvet yarn hides stitches but can blur tiny shaping.
This is the simple process I teach when someone asks me how to crochet intricate stuffed animals without the "bumpy" look:
- Start with a tight magic ring and count every stitch
- Use invisible decreases (they hide the decrease line)
- Stuff in layers, not all at once, shaping as you go
- Use stitch markers for part placement, not just round tracking
- Pin pieces before sewing, then adjust until symmetric
Between steps, pause and look at your piece in a mirror. It sounds silly, but mirrors help you spot uneven placement fast.
If you want more technique practice beyond toys, this related guide is great: How to Crochet Intricate Designs.
The "Sculpted Face" Trick: Small Changes, Big Realism
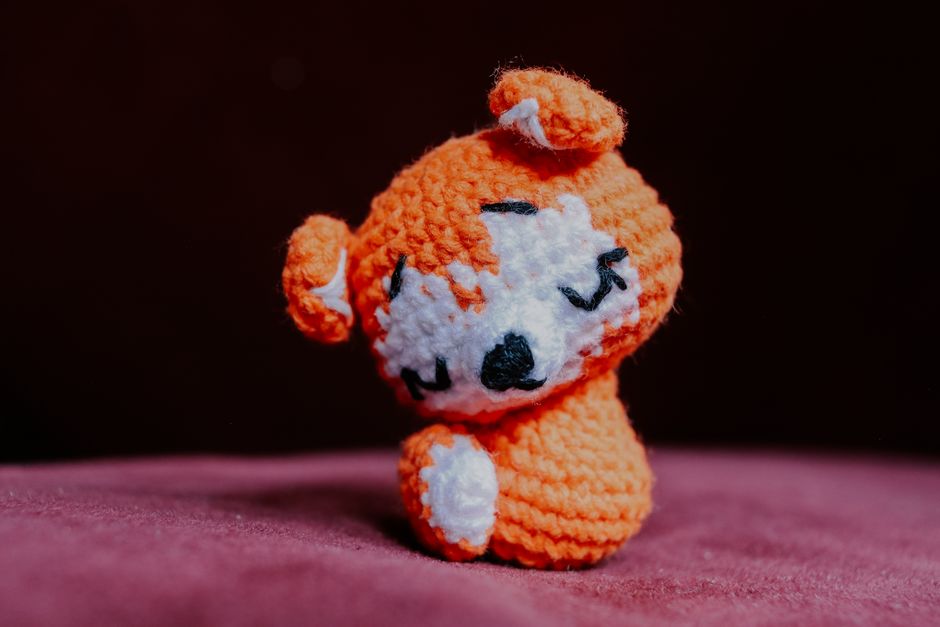
The face is usually what makes an animal look unique. A sculpted face often comes from tiny changes in stitch height and placement. A muzzle made in continuous rounds will look different than a muzzle built flat and sewn on. Embroidered eyebrows can change the entire mood, from sleepy to playful.
To get that sculpted look, I lean on three tools: strategic decreases, layered pieces, and embroidery. Strategic decreases pull the fabric inward to form cheeks or a snout dip. Layered pieces (like a separate muzzle patch) add dimension. Embroidery adds the final "expression."
Here's a quick list of detail options that work on almost any animal:
- Add eyelids (small half-moons) above safety eyes
- Add a two-layer muzzle (base muzzle plus nose patch)
- Create toe beans with tiny ovals sewn on
- Add whisker dots with French knots (tiny embroidery knots)
- Use gentle sculpting with yarn to indent eye sockets
After you add one or two of these, even a basic body shape looks premium.
Buying Detailed Patterns vs. Designing Your Own (a Real Example)
Let's talk about the decision most crocheters face: should you buy a detailed pattern or draft your own? If your goal is a clean, intricate stuffed animal that looks professional, buying a strong pattern is often the faster path. You're paying for tested stitch counts, proportions, and assembly logic.
A pattern is worth buying if it includes clear photos, exact stitch markers for placement, and notes for different yarn weights. Extra points if it includes support, like a help email or a community group. If you plan to sell finished items, patterns with consistent results matter even more.
A quick case study from my own workflow: I wanted a unique "forest creature" plush that looked like a boutique toy, not a simple cylinder with ears. I chose a detailed pattern with separate head shaping, a layered muzzle, and optional eyelids. I crocheted it in sport-weight cotton with a 2.75 mm hook for crisp stitches.
My timeline looked like this:
- Crochet all parts first (head, body, limbs, ears, tail)
- Test placement with pins and stitch markers
- Sew the face pieces before attaching the head to the body
- Stuff and sculpt gradually, adjusting firmness by area
- Finish with embroidery details and a final symmetry check
That order mattered. Sewing face parts while the head is still easy to hold gave me cleaner seams. Waiting until the end would've made it harder to hide knots and align features.
What I Check Before I Click "Buy" on a Pattern
Pattern shopping can be frustrating if you've ever bought one that's vague. I look for clues that the designer actually tested it with real hands, not just wrote it quickly.
Here's my checklist:
- Clear skill level (advanced means shaping and assembly details are explained)
- Abbreviation key (every stitch term defined)
- Exact round counts and stitch totals, every round
- Photos of tricky sections (muzzle, limbs, ear placement)
- Notes for fixing common issues (gaps, wobble, uneven limbs)
If you're interested in turning your own designs into products, this guide pairs nicely: How to Crochet Unique Patterns for Sale.
Finishing Details That Make Your Stuffed Animals Look "Store-Bought"
Intricate crochet stuffed animals don't look finished until the finishing work is done. This is where most people rush, and it's also where your work can jump from "cute" to "wow." Finishing is the combination of sewing, sculpting, trimming, and detail work that makes everything look intentional.

Safety matters too, especially if the toy is for a child. The U.S. Consumer Product Safety Commission shares guidance on toy safety and small parts, which is worth reading if you sell or gift toys to young kids: U.S. Consumer Product Safety Commission. For soft toys, embroidered eyes are often safer than safety eyes for babies.
Here are finishing upgrades that make a big difference:
- Use mattress stitch or whip stitch neatly, with even tension
- Hide all yarn tails inside the body with a long needle
- Add subtle sculpting (tighten yarn to create eye indents)
- Brush fuzzy yarn slightly for a softer "fur" look (test first)
- Add tiny accents like blush, freckles, or stitched mouth lines
After each seam, stop and rotate the toy in your hands. Look for lumps, gaps, or twisted limbs. Fixing those early is easier than fixing them at the end.
Yarn and Stuffing Choices That Hold Their Shape
If your animal slumps, it won't look intricate, even if the pattern is complex. Good stuffing and yarn choice keep your work crisp. Many crocheters use polyester fiberfill because it's washable and easy to find. The Craft Yarn Council offers helpful general guidance on yarn and project care, which is a solid reference point: Craft Yarn Council.
For intricate shaping, I like stuffing in layers and using firmer stuffing in areas that need structure. For example, the neck and muzzle often need more firmness than the belly.
Here's a simple material pairing guide:
- Cotton yarn + firm stuffing = sharp details, crisp stitches
- Acrylic yarn + medium stuffing = bouncy and forgiving, good for gifts
- Plush yarn + careful stuffing = super cuddly, but details may soften
- Blended yarn (cotton-acrylic) + layered stuffing = a balanced look
The key is matching your goal. If you want tiny toes and facial shaping to pop, go for a yarn that shows stitches.
FAQ About How to Crochet Intricate Stuffed Animals
How Long Does It Take to Crochet an Intricate Stuffed Animal?
Time depends on size, yarn weight, and how many parts you're making. A small, detailed animal in sport-weight yarn might take 6 to 12 hours, especially if it has layered face pieces and lots of sewing. A larger plush in worsted yarn might still take 8 to 15 hours because assembly and finishing add up.
If you're new to detailed toys, plan extra time for redoing placement. Pinning and checking symmetry is part of the process, not a mistake.
What's the Best Yarn for Intricate Amigurumi Details?
Cotton or a cotton blend is my top pick for intricate detail because the stitches look clean and the shapes stay sharp. Acrylic can also work well, and it's softer for kids, but it can stretch a little more. Plush yarn is adorable, but it hides stitch definition, so tiny facial features may disappear.
If you want a "professional" look, choose a smooth yarn and a smaller hook. That tight fabric is what keeps stuffing from peeking.
How Do I Avoid Holes Where the Stuffing Shows?
Holes usually happen from loose tension, a hook that's too big, or stuffing too aggressively. Go down a hook size and aim for a firm fabric you can't easily see through. Invisible decreases also help because they keep the fabric from pulling open.
Stuff in small amounts and spread the fiberfill evenly. If you cram a big lump in, it pushes against the stitches and creates gaps.
Are Safety Eyes Safe for Baby Toys?
Safety eyes can come loose if not installed correctly, and they're considered a choking risk for babies and toddlers. For toys meant for children under three, embroidered eyes are usually safer. Always follow local safety rules if you sell toys, and consider adding a clear note about age recommendations.
If you do use safety eyes, install them before stuffing and make sure the washers are firmly seated.
What If My Arms or Legs Don't Match?
This is extremely common, even for experienced crocheters. Count stitches carefully, track rounds with a marker, and weigh or measure pieces if you want to be extra precise. If one limb is slightly smaller, you can sometimes fix it during stuffing by shaping it a bit more.
If the difference is obvious, redo the limb. It's annoying, but matched limbs are one of the fastest ways to make a toy look "store-bought."
Final Thoughts and Your Next Project
Learning How to Crochet Intricate Stuffed Animals is really about stacking small skills. Tight tension, clean decreases, careful stuffing, and patient assembly build that high-end look. Start with one detailed pattern you love, follow it closely once, then tweak colors or features to make it yours.
If you want your next project to feel like a fun challenge, pick an animal with at least one "extra" feature, like eyelids, toe beans, or a layered muzzle. Then take your time on the finishing. That's where your unique style shows up.
Want a pattern that feels special and looks polished when it's done? Browse my detailed crochet designs on Squarespace at https://artncraftartncraft.art and grab a pattern that matches your skill level and the kind of creature you can't stop thinking about.