How to Crochet for Beginners: Essential Patterns to Start Crafting Unique Items
The yarn is fine. The hook is fine. The pattern is the problem.
Most beginner crocheters don't quit because they "can't crochet." They quit because they start with the wrong kind of project. If you're searching for how to crochet for beginners, you don't need a giant blanket or a complicated stuffed animal first. You need a small pattern that teaches one new skill at a time and still looks good when it's a little imperfect.
Below are the essential crochet patterns we recommend starting with (and why). You'll also get a simple "choose this if..." guide, a worked example you can copy, and the mistakes that trip people up.
How to Crochet for Beginners Without Picking the Wrong First Project
Beginners usually pick projects based on what looks cute, not what builds skills. Cute is great. Skill-building is what keeps you finishing.
Here's the rule we use: your first few patterns should be small, fast, and forgiving. They should also teach the stitches you'll reuse forever.
Use this decision framework to pick your first "essential" pattern:
- Choose a flat square (dishcloth, coaster, washcloth) if you want to practice even tension and straight edges.
- Choose a tube (simple beanie, cup cozy) if you want to learn working in the round without shaping.
- Choose a rectangle (scarf) if you want something wearable with easy repeats.
- Choose a small shaped item (basic pouch) if you want to learn increases and decreases, but still finish quickly.
A project can be "beginner-friendly" and still be a bad first project. For example, a large blanket is simple, but it's also long. Long projects hide mistakes until you're tired, then you abandon them.
One more tip from our pattern-making side: pick patterns that tell you the stitch count for each row or round. That tiny detail prevents most beginner frustration.
The 6 Essential Crochet Patterns (and the Exact Skills Each One Teaches)
These aren't the only beginner patterns that work, but they're the ones that build a solid foundation. If you make these six in order, you'll touch almost every core skill you need for bigger projects.

1) Coaster or Mug Rug (1 Evening)
This is your tension training ground. Small squares show wobble fast, which helps you fix it fast.
Skills you'll learn:
- Chain (the foundation)
- Single crochet (tight, simple stitch)
- Counting stitches so edges stay straight
- Fast finishing (weaving in ends)
Make two. The first is practice. The second is the "real one."
2) Dishcloth or Washcloth (1 to 2 Evenings)
A dishcloth is a bigger coaster with a purpose, which makes it more satisfying.
Skills you'll learn:
- Half double crochet or double crochet (taller stitches)
- Turning chains (how you start a new row)
- Keeping the same stitch count across rows
Dishcloth yarn tip: cotton shows stitch definition well and handles heat and water, but it has less stretch. That's good for learning consistent tension.
3) Simple Scarf (Weekend Project)
A scarf teaches endurance without the "blanket problem." It's long, but not huge.
Skills you'll learn:
- Repeats (the heart of most patterns)
- Fixing mistakes mid-row
- Optional: simple stripe changes
If you want a scarf that looks "fancy" without tricky stitches, pick a textured yarn and use a basic stitch. The yarn does the decorating.
4) Basic Beanie (Teaches "in the Round")
Many beginners avoid hats because "the round looks confusing." Once it clicks, you'll use it for baskets, sleeves, plush toys, and more.
Skills you'll learn:
- Working in the round
- Joining rounds (or working in a spiral)
- Increasing evenly (making circles grow)
If you hate counting, choose a pattern that uses stitch markers (a little clip that marks your first stitch). That one tool saves your sanity.
5) Drawstring Pouch (Your First Shaping Win)
A pouch is small, useful, and teaches shaping in a controlled way.
Skills you'll learn:
- Making a flat base, then building sides
- Simple decreases (pulling a shape inward)
- Creating a casing for a drawstring
This is also your first "giftable" item that doesn't scream beginner.
6) Beginner Granny Square (the Gateway Skill)
Granny squares are popular for a reason. They teach a lot in a small space.
Skills you'll learn:
- Cluster stitches (groups of stitches in one space)
- Corner building (turning clean 90-degree corners)
- Joining squares later for bags, blankets, and cardigans
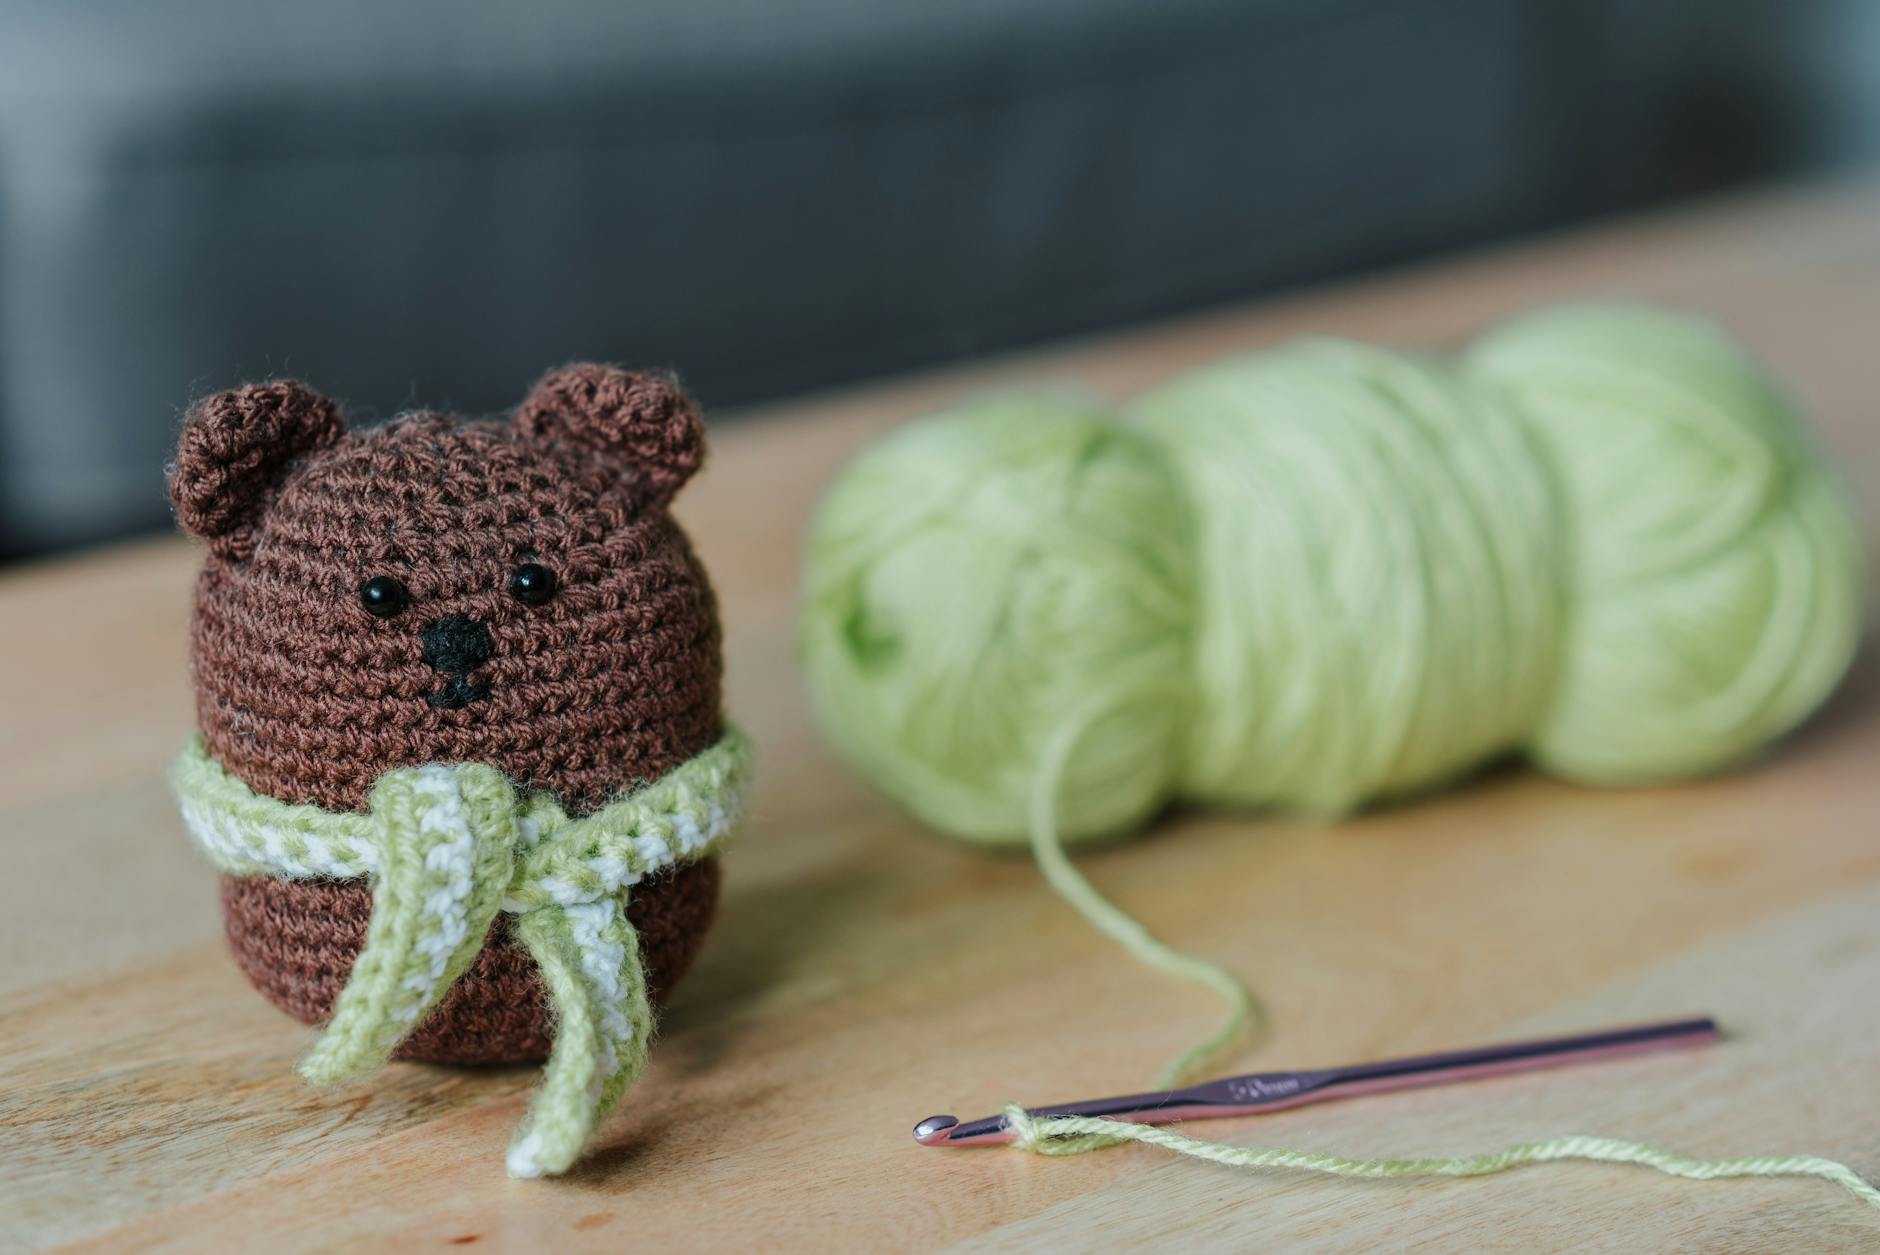
If you're excited about toys long-term, granny squares also teach you clean edges and consistent stitch height, which helps your stuffed animal parts match.
If stuffed animals are your goal, you'll love our deeper guide on how to create unique crochet patterns for stuffed animals once you're comfortable with the basics.
Worked Example: a Beginner Pouch Pattern That Builds Real Skills
Here's a concrete mini-pattern you can follow without overthinking. It's built to teach three things: counting, turning, and shaping.

Materials
- Worsted weight yarn (a smooth yarn is easier than fuzzy yarn)
- A hook size that matches your yarn label
- Scissors, yarn needle
- Optional: stitch marker
The Pattern (Flat Base, Then Up)
- Chain 21.
- Row 1: Single crochet in the 2nd chain from hook, then single crochet across. (20 stitches)
- Rows 2 to 12: Chain 1, turn. Single crochet across. (Still 20 stitches)
- Fold the rectangle in half like a taco. You now have a pouch shape.
- Single crochet the side seams closed, stitching through both layers. Leave the top open.
- Weave in ends.
That version is the fastest.
If you want the pouch to look cleaner and more "designed," add a simple border after Row 12 before you fold it:
- Single crochet evenly around the rectangle. Work 3 single crochet stitches in each corner.
What This Teaches (and What to Watch)
- If your sides slant, you're missing the last stitch of each row. Beginners often skip it because it hides.
- If the pouch curls, your tension is tight. Go up one hook size or relax your grip.
- If the seam looks bulky, use slip stitches instead of single crochet to close it.
Once you can make this pouch twice in a row with the same size, you're ready for more complicated patterns.
Yarn, Hook, and Pattern Choices That Make Beginners Feel "Good at This" Faster
The right supplies don't make you a better crocheter, but they do make learning smoother.

Yarn: Pick Smooth, Medium, and Light
We see beginners struggle most with fuzzy, dark, or super thin yarn. Those hide the stitches, so you can't "read" your work.
A beginner-friendly yarn is:
- Smooth (no eyelash or faux fur)
- Light to medium color (so stitches show)
- Medium thickness (often called worsted or aran)
Save velvet yarn and faux fur for later. They're amazing, but they're not training wheels.
Hooks: Comfort Matters More Than Fancy
A basic hook works. A comfortable handle helps if your hand gets tired.
If your stitches feel too tight and hard to insert the hook into, your hook might be too small for your yarn, or you're pulling your yarn too snug.
Patterns: Look for These "Green Flags"
Not all beginner patterns are written well. A good beginner pattern usually includes:
- A materials list that matches the project
- Stitch counts for rows or rounds
- A clear explanation of abbreviations (shortened stitch names)
- A photo that shows texture and scale
If you want to move from "following" patterns to "making" your own, start saving notes on what you change each time. That's the first step toward designing.
Common Beginner Mistakes (and the Fastest Fixes)
Most mistakes are normal, and most have a quick fix.
Your Edges Look Wavy
This is almost always stitch count drift. You add stitches without noticing, or you lose one at the end.
Fix:
- Count every row for the first 20 minutes of a project
- Mark the first and last stitch with a scrap of yarn
Your Work Gets Wider or Narrower
This comes from where you place the first stitch after turning.
Fix:
- Treat the turning chain as a "helper," not always a real stitch
- Follow your pattern's instruction exactly on whether it counts
You Can't Tell Where the Next Stitch Goes
That's a "reading stitches" skill, and it comes with practice.
Fix:
- Use lighter yarn
- Use taller stitches (double crochet is easier to see than single crochet)
- Work slowly and pause every few stitches to look at the V-shapes
Your Hands Hurt
Pain is a stop sign.
Fix:
- Take breaks
- Loosen your grip
- Try a larger hook or ergonomic handle
If pain keeps coming back, consider asking a healthcare professional. Crocheting should not hurt.
Where to Go Next After These Essential Patterns
After you've made two or three essentials, you'll notice your stitches get more even. Your tension settles. You start recognizing patterns instead of memorizing steps.
At that point, you can choose your path:
- If you want toys, start learning tight single crochet in the round, plus invisible decreases.
- If you want wearables, learn basic sizing and how to check gauge (your stitch size).
- If you want home items, learn sturdy stitches and simple shaping.
We focus heavily on unique stuffed animal designs and pattern writing. If you want a stretch goal for later, browse advanced stuffed animal crochet pattern ideas and keep it as inspiration for what your "basics" will unlock.
If you want to start crafting unique items fast, pick one pattern from the list above and make it twice. The second one is where the magic happens.
If you're ready for a pattern that feels original (without being overwhelming), check out our crochet patterns on artncraftartncraft.art and grab the one that matches your next skill step.