
Cross Stitch Thinking for Crochet Unique Patterns: Tips to Design Complex Creations for Sale
You finish a wild crochet design, snap photos, list it, and then the messages hit. "Is there a pattern?" "Can I sell what I make from it?" "Do you have a version with a different face, different colors, different size?"
That's the moment your crochet unique patterns stop being "a cool one-off" and start needing real structure. One trick we use constantly is thinking like cross stitch even when we're crocheting. Not because we're switching crafts, but because grids, symbols, and clean color planning make complex designs easier to build, test, and sell.
Use Cross Stitch Thinking to Plan Complex Crochet Designs
Cross stitch patterns work because they're readable. A grid shows what goes where, and symbols tell the maker exactly what to do. You can steal that clarity for crochet, especially if you sell patterns and need fewer support messages later.
Here's how we translate "cross stitch thinking" into crochet pattern design.
Start with a Grid, Even If You Crochet in the Round
If your design has a picture element (faces, logos, colorwork, pixel art), sketch it on a grid first. A spreadsheet, graph paper, or a digital chart all work.
Then decide how that grid becomes crochet stitches. You have two main options:
- Single crochet colorwork: Each square equals one single crochet stitch. This keeps edges crisp.
- Tapestry crochet (carrying yarn inside the stitches): Great for dense fabric and clean color changes, but you must plan for thickness and stiffness.
If you crochet in the round, you still can chart it. Just remember that rounds stack like spirals unless you join each round. If the picture must line up perfectly, joined rounds or careful stitch markers help.
Build a Symbol Key Like a Cross Stitch Pattern Would
Most crochet patterns use words. That's fine until your design gets complex. Once you have multiple colors, special stitches, or repeated motifs, symbols and a key save you.
A solid key includes:
- Color A, B, C, etc (and the exact yarn names you used)
- Stitch abbreviations (with a short "special stitch" explanation)
- Notes on right side versus wrong side (especially for flat pieces)
This is also where you prevent confusion between "change color" and "carry color." If you don't say it, your customers will guess, and half will guess wrong.
Decide What "Complex" Means Before You Add More Details
Complexity sells when it's controlled. Complexity fails when it's random.
Before adding features, pick the kind of complexity you're offering:
- Visual complexity (colorwork, surface embroidery, faces, textures)
- Construction complexity (weird shapes, hidden seams, moving parts)
- Finishing complexity (wire, embroidery, beading, sculpting)
We design best-sellers by choosing one main complexity lane, then keeping the rest simple. A plushie with intense colorwork usually needs simpler shaping, or it becomes a frustrating project.
A Decision Framework: Choose Your Design Approach Based on What You're Selling
People searching for "crochet unique patterns" are usually trying to sell patterns, not just make a cool thing once. That changes how you design.
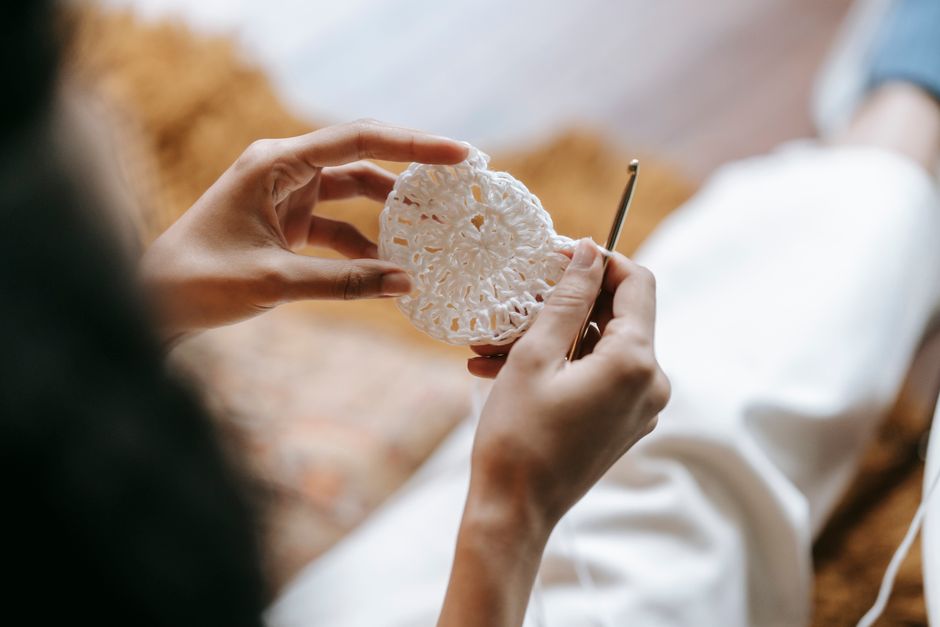
Use this quick framework to pick a design route that matches your buyers.
Option a: Chart-Driven Pattern (Best for Color Pictures)
Choose this if:
- Your design has a face, emblem, or clear "image" on it
- You expect buyers to customize colors
- You want fewer pages of written instructions
Trade-offs:
- Charts take time to test and align
- Left-handed crocheters may mirror your chart, so include a note
This is where cross stitch style charts shine. People understand grids fast, even if they've never done cross stitch.
Option B: Modular Pattern (Best for Plushies with Add-Ons)
Choose this if:
- Your product line is "the same body, different themes"
- You want fast releases (new hats, wings, tails)
- You want easy upsells (bundle of accessories)
Trade-offs:
- You must standardize attachment points
- You'll need clear photos for placement
If you sell plushie patterns, modular design is how you build a shop that doesn't burn you out. We teach this approach a lot, because it scales.
Option C: Texture-First Pattern (Best for "Fancy but Simple" Wow Factor)
Choose this if:
- You want a premium look without many color changes
- Your buyers hate weaving ends
- You want "I made that?" reactions
Trade-offs:
- Some textured stitches eat yarn and time
- Stitch counts get harder to see, so you must write clean instructions
A texture-first design often sells well as a gift project, because it looks complex but feels doable.
If you want more design structure for original work, our guide How to Create Unique Crochet Patterns: Design Detailed Stuffed Animals for Sale goes deeper on building originality without guessing.
Worked Example: Turn a Grid Face Into a Sellable Crochet Plush Pattern
Let's build a concrete mini-plan you can copy. We'll design a plush head with a simple "pixel face" (eyes and mouth) and turn it into a pattern format people can follow.

Step 1: Pick a Grid Size That Matches Your Stitch Count
Say your plush head is a sphere made in single crochet. You know the widest round might be 48 stitches around (common for a medium plush head).
Now choose a face panel width that fits that round without stretching too much. A good starting point is about one third to one half of the front.
Example choice:
- Face chart width: 20 stitches
- Face chart height: 12 rounds
That's big enough for expression, small enough to stay readable.
Step 2: Chart the Face Like Cross Stitch, Then "Wrap" It
Make a 20x12 grid.
Place features with symmetry in mind:
- Eyes: two 2x2 blocks, spaced 6 stitches apart
- Mouth: a 6-stitch curved line using 1-stitch steps
Then test one key thing: your sphere curves. Pixels near the edges distort more.
Fix it by keeping important features near the center 12 stitches. Use the outer columns for shading or nothing.
Step 3: Write Round-By-Round Instructions with a Chart Reference
Your pattern can say:
- "Work head in single crochet in continuous rounds."
- "On rounds 8 to 19, follow the face chart for color changes across the front 20 stitches."
Then you include:
- The chart (symbols for each color)
- A line that tells how to find the center front (for example, "center front is midway between markers placed at the start of round and 24 stitches later")
This is the part many designers skip, and it creates support emails. Buyers need an anchor point, not vibes.
Step 4: Add One "Customization Switch" That Makes Your Pattern More Valuable
This is a non-obvious sales move. Add one controlled variation that doesn't double your testing time.
Examples that work:
- Two mouth charts (smile and frown) using the same grid size
- Optional blush dots (surface crochet or embroidery) with exact placement
- Two eye sizes (2x2 and 3x3) with notes on how it changes the look
Buyers love choices, but only if the choices don't break the pattern.
Step 5: Test Like a Pattern Seller, Not Like a Hobbyist
A sellable complex pattern needs "failure testing." Make it again, but pretend you're a customer.
Check these failure points:
- Color change spots that create jagged edges
- Rounds where stitch counts are easy to misread
- Placement instructions that rely on "eyeballing" instead of markers
If you publish lots of plush designs, How to Crochet Unique Stuffed Toys: Mastering Intricate Patterns for One-Of-A-Kind Plushies can help you make complex shaping feel repeatable.
Pricing, Rights, and Buyer Experience (the Stuff That Actually Affects Sales)
Designing is only half the job. If you sell crochet patterns, your listing and pattern PDF (the file you deliver) decide if people leave happy reviews.

Price Based on Friction, Not Just Size
Two patterns can be the same page count but feel totally different to a buyer.
Price goes up when your pattern includes:
- Charts plus written instructions
- Multiple sizes or variations
- Many pieces with assembly steps
- Support-heavy skills (tapestry crochet, tricky shaping)
Price goes down when:
- It's one simple shape
- It uses one color and basic stitches
- It has minimal finishing
We aim to make "hard-looking" patterns feel clear. That lets you charge for complexity without making customers miserable.
Be Clear About What Buyers Can Sell
If you sell patterns, customers often want to sell finished items. You can set terms, but keep them readable.
Include a short "usage" section in the PDF and the listing:
- Buyers can sell finished makes (or not), and any limits you want
- They can't resell or repost the pattern itself
Reduce Refund Requests with Three Pattern Must-Haves
Most "this pattern is confusing" complaints come from missing basics.
Make sure every complex pattern includes:
- A materials list with exact yarn weight and hook size you used
- A stitch count check at the end of key rounds
- At least 3 photos that show shaping stages, not just the final glam shot
A buyer can forgive a tricky step. They won't forgive feeling lost.
FAQ
Can I Mix Crochet and Cross Stitch in One Product I Sell?
Yes. A common approach is crocheting the base (like a plush or bag) and adding cross stitch on top with a blunt needle. Use a fabric that has clear "holes," like crochet done in single crochet, so stitches stay even.
What's the Easiest Way to Make a Crochet Chart If I'm Not Artistic?
Start with a tiny grid and simple icons. Faces work great because they read well in pixels. You can also chart from a clear reference photo by simplifying it into 2 to 4 colors.
How Do I Stop Colorwork From Slanting in the Round?
Continuous rounds can drift. Joined rounds line up better but leave a seam. If the design must be perfect, join each round or plan the chart with that drift in mind.
Make Your Next Pattern "Complex" in a Way Buyers Enjoy
Complex crochet unique patterns sell best when they feel organized. Borrow the grid clarity of cross stitch, choose one main type of complexity, and test like a seller.
If you want, build your next design around a single charted feature (a face, emblem, or motif) and keep everything else simple. That one choice usually bumps both buyer confidence and finished results.