
Crafting Crochet Yarn Patterns: Master Unique Designs for Sale
"Your pattern isn't finished when the sample looks cute. It's finished when a stranger can make it without texting you." That's the rule we live by when we design patterns for sale.
If you're trying to turn crochet yarn into patterns people actually buy (and successfully finish), you don't need more inspiration. You need a repeatable process that takes an idea, stress-tests it, and turns it into clear instructions that work across different crocheters, yarns, and hooks.
This guide is our problem-to-solution playbook. We'll cover how to pick a sellable concept, how to build the pattern so it's easy to follow, and how to package it so customers trust it.
Start with a Sellable Idea, Not a "Pretty" One
A lot of patterns fail in the market for one simple reason: they solve the wrong problem. Makers don't just buy "a design." They buy a finished object they can picture gifting, displaying, or selling.
Start by choosing which buyer you're designing for. That decision controls everything, from yarn weight to how many pieces you can get away with.
Here's a decision framework we use:
- Fast dopamine project (good for beginners and gifts): small, cute, low sew, works in common yarn weights.
- Statement make (good for experienced crocheters): bold shape, texture, or construction, but instructions must be extra clear.
- Market product (good for people who sell finished items): repeatable, consistent sizing, easy to batch, minimal fiddly steps.
Then pressure-test your concept with three questions:
- Does the silhouette read from across the room? Tiny details don't sell thumbnails. Big shape sells.
- Can someone finish it in a weekend? Many buyers pick patterns they can complete quickly.
- Is there one "special thing" about it? A twist, a construction trick, or a signature texture. One is enough.
A non-obvious trap: "unique" can accidentally mean "fragile." If your uniqueness relies on fussy assembly, super specific tension, or rare materials, returns and bad reviews show up fast.
Transition: once you have the idea, the next step is making design choices that hold up in real-world yarn and real-world hands.
Choose Crochet Yarn Like a Designer (and Tell Buyers What Works)
Yarn choice isn't a shopping detail. It's part of the pattern design.

When we design, we pick the yarn behavior first, then the fiber. Behavior means things like stretch, stitch definition (how clearly stitches show), bounce, and how it holds shape.
Use this "choose A vs choose B" yarn framework:
- Choose cotton or cotton blends if you need crisp stitches, firm shape, and clean edges (great for bags, dish items, some toys).
- Choose acrylic if you want affordable, widely available yarn that's easy for most buyers to match.
- Choose wool or wool blends if you want warmth and elasticity (awesome for wearables), but be mindful of care instructions.
- Choose plush/velvet yarn if you want instant "cute," but expect lower stitch visibility. Your pattern must compensate with clear counts and structure.
Two practical pattern-writer moves that reduce buyer frustration:
- List a yarn "family," not just one brand. Example: "worsted weight acrylic" plus 2 to 3 substitute suggestions (like "any smooth worsted acrylic will behave similarly").
- Tell them what changes if they swap yarn. Say what will happen to size, drape, and stitch clarity.
Edge cases to design for:
- Color changes and speckled yarns: texture can disappear. If your design depends on texture, recommend solid or lightly heathered yarn.
- Chunky yarn scaling: going up in weight doesn't just make it bigger, it can make limbs too stiff or too heavy for the body. Add notes like "If you size up, consider fewer stuffing and tighter joins."
If you sell a lot of amigurumi patterns, this is where your pattern can stand out. Yarn guidance is part of the value.
Transition: yarn picks set the stage, but structure is what makes your pattern feel "professional." Let's build that structure.
Build the Pattern Like a Product: Clear, Testable, and Forgiving
A sellable pattern is less like a diary and more like a recipe. It should work even if the reader isn't you.

Here's the backbone we use for patterns meant for sale:
- Materials list: yarn type and weight, hook size, safety eyes if used, stuffing, needle, stitch markers.
- Finished size range: give an estimate and explain what changes it.
- Abbreviations and stitches: only include what you actually use.
- Notes that prevent mistakes: how you count rounds, whether you join rounds, and where the "start of round" sits.
- Step-by-step construction: broken into parts (body, head, limbs), with assembly after.
Worked Example: Turning a "Cute Blob" Into a Pattern People Can Finish
Problem: you crocheted a small plush "cloud cat" concept. The sample is adorable, but testers keep saying "my face looks weird" and "the ears sit wrong." That's a pattern design problem, not a skill problem.
Solution approach:
- Lock the silhouette first. You decide the body is a squat oval, not a sphere. That means you'll increase, then work even rounds, then decrease slower to keep it wide.
- Make facial placement measurable. Instead of "place eyes where it looks right," you write: "Insert eyes between rounds X and Y, Z stitches apart." If you don't want to publish exact numbers here, the method still matters: pick a round band, then count spacing.
- Design ears that self-align. Ears that are flat triangles often twist when sewn. A better approach is a small ear base that creates a natural "front." For example, start with a short foundation, then increase on one side only for a few rows. That creates a curve and tells the maker which side faces forward.
- Assembly order that hides seams. You can write: "Sew ears first, then embroider face, then attach tail." That keeps the maker from stitching through embroidery.
Add one "save" note that prevents support emails:
- "If your muzzle looks too long, you likely added an extra increase round. Count your stitch total at Round N before moving on."
That one line turns a frustrating remake into a quick fix.
Pattern Testing: the Part Most Sellers Skip
Testing is where you earn trust.
A simple testing plan:
- Self-test from a clean copy. Rewrite the pattern, then crochet it without looking at your original notes.
- Test with at least two skill levels. One confident crocheter and one newer crocheter catch different issues.
- Ask testers for screenshots of confusing lines. Fix those first. Confusion is usually local, not global.
Keep your formatting consistent. Count formatting errors cause more abandoned projects than "hard stitches."
If you want to expand into plush patterns, our guide on advanced techniques for one-of-a-kind amigurumi pairs well with the pattern-writing process here.
Transition: a great pattern still won't sell if buyers don't trust what they're getting. Packaging matters.
Package and Price Your Pattern so It Feels Worth Buying
Your buyer is taking a risk. They can't touch the pattern. They're trusting your photos and your clarity.
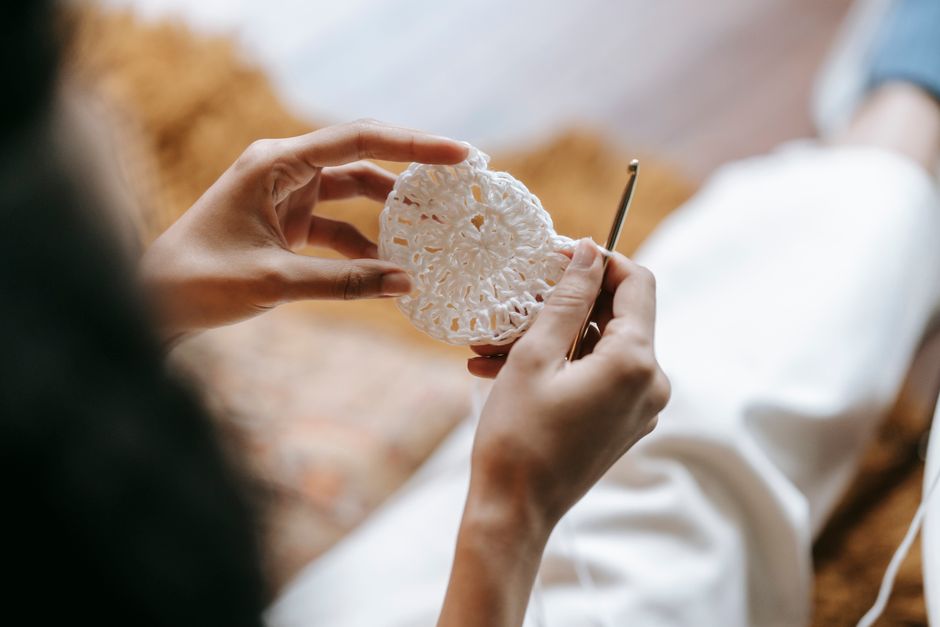
Focus on three things: preview, proof, and positioning.
Preview: Show the Buyer What They'll Make
Include photos that answer the buyer's silent questions:
- Front, side, and back views
- Close-up of the key detail (texture, face, join)
- One photo that shows scale (handheld, next to a mug, or on a shelf)
If it's a garment or accessory, add a fit photo or a flat-lay with measurements.
Proof: Reduce the "Will This Work?" Fear
You don't need fake badges. You need real clarity.
Add these lines in your listing or first pattern page:
- Skill level with a sentence, not a label (example: "You should be comfortable counting rounds and sewing parts neatly.")
- What stitches they must know
- What's included (printer-friendly version, photo steps, stitch counts per round)
If you sell patterns meant to do well in the plush space, you'll probably like our breakdown of stuffed animal patterns that sell well.
Pricing: a Practical Way to Decide
Pricing is hard because it feels personal. Make it mechanical.
Price goes up when:
- The pattern has multiple sizes or variations
- You include lots of progress photos
- The shaping is original and requires careful writing
- The project is larger and more time-intensive
Price stays modest when:
- It's a small, simple project
- The construction is very standard
- The pattern is short with minimal photo support
One important caveat: don't underprice complex patterns just because you crochet fast. Buyers pay for clear instruction and a reliable outcome, not your personal speed.
Common Mistakes That Cause Bad Reviews (and How to Prevent Them)
Most negative reviews are predictable. They come from mismatched expectations or missing details.
These are the big ones we see:
- No gauge or size guidance: even for toys, say what yarn and hook you used and the finished size you got.
- Vague assembly notes: sewing is where shapes go wrong. Add placement references (round numbers, stitch counts, or photos).
- Unstated technique choices: if you use invisible decrease, yarn under (instead of yarn over), or joined rounds, say so upfront.
- Forgetting accessibility basics: define abbreviations, keep line breaks clean, and avoid burying key notes in paragraphs.
A small habit that fixes a lot: put "checkpoint stitch totals" after important rounds. Makers can catch errors early.
Finish Strong: Make One Pattern, Then Make It a Mini Collection
The easiest way to sell more patterns without reinventing your whole brain each time is to build a tiny design system.
Take one core body or motif and create variations:
- Change ears, tails, or facial options
- Offer two yarn recommendations (smooth worsted and plush)
- Add one accessory (scarf, hat, bag) as an optional add-on
That turns one good crochet yarn pattern into a small shelf of products that feel connected. Buyers love collecting.
If you want us to help with patterns that are both unique and actually workable, that's what we do at artncraftartncraft.art. We design with real yarn behavior in mind, then write patterns the way we'd want to buy them: clear, tested, and fun to make.