
Crochet Stuffed Animal Patterns Advanced: Unique Designs You Can Sell
"Your plushie isn't 'advanced' because it has more stitches. It's advanced because it holds its shape, survives hugs, and looks clean from every angle."
If you're searching for crochet stuffed animal patterns advanced, you're probably in one of two spots. Either your plushies look cute, but not polished enough to sell, or you're ready to design originals and you don't want them to flop, wobble, or get weird lumps after stuffing.
We sell crochet patterns and we crochet literally anything, so we've learned what makes an amigurumi (crocheted stuffed animal) feel truly premium. It's not just fancy details. It's smart structure, clean finishing, and designs that are repeatable for customers.
Compare Pattern Styles That Actually Sell (and What They Cost You)
Not every "unique" design is worth turning into a product. Some styles sell fast but are slow to make. Others are fast to stitch but hard to differentiate. Here's a comparison we use when deciding what to release as a pattern or what to make as a finished plush.
Style 1: "Cute and Fast" Minis
These are palm-size animals with simple shapes and big personality.
- Pros: quick to stitch, easy to batch, great for markets
- Cons: lots of competition, small mistakes show up more
- Advanced lever: perfect shaping and clean color changes, not complexity
Style 2: "Poseable Character" Plushies
Think sitting bears, standing bunnies, dragons with neck curves, anything that has posture.
- Pros: looks high-end, better pricing power
- Cons: needs internal structure (shaping, weighted base, or armature)
- Advanced lever: engineered balance and proportions
Style 3: "Texture-Forward" Animals
These use stitches and yarn choice to create fur, scales, feathers, or wrinkles.
- Pros: instantly different on a table or in photos
- Cons: can be slow, some textures pill or snag
- Advanced lever: using texture only where it matters (face, mane, tail) to keep build time sane
Style 4: "Hybrid Construction" Plushies
These mix crochet with fabric, needle felting, embroidery, or removable outfits.
- Pros: very unique, strong brand identity
- Cons: more tools, more failure points, more instructions to write
- Advanced lever: designing for repeatability so your pattern buyers don't get stuck
If your goal is to sell patterns, Style 2 and Style 4 often create the strongest "this is different" feeling.
If your goal is to sell finished plushies, Style 1 and Style 3 can be more profitable per hour if you control the time.
Crochet Stuffed Animal Patterns Advanced: a Decision Framework for "Worth Selling" Designs
Advanced doesn't have to mean complicated. It means intentional. We judge a design with four questions before we commit.
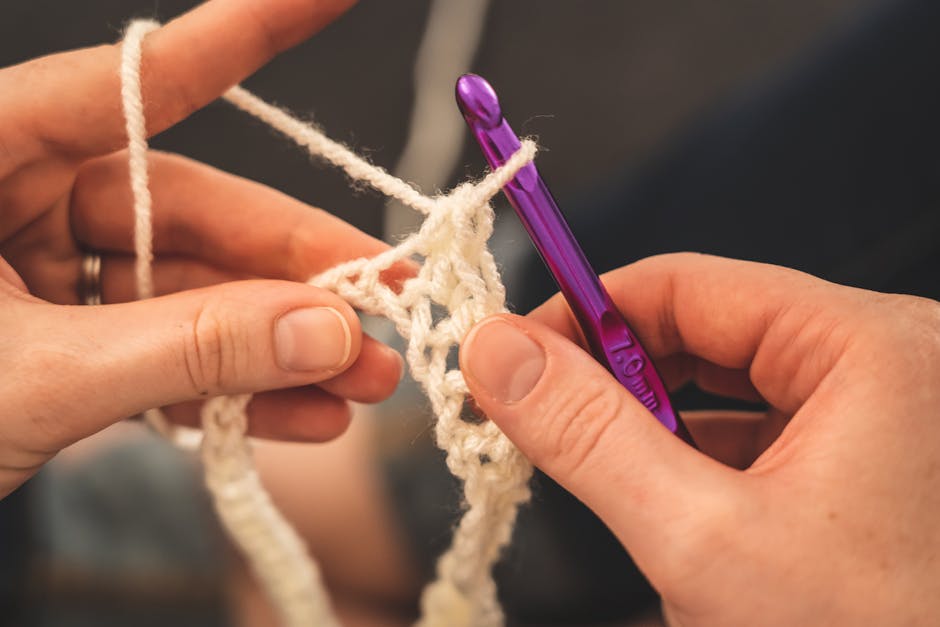
- Does it read instantly at thumbnail size?
Online, most buyers see your plush at 2 inches tall on a phone. Strong silhouettes win: ears, horns, snouts, tail shapes. Tiny details don't.
- Can you repeat it without drifting?
If the muzzle is "kind of" placed, each one will look different. That's fine for one-offs, but it's stressful for selling. Patterns that sell need landmarks, like "attach muzzle centered between rounds 12 and 16, spanning 11 stitches."
- Does it have at least one signature feature that's cheap to make?
A signature feature should feel special but not add hours. Examples:
- a colorwork belly patch done with surface crochet (decorative stitches worked on top)
- a sculpted snout using short rows (partial rows that create curves)
- a two-layer ear with a clean edge, made from simple shapes
- Is the finishing time under control?
Finishing is where "advanced" can become "never again." If a design needs 18 tiny parts, it may look amazing, but it will drain you.
A practical rule we use: if assembly takes more than 25 to 30 percent of total time, either simplify the part count or redesign attachment points.
If you want more options for pushing skill without making the build miserable, this pairs well with our guide on advanced crochet techniques that sell.
A Worked Example: Designing a Sellable "Moon Rabbit" Pattern (Without Over-Complicating It)
Here's how we'd design a unique plush that looks advanced, photographs well, and stays repeatable.

Concept
A "Moon Rabbit" with a crescent belly, sleepy eyes, and weighted feet so it sits upright.
The unique hook is the silhouette (long ears, round body) plus one strong graphic detail (crescent belly). You don't need 20 add-ons.
Construction Plan (with Concrete Decisions)
Body: one-piece from the bottom up.
- Start with an oval base so it naturally sits.
- Increase into a soft egg shape.
- Build in a slight belly by spacing increases more toward the front (this changes the center of mass).
Feet: integrated, not separate.
- Use two small "toe bumps" made with partial rounds on the base.
- Add a little weight (poly pellets inside a sewn pouch) in the bottom.
Head shaping: simple, but intentional.
- Crochet the head as part of the body (no neck seam).
- Use a defined "cheek increase zone" for rounds 10 to 13 so the face isn't a perfect ball.
Ears: two-layer ears that don't droop.
- Outer ear in the main color.
- Inner ear panel in contrast.
- Slip stitch (a joining stitch) the panel on top so it's clean.
- Add one hidden support line: surface crochet up the ear center to stiffen it without wire.
Crescent belly: applique (a separate shape) rather than color changes.
- A crescent applique is fast and consistent.
- You can place it as a "brand stamp" in photos.
Face: embroidered sleepy eyes.
- Embroidering gives you expression without plastic safety eyes.
- It also avoids eye placement anxiety for pattern buyers.
What Makes This "Advanced" Without Being a Pain
- The plush sits reliably because the base, weight, and belly shaping work together.
- The ear structure is built-in, not a separate craft step.
- The signature belly detail is quick, bold, and repeatable.
Pricing and Time Reality (so You Don't Undersell Yourself)
We can't tell you what to charge, because your speed and costs vary. But you can estimate in a way that protects you.
- Track how long one sample takes, including sewing and embroidery.
- Write down your materials per plush (yarn, stuffing, pellets, tags, packaging).
- Decide your hourly target.
- Add a buffer for mistakes and customer messages.
If the final number feels "too high," that's usually a signal to simplify assembly or reduce part count, not to pay yourself less.
For more pattern structure ideas, our article on crocheting intricate plushie patterns for sale can help you plan instruction flow and shaping.
The Non-Obvious Stuff That Makes Your Plush Look Professional
Most "advanced look" comes from small choices that beginners skip.
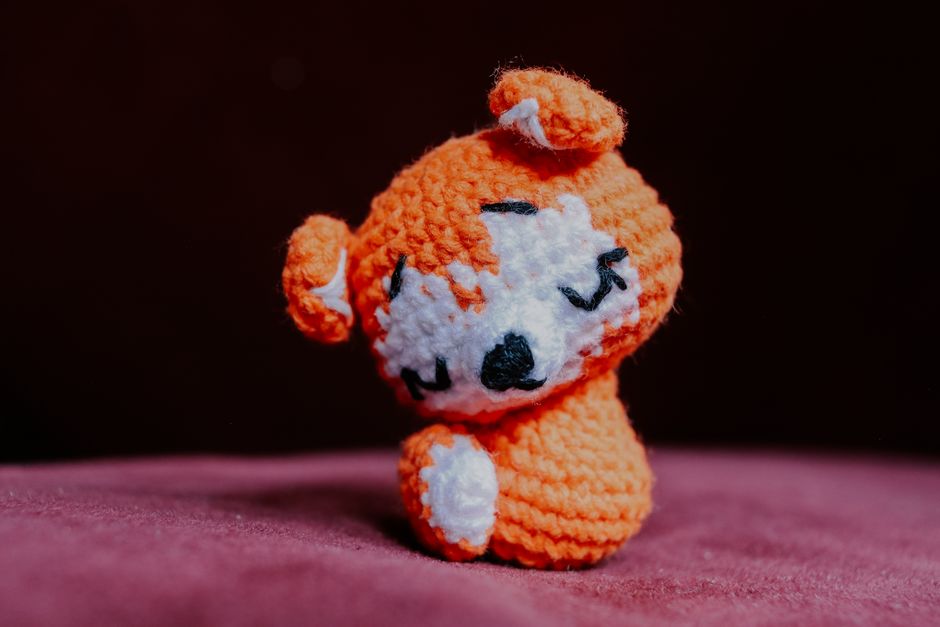
Use Shaping on Purpose (Not Just Increases Everywhere)
If you only use standard increases and decreases, your plush becomes a stack of spheres.
Try these upgrades:
- Short rows to create a forehead, snout slope, or bent tail
- Front loop only rounds (working into only the front loop) to create crisp ridges for paws, cheeks, or collars
- Strategic stitch height (mix single crochet with half double crochet) to smooth curves
Control Stuffing Like It's Part of the Pattern
Overstuffing makes stitches stretch and shows holes. Understuffing makes it floppy.
Our method:
- Fill in layers.
- Use smaller stuffing pieces in the face and joints.
- Shape with your fingers while you add stuffing, especially around decreases.
If you're writing patterns, say where firmness matters. "Stuff firmly" isn't enough. Call out spots like cheeks, neck, and base.
Make Assembly Foolproof for Buyers
If you sell patterns, your instructions need to prevent the most common "my plush looks wrong" moments.
- Mark attachment zones by rounds, not by vibes
- Use stitch markers (little clips or yarn scraps) to label left vs right limbs
- Give alignment checks, like "ears should line up with the outer edges of the eyes"
This is also why we like integrated construction where possible. Fewer parts, fewer ways to attach things crooked.
Safety and Selling Notes (so You Don't Create Headaches)
Selling finished plushies comes with real-world expectations. You don't have to panic, but you do need to be clear.
- Safety eyes and small parts: If you use plastic eyes, they can be a choking risk for kids. Many makers label plushies with small parts as not for children under 3. In the U.S., toy safety rules exist under the Consumer Product Safety Improvement Act (CPSIA). The official starting point is the U.S. Consumer Product Safety Commission CPSIA page. Consider getting professional guidance if you're selling as toys for kids.
- Yarn choice: Some novelty fur yarns shed. Some fibers felt or stretch. Test your plush by tugging and rubbing the fabric, especially on details.
- Care instructions: A simple tag or listing note helps. "Spot clean only" is common for amigurumi, but test your own materials first.
If you primarily sell patterns, you can still help buyers by including a "materials and safety options" note, like embroidered eyes vs safety eyes.
A Simple Next Step If You Want a Pattern Line (Not Just One Design)
A pattern line sells better than random one-offs because buyers know what to expect.
Pick one "signature system" and reuse it:
- one body base with different heads
- one ear style with different markings
- one sitting pose with different tails and accessories
That keeps your brand consistent, and it makes pattern writing faster over time.
If you want to build out that system, start with one hero design, then make two variations that share 60 to 70 percent of the steps. That's how you grow a shop without rewriting your whole life each time.
If you want more inspiration for pushing beyond basic shapes, browse crochet patterns for stuffed animals with lifelike design ideas and then choose one technique to make your own signature.