
Crochet Kit for Beginners: How to Use One to Create Unique Designs for Sale
You opened your kit, made the first square, and it looks... fine. Not awful. Just like everyone else's.
If you're trying to sell what you crochet, "fine" is the problem.
A crochet kit for beginners can absolutely be the starting point for products people pay for, but only if you treat the kit as your base, not your brand. Below is a step-by-step way we use to go from "kit project" to "I made this" without needing advanced skills or a yarn wall.
Start by Auditing Your Crochet Kit for Beginners (so You Don't Fight It)
Most kits are built to help you finish something fast. That's great for confidence, but it also means the yarn, hook, and pattern are chosen for simplicity, not originality.
Do a quick audit before you crochet a single full piece. You're looking for what you can safely change, and what you should leave alone until your hands are steadier.
Here's what to check:
- Yarn weight and fiber (the thickness and what it's made of). This affects size, drape, and how "store-bought" it looks.
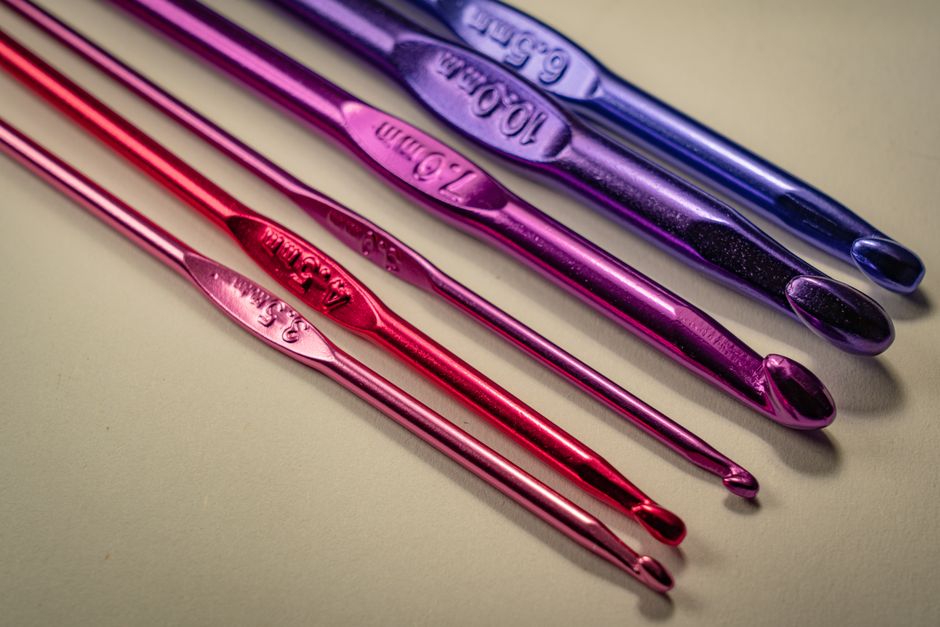
- Hook size. A different hook can change stitch tightness, which can change the final size.
- Pattern structure. Does it build in rows (flat) or rounds (tube/ball)? Row-based patterns are easier to modify.
- Finishing steps. Most "beginner" pieces look beginner because the ends aren't woven in well or the shape isn't blocked (gently shaped).
Keep the kit yarn and hook for your first 1 to 2 items. Your goal is to learn consistency first, then customize.
If you want one fast upgrade that doesn't break the pattern, focus on clean edges and clean stuffing (if it's a plush). Neat finishing sells.
Step-By-Step: Use the Kit Pattern, Then Add Your Signature
Use this order. It keeps you from ripping out hours of work.
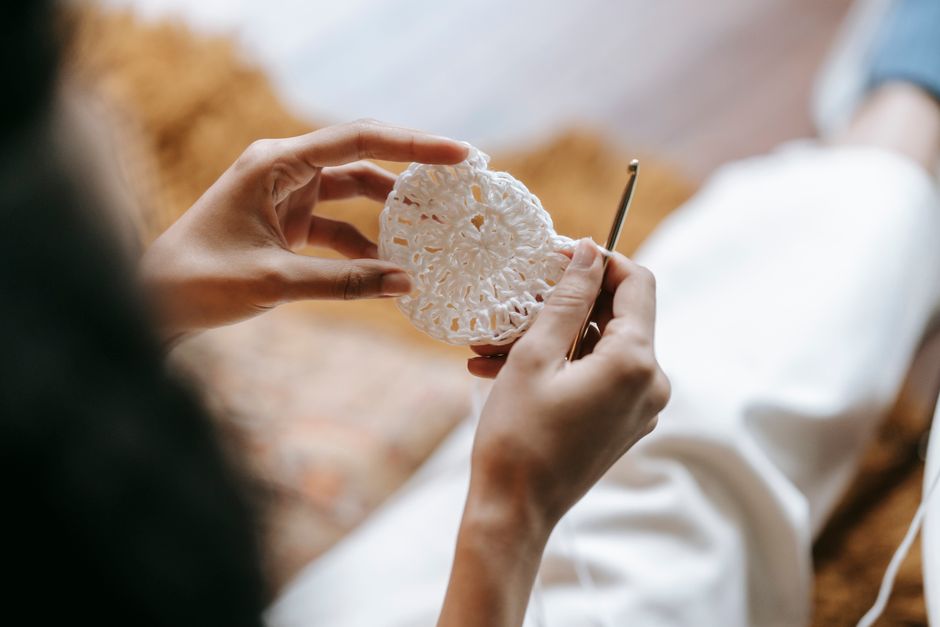
- Make one "test swatch" square or circle (10 minutes)
Crochet 10 to 15 stitches across and do a few rows, or a small circle if the project is in the round.
You're checking two things: your tension (how tight you pull) and the fabric feel. If it's stiff like a coaster, go up a hook size. If it's floppy and holey, go down.
- Complete one item exactly as written
Yes, even if you plan to sell. Your first finished kit item is your reference model. You need to know what the designer intended before you improve it.
Take photos of:
- Front and back
- Seams or joins
- Any spot that looks messy to you
Those "messy spots" are your upgrade map.
- Pick one "signature rule" for your shop
This is how you stop looking like every other beginner seller.
Choose one rule you can repeat across products, like:
- A specific color palette (earth tones, candy brights, black-and-neon)
- A repeating detail (scalloped edging, stripe placement, tiny embroidered face)
- A theme (mushrooms, sea creatures, cottagecore flowers)
Stick to one signature rule for your first 10 listings. Consistency makes your shop look intentional.
- Customize using "safe swaps" (no math required)
These are changes that usually don't break the pattern:
- Color changes: stripes, color-blocking, or a contrasting border
- Edging: single crochet border, picot edge (tiny bumps), or scallops
- Surface details: simple embroidery, French knots, or stitched outlines
- Add-ons: pockets, loops, tassels, small appliqués (little shapes sewn on)
Avoid "risky swaps" at first, like switching to a much thicker yarn, changing stitch types across the whole piece, or resizing by adding repeats everywhere. Those can snowball fast.
A Worked Example: Turning a Basic Kit Beanie Into Three Sellable Styles
Let's say your kit includes a simple beanie: ribbed brim, plain body, basic top decrease. Lots of kits do.
You can sell that same base pattern three different ways without changing the sizing math.
Base beanie (kit version)
- One solid color
- No extra details
- Looks like a practice piece
Style 1: "Two-Tone City Beanie" (fastest upgrade)
- Brim in Color A, body in Color B
- One clean color change at the fold line
- Optional: one thin stripe near the crown
Why it sells better: it looks designed, not accidental.
Style 2: "Textured Accent Beanie" (still beginner-friendly)
- Keep the kit stitches for most rows
- Add one textured band in the middle using a simple raised stitch (like front post double crochet). If your kit doesn't teach it, use it only for one band so you can practice without committing.
Why it sells better: texture reads as "handmade premium" in photos.
Style 3: "Character Beanie" (higher value, same base)
- Same beanie
- Add two small crocheted ears or horns (simple triangles or half-circles)
- Add a tiny stitched face or symbol
Why it sells better: character items are giftable, and giftable items move.
The key is that all three share the same foundation. You're not designing from scratch yet. You're building a product line.
If toys are more your lane, the same idea applies to plush shapes. You can start basic, then move into more complex work later. When you're ready, you'll get more mileage from advanced crochet patterns for toys you can sell.
What Beginners Miss: Finishing Is What Makes It "for Sale"
Most beginner pieces fail at the last 10 percent. Not because the crocheting is bad, but because the finishing is rushed.
These are the finishing steps we'd never skip for an item meant for sale:
- Weave in ends in three direction changes. Don't just run the yarn tail straight and cut it. Change direction a few times so it locks.
- Shape your item on purpose. Smooth the edges with your hands. For flat items, consider blocking (pinning/shaping while damp) if the fiber allows it.
- Match seams. If you sew pieces together, line up stitch rows so it doesn't twist.
- Stuff evenly (for plush). Add small amounts, push it into corners, then add more. Lumpy stuffing screams "first attempt."
Safety note if you sell plush to families: small parts can be a choking risk. Many makers avoid plastic safety eyes for items intended for very young kids, or they clearly label the item as not for children under 3. The U.S. Consumer Product Safety Commission shares toy safety guidance here: CPSC toy safety information.
Pricing and Listing: a Simple Decision Framework for Your First Sales
New sellers often underprice because they count only yarn. Your time matters too, but there's a balance. If you price too high before your work looks polished, you won't get the early sales that teach you what people want.
Use this beginner-friendly pricing framework:
- Choose "practice pricing" for your first 5 to 10 items if your goal is learning photos, listings, and packaging.
- Choose "premium pricing" only after your finishing is consistent (neat edges, no gaps, tidy seams) and your photos show that clearly.
A practical way to decide:
- If the item takes you under 2 hours, keep it simple and focus on volume and consistency.
- If it takes you multiple evenings, don't sell it until it looks like a gift someone would proudly give.
For listings, one non-obvious tip that helps beginners: sell the outcome, not the stitch.
Instead of "Crochet beanie, double crochet," use language like:
- "Soft ribbed brim, snug fit, two-tone design"
- "Giftable character hat, handmade in small batches"
You can still include materials and care info in the details.
Also, build a small "upgrade ladder" for your shop. Start with simple items, then add one harder product type as your skills grow. If you want a clear next step, unique crochet projects with advanced flair that sell can help you plan where to go after the basics.
Common Beginner Mistakes That Make Items Hard to Sell (and Easy Fixes)
A few issues pop up constantly when people use a kit and jump straight to selling.

- Over-customizing too early: Changing yarn weight, hook, and stitch pattern all at once makes sizing unpredictable.
- Ignoring photos until later: Take progress photos while you make the first item. You'll learn what looks messy on camera.
- Not repeating winners: If one style sells, make it again in 3 colorways before chasing a new idea.
- Messy color changes: Learn one clean color-change method and stick to it. A sloppy stripe ruins an otherwise good hat.
The easiest fix is boring but powerful: make the same project three times. The third one is usually the first one you can confidently sell.
FAQ
How Long Does It Take to Finish a Crochet Kit for Beginners Project?
Most beginner kits are designed to be finishable in a few hours to a few sessions. Your speed depends on tension, how often you stop to check the pattern, and how much finishing the project needs.
Can I Sell Items Made From a Kit Pattern?
Sometimes yes, sometimes no. It depends on the pattern's license terms (the usage rules that come with it). Check the pattern notes, packaging, or the designer's listing for "personal use" versus "items for sale." If it's unclear, don't assume.
What's the Safest Way to Make My Items Look "Unique" Without Rewriting the Pattern?
Stick to safe swaps: color placement, borders, and small add-ons. These change the look without changing size or structure.
Should I Buy a Better Hook or Different Yarn Right Away?
Not right away. Finish one item with what's in the kit so you learn what you like and dislike. Then upgrade one thing at a time, usually yarn first for a more premium look.
Turn Your Kit Into Your First Product Line
A kit is training wheels, but training wheels still move. Finish one item as written, pick one signature style rule, and customize with safe swaps. Then repeat the winners until your hands can do it without thinking.
That's how you go from "I followed a kit" to "this is my brand." If you want patterns built for selling (not just learning), that's exactly what we make and sell at artncraftartncraft.art.