How to Crochet Unique Stuffed Toys: Crochet Patterns for Fun Gifts
A handmade stuffed toy can feel like a little time capsule. People keep them for years, and they remember who made them. If you're searching for How to Crochet Unique Stuffed Toys, here's the quick answer: pick a simple base shape, add one "signature" detail (texture, face, or outfit), and finish with clean stuffing and tight stitches so it holds up as a gift.
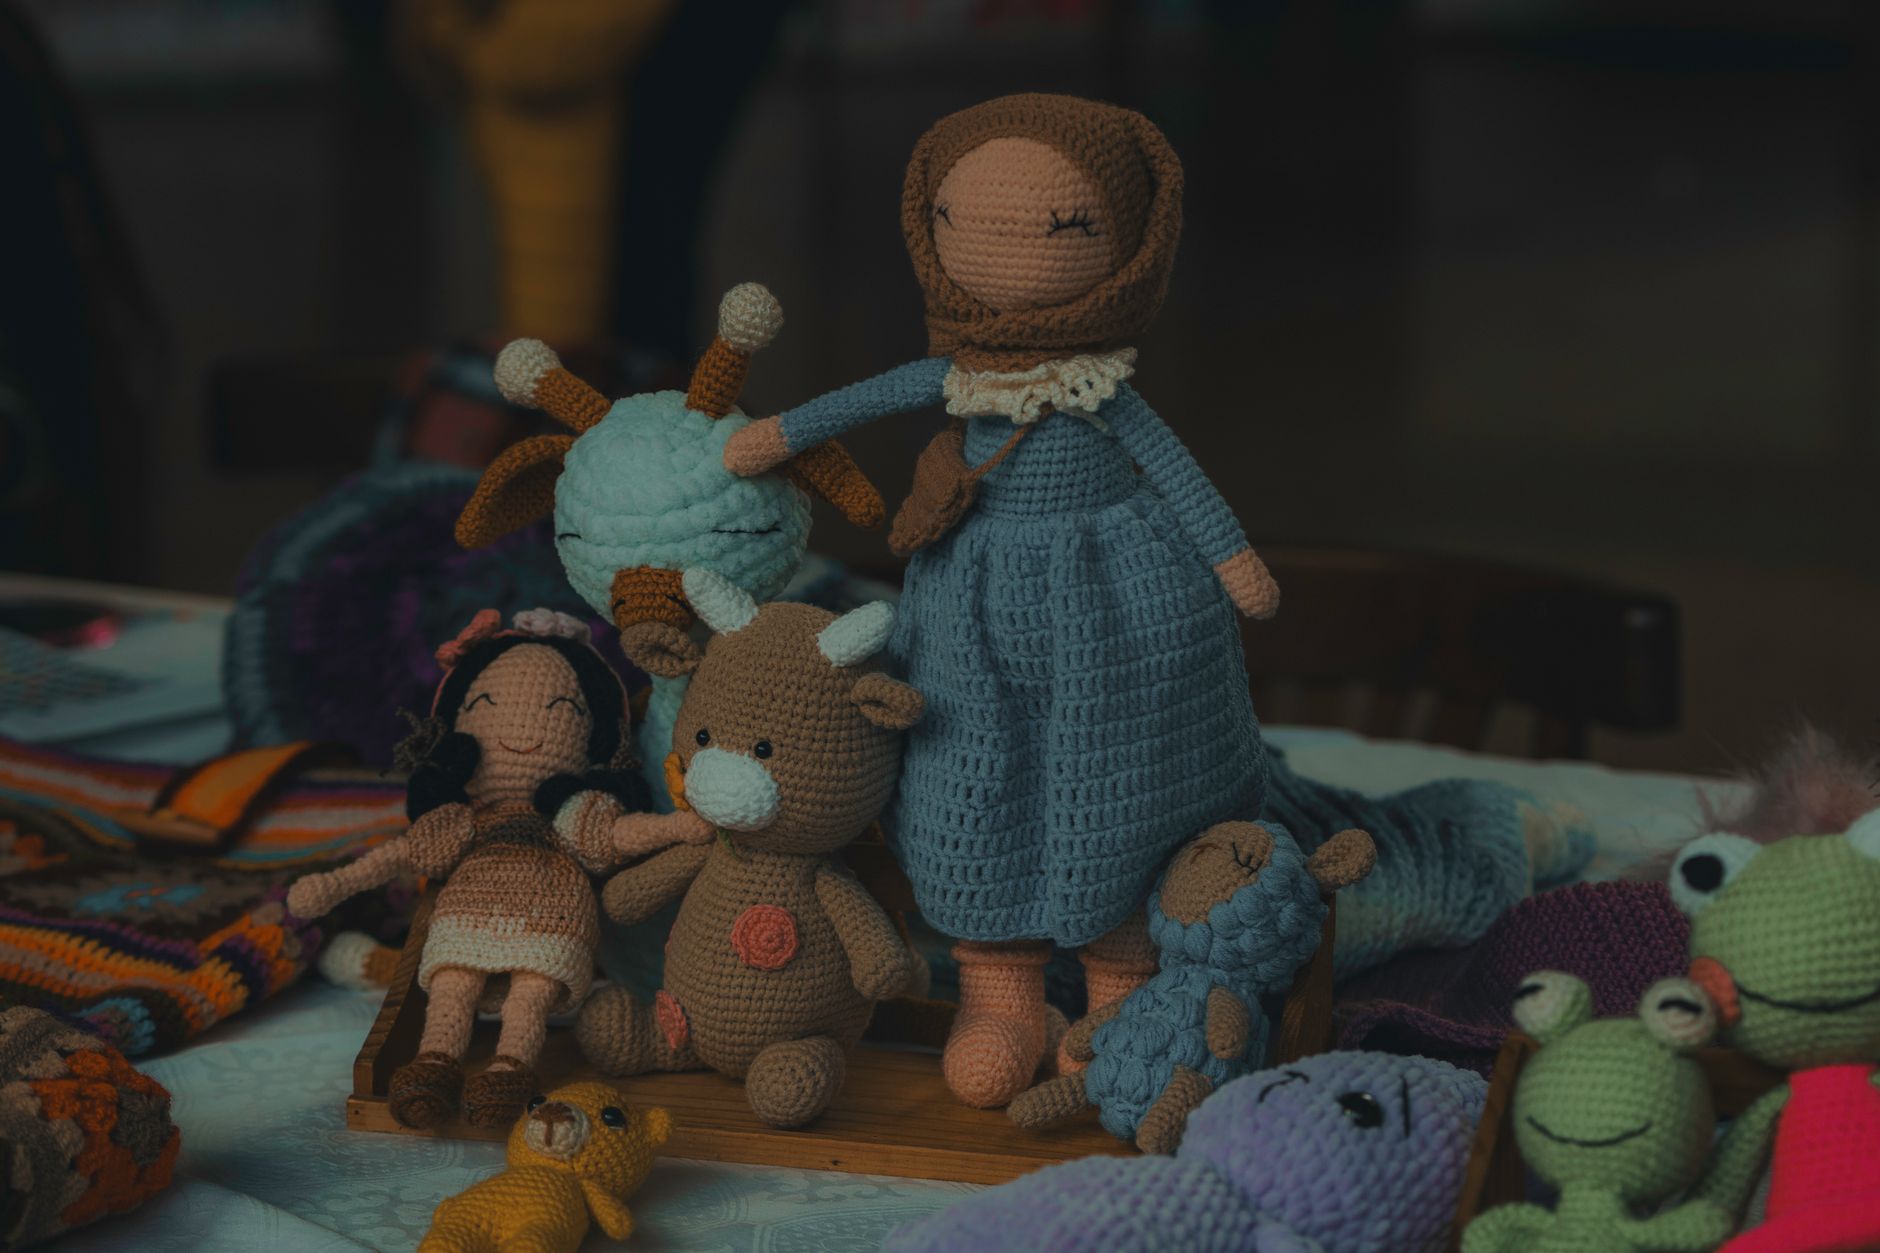
Crochet stuffed toys (often called amigurumi, which means small crocheted stuffed doll) are also one of the most flexible gifts you can make. You can match a toy to someone's favorite animal, snack, hobby, or even an inside joke. You don't need fancy tools either, just yarn, a hook, and a few smart technique choices.
Below, I'll walk you through a beginner-to-advanced path. You'll learn materials, shaping tricks, and how to add personality, plus how to choose patterns that are fun to give.
Why "Unique" Stuffed Toys Get Bigger Reactions
Most people have seen a basic teddy bear. They smile, they say thanks, and it's sweet. A unique crocheted toy gets a different kind of reaction because it feels personal. A tiny crochet axolotl with a hoodie, or a boba tea with a face, looks like it was made for one person only.
"Unique" doesn't have to mean complicated. It usually means one strong idea done well. That could be unusual colors, a silly expression, or a special prop like a tiny book, flower, or skateboard. A small detail gives the toy a story, and stories make gifts stick.
If you sell patterns or finished toys, this also matters for your brand. Shoppers scroll fast. A toy with a signature style stops the scroll. For broader design ideas, you can also read how to crochet unique stuffed animals for advanced ways to make animals feel one-of-a-kind.
Here are a few "easy uniqueness" levers that work even for beginners:
- Swap the usual yarn colors for unexpected ones (lavender bear, teal dinosaur)
- Add a tiny accessory (hat, scarf, backpack, bow)
- Choose one texture stitch for a belly or mane (bobble stitch, ribbing)
- Give it a themed identity (chef bunny, gamer cat, sleepy cloud)
- Use embroidered details instead of plastic eyes for a softer look
Tools, Yarn, and Safety Basics (so Gifts Last)
A fun gift should also survive hugs, car rides, and being tossed on a bed. Stuffed toys take a lot of handling, so materials matter. For most crocheters, the sweet spot is a smooth yarn with good stitch definition and a hook size that makes tight fabric (so stuffing doesn't show).

If the toy is for a baby or toddler, skip anything that can pop off. That means no safety eyes unless you are 100% sure the child is old enough and supervised. Many makers prefer embroidery for gifts to young kids because it's softer and safer.
A few sources back up the general guidance around toy safety and child products. In the US, toy safety and small-part risks are widely covered by the U.S. Consumer Product Safety Commission. For yarn care and labeling basics, yarn standards and fiber info are also explained by groups like the Craft Yarn Council.
Here's a practical shopping checklist for crochet stuffed toys:
- Yarn: worsted weight or DK for most patterns, cotton for crisp stitches, acrylic for softness
- Hook: often 1 size smaller than the yarn label suggests, to create a tighter fabric
- Stuffing: polyester fiberfill is common, and it bounces back after squeezing
- Needle: blunt tapestry needle for sewing parts and weaving ends
- Stitch marker: helps you track rounds (a lifesaver for spirals)
- Optional: pipe cleaners or craft wire only for adult display toys, not for kids
If you want the cleanest "pro" look, focus on tight single crochet fabric and neat sewing. People notice that before they notice fancy details.
How to Crochet Unique Stuffed Toys Step by Step (Beginner to Advanced)
Let's turn the idea into a repeatable method. Most crochet toys are built from simple shapes: spheres, ovals, tubes, and cones. The magic is how you combine them, then add details that make the toy feel alive.
Start with a small project first, like a palm-sized animal or food plush. Smaller toys teach you shaping fast, and they finish quickly. If you mess up, you learn and move on without losing a week of work.
Follow this reliable build order for almost any toy:
- Choose a pattern with a clear photo and a finished size you like
- Crochet the head and body first (or a combined head-body for simpler toys)
- Crochet arms, legs, ears, wings, or extra parts
- Place eyes and shape the face before closing the head
- Stuff firmly in small pinches, not big clumps
- Sew pieces on using pins first, then stitch slowly for symmetry
- Add accessories and final embroidery last
Next, learn the "uniqueness upgrades." These are the moves that make your toy look custom, even if the base pattern is simple.
Upgrade 1: Shape Control with Increases, Decreases, and Stuffing
A round head can look totally different based on where you place increases and decreases. The most common toy fabric is single crochet in a spiral. Tight tension keeps it smooth and strong.
Try these shaping tips:
- Put increases closer together to make a wider, rounder area fast
- Space increases out to make a more gradual dome shape
- Use invisible decreases (a neater decrease method) to avoid bumps
- Stuff the head firmly, then add a little more after you place eyes
- Add a tiny bit of stuffing to cheeks for a "kawaii" (cute) face look
If you want to go deeper on neat stitches and detail control, how to crochet detailed patterns is a helpful next step.
Upgrade 2: Personality Through Faces (the Fastest Uniqueness Hack)
Faces are where people connect. A toy with a great face becomes someone's desk buddy or comfort plush. You can keep it simple while still making it original.
Here are face options you can mix and match:
- Safety eyes for older kids and adults, placed wider for cute, closer for intense
- Embroidered eyes (sleepy lines, big sparkly anime style, or tiny dots)
- Felt eyes (soft and bold, but stitch them down securely)
- A small embroidered mouth with a tiny curve for a smile
- Blush spots using pink yarn, pastel chalk, or a bit of embroidery floss
A quick trick is "expression testing." Before you commit, pin the eyes in 2 or 3 positions and take photos. The camera shows balance issues your eyes miss.
Upgrade 3: Texture and Colorwork Without Complicated Math
Texture makes a toy feel high-end. The good news is you can add texture with beginner-friendly stitches. Pick one section only, like the belly, mane, or shell.
Use these texture ideas:
- Bobble stitch for a bumpy dinosaur back or sheep fleece
- Front-loop-only rounds to create subtle ridges
- Ribbing (single crochet or half double crochet in back loop) for sweaters and hats
- Surface crochet lines to draw details like stripes or seams
- Simple color changes in stripes, spots, or a two-tone face mask
If you keep the base plain and add texture in one area, the toy looks designed, not busy.
Pattern Ideas That Make Fun Gifts (with Themes That Sell the Story)
A "fun gift" often means the person laughs, relates, or feels seen. Theme choices do that work for you. Think about hobbies, favorite snacks, pets, or a shared memory. Then choose a toy pattern that matches.

Food plushies are a hit because they're cute and unexpected. Animals are classic, but you can twist them with outfits and props. Fantasy creatures work well for teens and gamers, especially if you pick bold colors.
Here are gift themes that consistently land well:
- Mini desk buddy: tiny animal with a big head and small body for stability
- Keychain charm: simple shape with tight stitches and secure hardware
- Nursery gift: soft colors, embroidered face, no hard parts
- Graduation gift: animal holding a tiny diploma scroll
- Holiday gift: themed hat, scarf, or seasonal color palette
Now let's talk about how to choose patterns that are actually enjoyable to crochet. Some patterns look cute but feel miserable if they have too many tiny pieces or unclear steps.
Use this quick pattern "quality check" before you commit:
- Look for clear round counts and stitch totals at the end of each round
- Check for at least one finished photo from multiple angles
- See if the designer explains special stitches in plain language
- Confirm the pattern includes assembly notes (where to attach parts)
- Make sure the toy size fits your deadline and yarn stash
Crochet toy trends also shift over time. In 2025 and 2026, more makers are leaning into "cute with character," like playful facial expressions and simple outfits, instead of ultra-realistic animals. That matches what performs well on short-form video and marketplace thumbnails because the design reads fast.
FAQ About How to Crochet Unique Stuffed Toys
How Do I Make a Stuffed Toy Look Unique If I'm Using a Common Pattern?
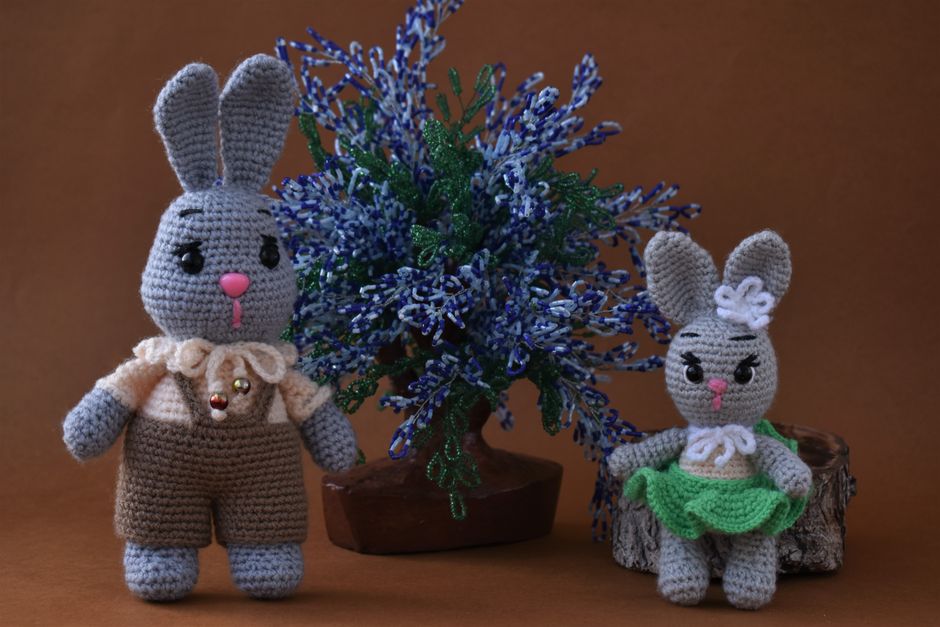
Change one thing that tells a story. Add an outfit piece, swap to an unusual color palette, or change the face style. Even simple embroidery can change the whole vibe. If the pattern is a basic bunny, give it a raincoat, a mushroom hat, or sleepy eyes, and it becomes yours.
What's the Best Yarn for Crochet Stuffed Toys That Are Gifts?
Worsted weight acrylic is a popular choice because it's soft, affordable, and easy to wash. Cotton yarn gives crisp stitches and sharp shaping, so details look cleaner in photos. If the gift is for a baby, many people choose soft cotton or baby acrylic, then keep all features embroidered for safety.
How Do I Stop Stuffing From Showing Through the Stitches?
Use a smaller hook than the yarn label suggests, and keep your tension tight. Stuff in small pieces and spread it evenly. If you still see stuffing, switch to a slightly thicker yarn or add an inner fabric lining for larger toys. Most of the time, tighter stitches fix it.
Are Safety Eyes Actually Safe for Kids?
Safety eyes can still be a choking risk if they come loose, especially for babies and toddlers. For young kids, embroidered eyes are the safest option. If you do use safety eyes for older kids or adults, follow the manufacturer's instructions and test the washers firmly. For more general toy safety guidance, the U.S. Consumer Product Safety Commission has clear information about small parts.
How Long Does It Take to Crochet a Small Stuffed Toy?
A simple palm-sized toy can take 2 to 6 hours, depending on your speed and how much detail you add. Sewing parts on often takes longer than people expect, so plan extra time for assembly. If you're gifting it, give yourself a buffer day so you can fix any small alignment issues.
Final Tips and a Simple Next Step
The easiest way to master How to Crochet Unique Stuffed Toys is to repeat a base shape and experiment with details. Make three versions of the same toy, but change the face, colors, and one accessory each time. You'll build skill fast, and you'll start to see what your "signature style" looks like.
If you want patterns that are designed to stand out and feel gift-ready, browse my pattern shop and pick one that matches your person. Then take a photo before you gift it, because you'll want to remember the first time someone hugs something you made.
For your next skill jump, explore crochet patterns for advanced techniques and try one upgrade like texture, colorwork, or a custom outfit.