
Magic Ring Crochet: Crafting Unique Complex Patterns for Sale
The message hits at 11:43 pm: "Help. My plushie has a tiny hole at the top and it looks... haunted."
That hole is usually the start. If you're selling crochet makes or crochet patterns, the first round can make or break the whole piece. Magic ring crochet fixes the most common "gap at the center" problem, and it also gives you cleaner shaping for the kind of complex, sculpted designs people actually pay for.
This guide is built for sellers and pattern designers. We'll compare your start options, show a worked example you can copy into a pattern, and cover the small choices that keep your center tight after stuffing and shipping.
Magic Ring Crochet vs. Chain Ring (and When to Use Each)
There are two main ways crocheters start a circle: a magic ring (adjustable loop) or a chain ring (chain stitches joined into a loop). Both are valid. They behave differently, and that matters a lot once you're building complex patterns for sale.
Here's the practical comparison we use when choosing a start for a design.
- Magic ring (adjustable loop): Best when you need a closed center (amigurumi, stuffed animals, hats with a tight crown, motifs where the middle should look "sealed"). It tightens after you work the first round.
- Chain ring (ch 2 method or ch 4-6 joined): Best when you want a stable hole (granny squares with an open center, lace, doilies). It won't cinch fully closed, which can be a feature.
For selling patterns, magic ring crochet usually wins for 3 reasons:
- Photos look cleaner. A tight center reads "professional" in listing images.
- Stuffing doesn't sneak out. This is huge for plush and 3D makes.
- Sizing is more consistent. A loose chain ring can change the first-round tension and shift the finished shape.
Trade-off: a magic ring can loosen if the tail isn't secured well. That's not a reason to avoid it, it's a reason to finish it like you mean it.
The Seller's Version of Magic Ring Crochet (Secure, Repeatable, Pattern-Ready)
Most tutorials stop at "pull the tail." For complex patterns you plan to sell, you want a method that holds up to handling, stuffing, and time.
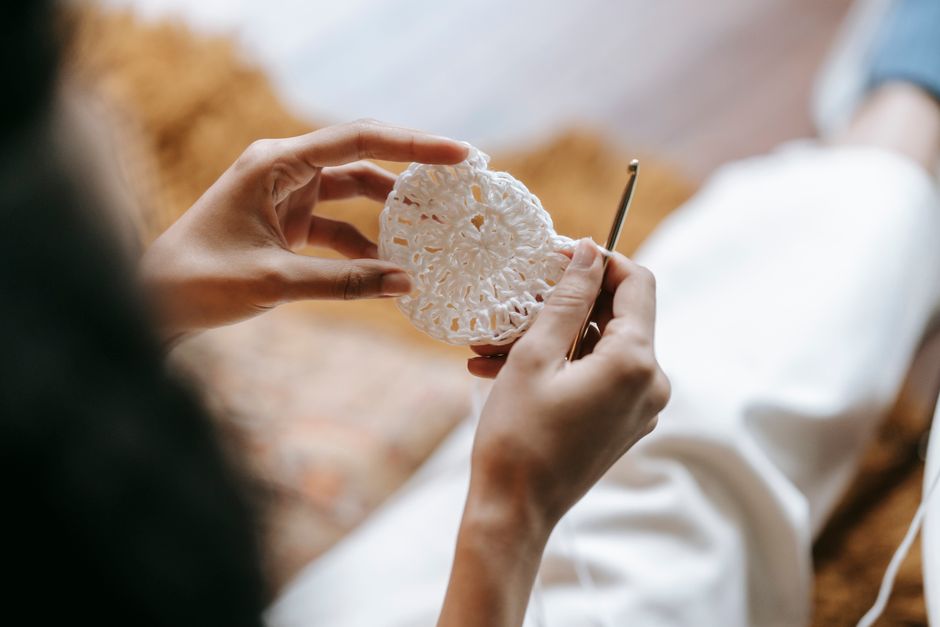
Step-By-Step (with the Exact Wording You Can Put in a Pattern)
This is the wording we use in our own patterns because it's clear and testable.
- Wrap yarn around your fingers to form a loop, leaving a 6 to 8 inch tail.
- Insert hook under the loop, yarn over, pull up a loop.
- Chain 1 to secure the loop (this does not count as a stitch unless stated).
- Work the required stitches into the loop (example: 6 single crochet).
- Pull the tail firmly to close the center.
That's the start. The "seller-proof" part is the finish.
The Non-Obvious Part: How to Lock the Center so It Stays Closed
If you sell finished pieces or sell patterns to other people, you need the center to stay shut even if the user isn't gentle.
After you close the ring:
- Weave the tail through the first round's stitches in one direction.
- Then weave back through a different path (same stitches, different route).
- If it's amigurumi or anything stuffed, run the tail across the inside and exit on the opposite side. Tug gently, then trim.
That "go out the other side" move spreads tension. It helps prevent the tail from working loose and reopening the center later.
Transition: once your ring is solid, the next challenge is using it on purpose, not just as a starting trick.
Worked Example: Designing a Complex, Sellable Shape Starting From a Magic Ring
Complex patterns sell when they look intentional. That means clean geometry, strong shaping, and details that don't wobble.

Here's a concrete example you can steal: a "swirl-cap dome" base that's great for plush heads, mushroom caps, or round animal bodies. It uses magic ring crochet plus planned increases that avoid visible corners.
Round Plan (Us Terms)
Use single crochet (sc). Place a stitch marker in the first stitch of each round.
- R1: magic ring, 6 sc (6)
- R2: inc in each st (12)
- R3: (sc, inc) x6 (18)
- R4: (2 sc, inc) x6 (24)
- R5: (3 sc, inc) x6 (30)
That's a standard dome start. The "complex" part comes from how you place design elements on top of that stable math.
Add a Clean Spiral Detail Without Warping the Shape
Instead of adding a separate applique, you can build a surface spiral with color changes that stay smooth.
- Keep the round counts above.
- Switch colors for 6 to 10 stitches per round, shifting the color block by 1 stitch each round.
- Carry the unused color inside (for plush) or float it behind (for flat motifs), and trap it every few stitches so it doesn't snag.
This creates a swirl illusion, but the underlying increase pattern stays even. Your dome stays round, your photo looks fancy, and the instructions are still readable for buyers.
If you sell stuffed animal patterns, you can apply this base directly to heads and bodies. For more 3D designs, our readers usually pair this with detailed crochet patterns for stuffed animals you can sell.
Common Magic Ring Crochet Failures (and Fixes You Can Build Into Your Pattern)
Most "my magic ring failed" reports come down to a few predictable issues. If you're selling patterns, you can prevent support emails by designing around them.

Failure 1: the Center Pops Open After Stuffing
Cause: tail wasn't woven back and locked, or the first-round stitches were worked too loosely.
Fix:
- Write "leave a long tail for closing and weaving" directly in the pattern.
- Suggest a smaller hook size for plush if gaps show.
- Add a line: "After closing, weave tail back through the first round twice."
Failure 2: the First Round Looks Twisted or Lumpy
Cause: stitches weren't snugged up on the ring, or the chain-1 was counted by accident.
Fix:
- State whether the starting chain counts.
- Tell makers to slide stitches together before tightening the ring.
Failure 3: the Ring Won't Close All the Way
Cause: the loop crossed in the wrong direction, or the tail got trapped.
Fix:
- Use plain language: "Pull the tail end, not the working yarn."
- Add a note: "If it snags, loosen slightly, then pull again."
Failure 4: Buyers Get Confused by "Magic Ring" Terminology
Cause: different names exist (magic circle, adjustable ring).
Fix:
- Define it once: "magic ring (adjustable loop)".
- Include one short step list like the one above, even if the pattern assumes basics.
Transition: a strong technique is good, but selling patterns means you also need smart product choices.
What to Sell: a Simple Framework for Pattern Ideas That Benefit From a Magic Ring
Not every product needs a perfect closed center. Use this quick framework to decide what to design and list next.
Choose magic ring starts if your product has any of these traits:
- It's stuffed (plushies, dolls, keychains)
- It's a dome or ball shape (heads, bodies, paws, berries)
- The center will be seen up close (photo-heavy listings, craft fairs)
- Safety matters (no stuffing peeking through)
Choose chain ring starts if your product benefits from an open center:
- Granny-style blankets and squares
- Lace motifs and airy summer tops
- Decorative mandalas where a hole is part of the design
If you're building a catalog to sell, a nice mix is:
- One "hero" stuffed animal pattern (magic ring heavy)
- One blanket pattern that shows off motifs and joins
For blanket builders, pair this with how to crochet unique blankets people buy so your designs don't look like everyone else's.
Closing the Loop (Literally) and Turning It Into Sales
A clean start reads as skill, even to non-crocheters. Magic ring crochet is one of those tiny techniques that makes your finished work look expensive and makes your patterns feel trustworthy.
If you want to sell complex patterns, treat the ring like a structural seam, not a cute trick. Write it clearly, secure it aggressively, and design shapes that take advantage of that closed center.
We sell crochet patterns built around tight starts and clean shaping, because that's what holds up in photos and real life. If you're building your next standout design, start with the ring, then build something only you would make.