
How to Master Crochet Patterns for Gifts (and Build Unique Designs That Sell)
"Most 'hard' crochet patterns aren't hard, they're just badly translated into steps."
If you've ever finished a gift and thought, "Why does mine look different than the photo?", you're not alone. The jump from "I can crochet" to "my gifts look pro" usually comes down to three things: reading patterns the way the designer intended, choosing the right yarn and hook for the fabric you want, and knowing exactly what to tweak (and what not to).
This guide is our practical, no-fluff answer to how to master crochet patterns for gifts. We'll walk step-by-step through the pattern skills that make your projects look clean, gift-worthy, and repeatable. We'll also show how those same skills turn into unique designs you can sell, without constantly reinventing the wheel.
How to Master Crochet Patterns for Gifts: the Step-By-Step Method We Use
Mastery isn't a vibe. It's a repeatable process you can run on any pattern, even a pattern that's a little messy.
Step 1: "Translate" the Pattern Before You Touch Yarn
Patterns often hide the most important info in plain sight. Before you start, read it like a checklist.
- Identify the finished size and purpose. A baby gift needs soft, washable fabric. A bag needs stiff fabric.
- Highlight repeats. Look for parts like "repeat rows 3-6" or "(sc, inc) around." Those are the engines of the shape.
- Mark every place the pattern changes direction. Turning chains, joining rounds, "work even," "increase evenly." These are common spots for mistakes.
- Write a one-line summary per section. Example: "Body: increase to 48 sts, then 20 rounds even." That single sentence prevents so many mid-project slips.
This pre-read feels slow the first few times. It saves hours later.
Step 2: Confirm Your Stitch Counts Like a Robot (so You Can Relax Later)
Gift projects fail quietly. One missed increase might not show until the final assembly, then the head doesn't fit the body or the sleeve twists.
Use a simple rule:
- Count at the end of every increase round.
- Count at the end of any repeat section.
- Count right before you fasten off.
If counting feels painful, place stitch markers like breadcrumbs. Put one marker at the start of the round, and another every 10 to 20 stitches.
Step 3: Choose Yarn for the Recipient First, Not the Photo
Pattern photos are marketing. Gifts are real life.
For gifts, we pick yarn by: comfort, care, and durability.
- Baby gifts: soft fibers that wash well (many people choose acrylic or cotton blends because they're low-stress to launder).
- Amigurumi (stuffed toys): smoother yarns show stitches clearly, and firmer yarns hold shape.
- Wearables: drape matters. A stiff yarn can make a scarf feel like cardboard.
Swapping yarn is fine, but it changes your "fabric." If you change yarn weight, you almost always change size.
Step 4: Do a "Micro-Swatch" for Gifts (Not a Whole Blanket Square)
You don't always need a full gauge swatch. For gift-making speed, do a micro-swatch that answers one question: "Do I like this fabric?"
Make a small square, about 3 inches to 4 inches, in the main stitch pattern.
Check:
- Stiffness: Does it stand up, or flop?
- Gaps: Can you see stuffing through it?
- Feel: Would you want this against skin?
If it fails any one of those, adjust hook size or change yarn. This is faster than "trusting the process" and ripping out later.
Step 5: Finish Like It's a Gift, Because It Is
The difference between handmade and "handmade and polished" is finishing.
- Weave in ends in at least two directions so they don't wiggle free.
- Block (shape with water/steam and let dry) anything that needs crisp edges or consistent size.
- Match stuffing density across the whole toy (soft head with a hard body looks odd).
If you want a full gift-focused approach for one-of-a-kind items, you'll like how to crochet gifts that don't look store-bought.
A Worked Example: Turning One Pattern Into Three Gift Options (Without Rewriting It)
Here's a concrete way we "master" a pattern: we treat it like a base recipe, then adjust only the parts that won't break the structure.

Let's say you have a simple crocheted beanie pattern worked in the round.
Base Beanie (the Control Version)
You follow the pattern exactly once. This becomes your reference.
During this run, you write down:
- Hook size used
- Yarn used
- Your finished circumference and height
- Any spots where you hesitated (those are your future notes)
Now you can create gift variations.
Variation 1: the "Fast Gift" Beanie (Same Pattern, Different Yarn Texture)
Goal: a quick win that still looks special.
- Keep stitch counts and shaping the same.
- Choose a yarn with built-in texture (like subtle tweed flecks or a gentle halo), so the same stitches look richer.
- Use a simple label and care note, because gifts get ruined in the wash more often than people admit.
Trade-off: textured yarn can hide mistakes, but it can also hide beautiful stitch definition. Great for speed, not always best for showing off detail.
Variation 2: the "Personalized" Beanie (Small Colorwork, Same Shape)
Goal: make it feel custom.
- Add 1 or 2 stripes near the brim.
- Or embroider initials after the hat is done (safer than changing the stitch pattern midstream).
Trade-off: stripes add extra ends to weave in. If you hate weaving ends, do wider stripes with fewer color changes.
Variation 3: the "Sellable Upgrade" Beanie (Structure Upgrade)
Goal: make it feel like a design, not a copy.
- Add a folded brim (crochet extra height, then fold and tack down).
- Or change the brim stitch to something denser.
Trade-off: structure changes affect fit. Folded brims can reduce stretch at the edge. You may need to size up slightly or use a stretchier brim stitch.
That's the real secret: master one pattern deeply, then create controlled variations. You get variety without chaos.
A Simple Decision Framework: Choose Your Pattern Based on the Gift Job
Some patterns are fun, but frustrating for gifts. The smartest move is choosing the right "difficulty type," not just the difficulty label.
Use this framework.
Choose Simple Shapes If You Need Reliability
Pick these when the deadline is tight or the recipient is picky.
- Hats, scarves, dishcloth sets
- Simple tote bags
- Basic plush shapes with minimal sewing
Why it works: fewer pieces, fewer surprises, cleaner finishing.
Choose Detailed Patterns If the Gift Is Meant to Be a Keepsake
Pick these when the project is the gift, and the effort matters.
- Character plush toys
- Intricate stitches, textured panels
- Multi-part amigurumi with shaping
Why it works: the "wow" factor is built into the design.
If you love plush projects but want them to feel original, build skills through custom crochet stuffed toys that feel personal.
Choose "Customizable Base Patterns" If You Want Items You Can Sell
These patterns give you room to make your own version, which matters if you sell finished items or patterns.
- Repeatable shapes
- Clear increase/decrease logic
- Surfaces that can take color changes, applique, or embroidery
If selling is part of your plan, you'll want ideas for turning a base into a signature design.
Common Pattern Problems (and the Fixes We Actually Use)
Even strong crocheters get tripped up by the same things. Here are fixes that don't require guessing.
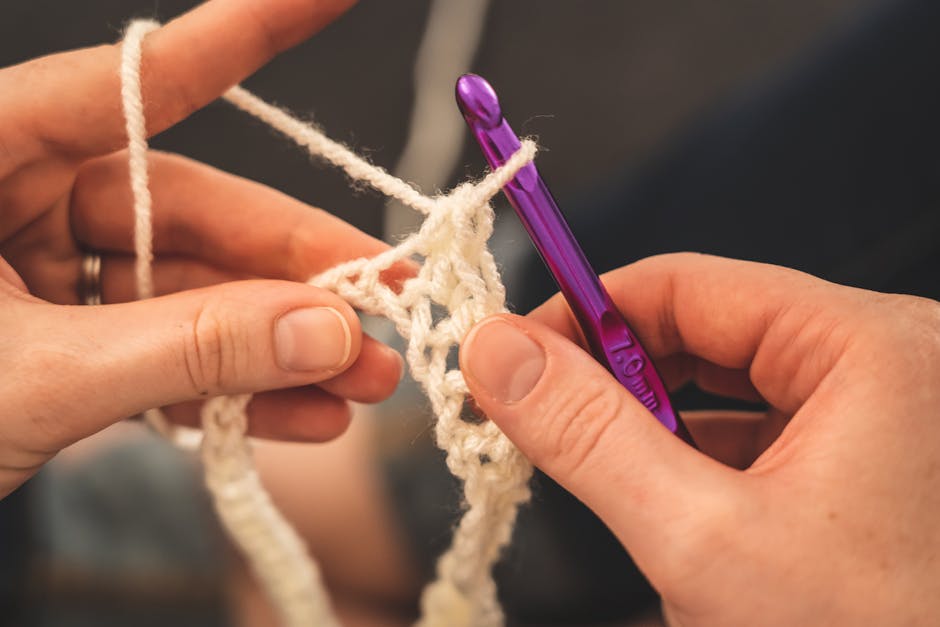
"My Size Is Off"
Most of the time, it's one of these:
- Your hook size creates a different fabric than the designer's.
- Your yarn weight isn't truly the same (two "worsted" yarns can behave differently).
- You're adding height with loose turning chains.
Fix:
- Adjust hook size first to get the fabric you want.
- For wearables, focus on measurements, not the stitch count alone.
"My Seams Look Messy"
Messy seams usually come from rushed assembly.
Fix:
- Pin pieces in place before sewing.
- Sew through the same loops consistently (both loops or front loops, but pick one).
- Match landmarks (center to center, corners to corners) before you fill in the rest.
"My Amigurumi Has Holes and Stuffing Shows"
That's a fabric tightness issue.
Fix:
- Go down a hook size.
- Use a yarn that doesn't split easily.
- Stuff in small bits and spread it evenly, instead of packing one big wad.
"The Pattern Is Confusing"
Some patterns are written in a way that assumes you already know the shape.
Fix:
- Rewrite each round as a formula: "Round 6: (sc 4, inc) x 6 = 36."
- Place a marker in the first stitch of every round.
- If the stitch count doesn't match, stop and fix it right there.
This is where mastery shows up. You don't push through confusion. You translate it.
Turning Gift Skills Into Unique Designs You Can Sell (Without Burning Out)
The biggest mistake we see is trying to "design" by inventing something totally new every time. That's exhausting, and it often creates weird fit issues.
A better approach is building a small library of mastered bases.
- Master 3 base shapes. Example: a hat, a simple plush body, a pouch.
- Create 5 signature details. Example: a specific ear shape, a flower style, a border, a face style, a color palette.
- Mix one base with one signature detail per project. That's a real design system.
This works because you're not gambling on the structure each time. You're adding personality on top of something you already know behaves well.
If you want the selling side, including what makes buyers notice your work, start with how to crochet unique patterns for sale that stand out.
FAQ
How Long Does It Take to Get "Good" at Following Crochet Patterns?
Most people feel a real jump after a handful of projects where they actively count stitches and take notes. The biggest speed boost comes from fewer do-overs, not faster hands.

Is It Okay to Sell Items Made From a Crochet Pattern I Bought?
It depends on the designer's terms. Some allow selling finished items, some don't, and some ask for credit. Check the pattern listing or the designer's website, and follow what they wrote.
What's the Fastest Way to Make a Crochet Gift Look Expensive?
Clean edges, consistent tension (even stitch size), and neat finishing do more than fancy stitches. A simple design in a great yarn, finished well, reads as high quality.
Your Next Best Step
Pick one pattern you already like and run the method from this post on it: translate it, count like a robot, micro-swatch for fabric, then finish with care.
If you want, we also sell crochet patterns designed to be clear, gift-friendly, and easy to customize. You can find our latest patterns at https://artncraftartncraft.art, and build your own "mastered bases" from there.