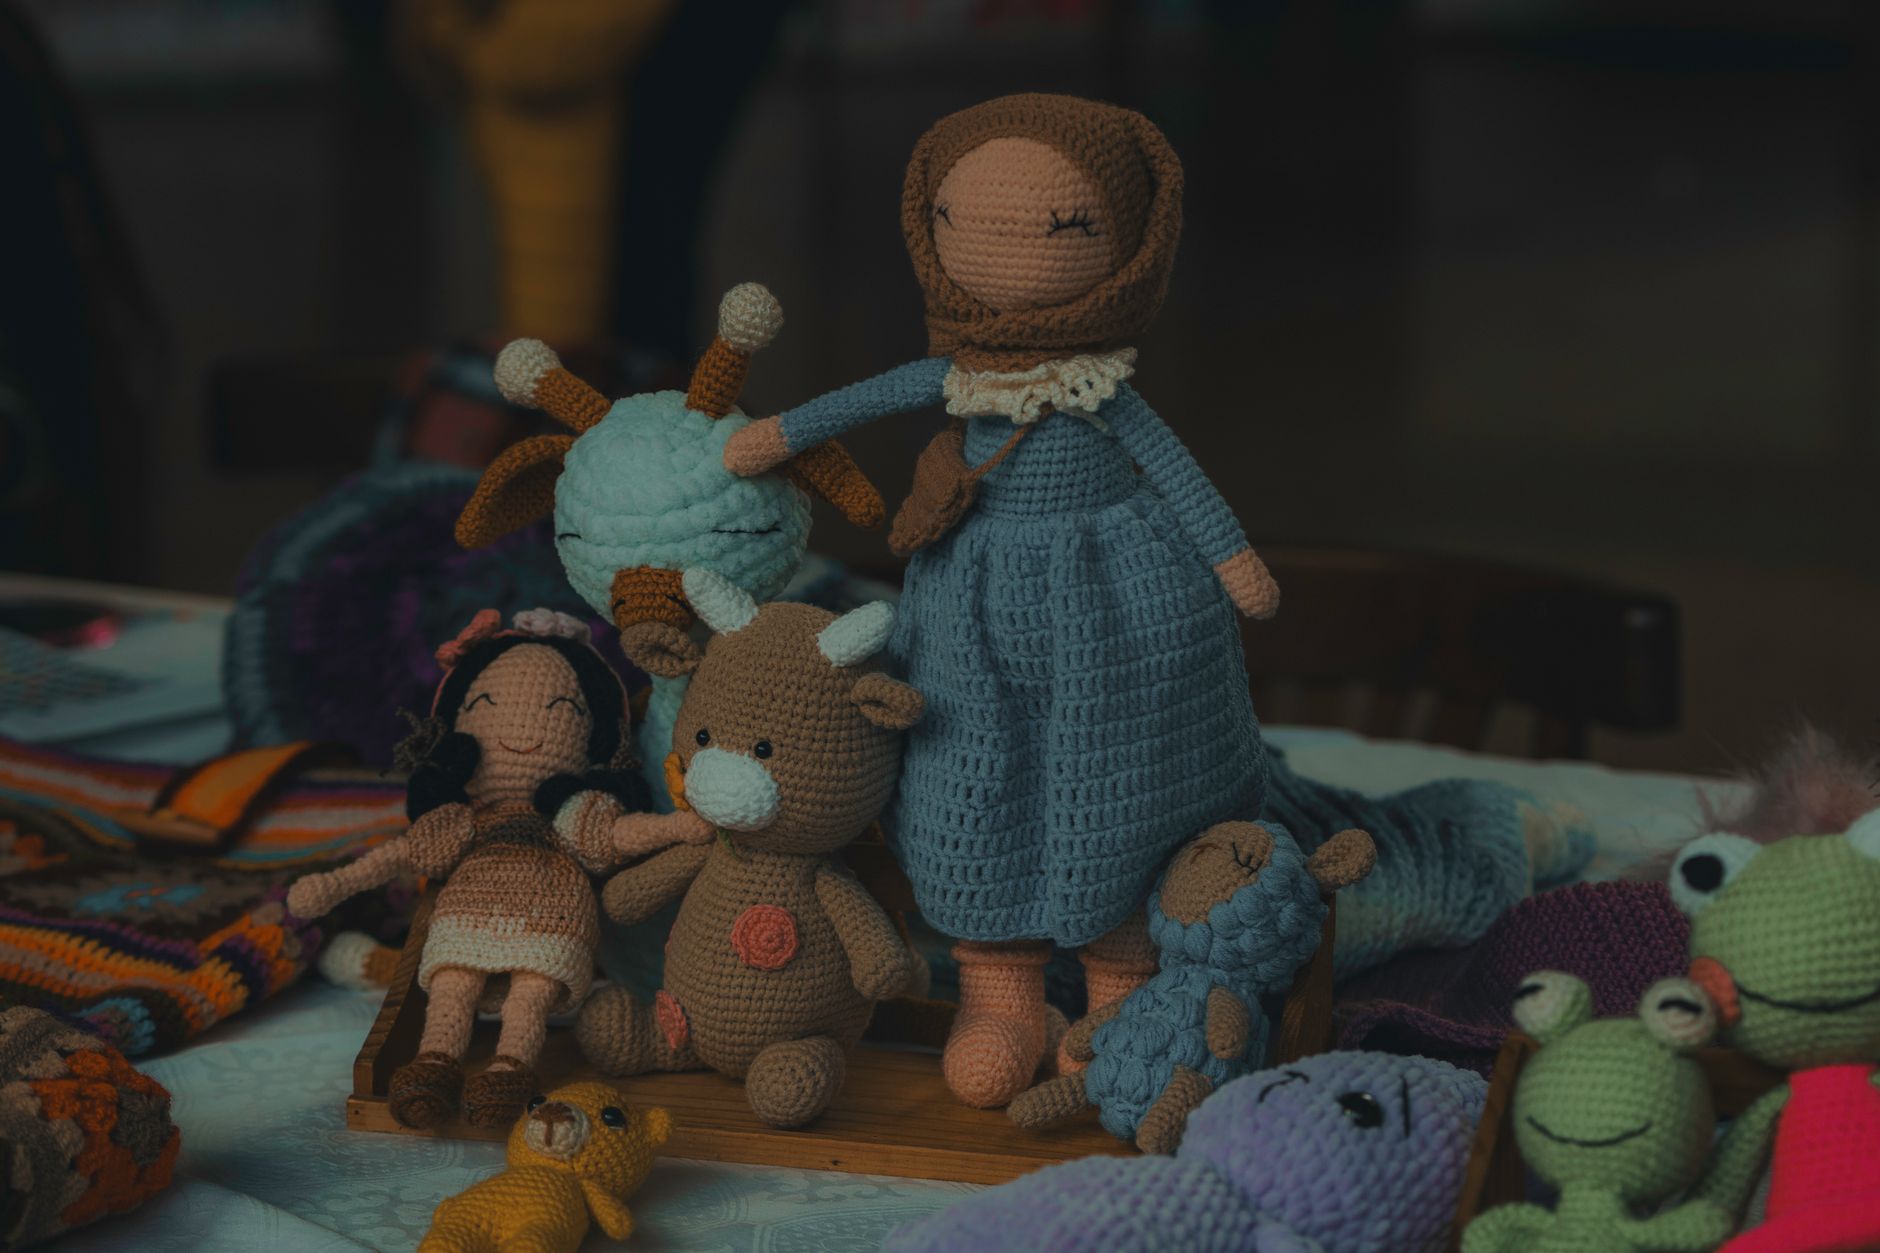
How to Crochet Unique Stuffed Animals Tutorial: Craft Unique Patterns You Can Buy Today
You've got yarn, a hook, and a mental picture of a plushie nobody else has. Then you open a pattern and it's either too basic, too confusing, or it makes a toy that looks like every other bear on the internet.
This how to crochet unique stuffed animals tutorial is built for that exact moment. You'll get a simple way to choose a pattern that matches your skill and your "weird-cute" idea, plus a worked example showing how we turn one base body into something truly original. If you want to skip trial and error, you can also buy a pattern today and start tonight.
How to Crochet Unique Stuffed Animals Tutorial (the Shortcut That Actually Works)
"Unique" doesn't come from a fancy stitch. It comes from design choices that change the silhouette (shape), the face, and the tiny details people remember.
Here's our practical shortcut for making a stuffed animal feel original without rewriting a whole pattern.
Step 1: Pick One "Signature Feature" First
Choose one feature that will do most of the visual work. Only one. This keeps the project clean and avoids the "busy plushie" look.
Good signature features:
- Oversized ears, horns, or fins
- A dramatic tail (curled, layered, spiked)
- A face style (sleepy eyes, stitched grin, tiny snout)
- Texture in one place (fluffy mane, bumpy back, scalloped belly)
Once the signature is set, everything else supports it.
Step 2: Start From a Reliable Base Body
A solid base body is like a blank canvas. You're looking for a pattern with:
- A clear body and head shape that's already cute
- Separate parts (arms, legs, ears) that you can swap or resize
- Notes on gauge (how tight your stitches are) and yarn weight
If you're still building confidence with amigurumi (crocheted stuffed toys), start with patterns that give stitch counts each round. Those are easier to check.
If you want a deeper skill builder that still stays practical, our guide on how to crochet stuffed animals patterns with clean shaping will help you spot what makes a pattern "trustworthy" before you buy.
Step 3: Make Uniqueness with "Proportion Tweaks"
This is the non-obvious part that changes everything.
Instead of adding ten extra decorations, tweak proportions by a small, controlled amount:
- Taller head: add 1 to 3 extra increase rounds before you stop increasing
- Chunkier body: keep the same max stitch count, but add 2 to 6 even rounds
- Shorter limbs: remove 1 to 4 rounds before stuffing and closing
- Bigger feet: add one increase round to the foot only, then return to normal
Small changes in the first half of a plushie create big personality changes in the finished toy.
Step 4: Lock in the Face Before You Sew Anything
Faces are where "unique" is won or lost.
Before you attach parts, pin the eyes, muzzle, and ears in place and take a quick photo. Your camera will show you what your brain misses.
A few face decisions that create instant character:
- Eye spacing (closer looks intense, wider looks sweet)
- Eye height (lower looks sleepy, higher looks alert)
- Muzzle size (tiny reads as "cute critter," bigger reads as "cartoon animal")
If a pattern includes multiple eye styles (safety eyes, embroidered, felt), that's a bonus.
A Worked Example: Turning One Base Pattern Into Three "Nobody-Else-Has-It" Plushies
Here's a real design approach we use when we want results fast. We start with one base body and change only a few controlled things.

Assume you're using a classic amigurumi body shape: round head, oval body, simple limbs. You can do this with most stuffed animal patterns.
Version a: "Moth-Bunny" (Soft, Fluffy, Weird-Cute)
Goal: a plushie that feels like a bunny, but looks like a cozy night moth.
Changes:
- Ears: make them wide and short, not tall and thin
- Antennae: add two thin strands, each 10 to 14 stitches long, lightly stuffed or unstuffed
- Collar fluff: crochet a ring of loops or use a fuzzy yarn just for one round at the neck
Trade-off to know: fuzzy yarn hides stitch definition. That's great for softness, but tricky for beginners. If you want the look without the struggle, use smooth yarn for the body and fuzzy yarn only for the collar.
Version B: "Pocket Dino" (Tiny, Bold Shape)
Goal: small plush, big personality.
Changes:
- Head: add 1 extra increase round, then 2 even rounds before decreasing
- Tail: make it thick at the base, then taper fast (so it looks chunky)
- Spines: add 5 to 7 small triangles, sewn down the back
Trade-off to know: spines pull the fabric if you sew too tight. Use long whip stitches and don't cinch. Let the spines sit on top of the body, not dig into it.
Version C: "Sad Blob Seal" (Simple to Crochet, Hard to Stop Hugging)
Goal: minimal parts, expressive face.
Changes:
- Limbs: swap arms and legs for two little side fins (no separate feet)
- Body: add 4 to 6 extra even rounds to get that plush "pillow" shape
- Face: set eyes lower, add a tiny embroidered mouth with a slight curve
Trade-off to know: simpler shapes show stuffing lumps more. Use smaller bits of fiberfill and stuff in layers, not one big clump.
These three plushies can come from the same base pattern logic. That's how you build a "style" instead of a one-off toy.
Choosing a Pattern You Can Buy Today (so You Don't Get Stuck Halfway)
Buying a crochet pattern should save time, not create new problems. Here's the decision framework we recommend, based on what actually trips people up.
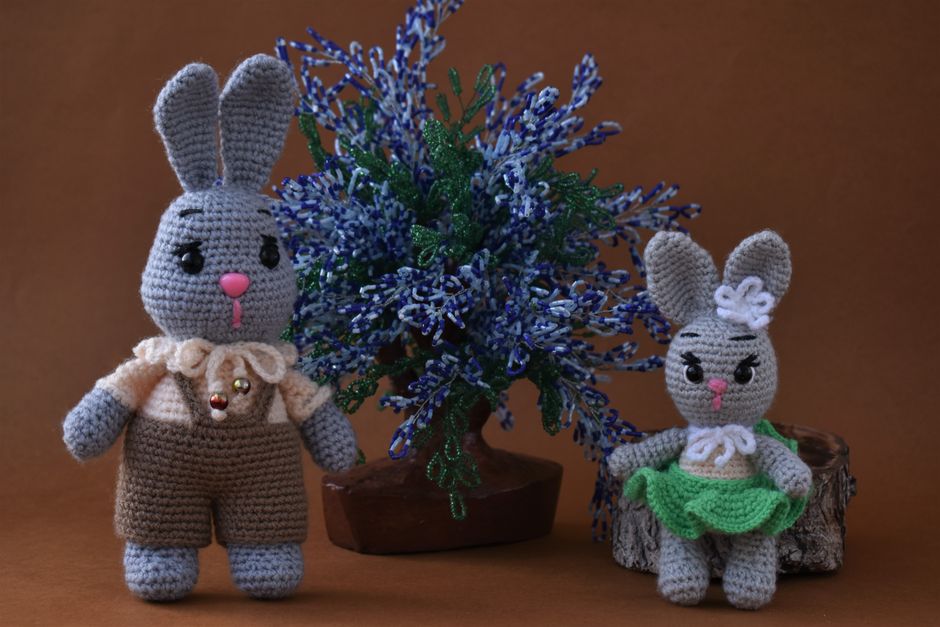
Choose a Beginner-Friendly Pattern If You Want a Quick Win
Pick this type if you want a cute result fast, even if it's not the most complex design.
Look for:
- Fewer sewn parts (less than 6 separate pieces is a nice sweet spot)
- Simple limbs (tubes, not shaped paws)
- Clear materials list and stitch abbreviations list
Avoid:
- Lots of color changes if you hate weaving ends
- Extremely tiny yarn weights if your hands cramp easily
Choose an "Intermediate with Options" Pattern If You Want Unique Without Guesswork
This is the best lane for most crocheters who want something original.
Look for patterns that include:
- Multiple ear or tail options
- Alternate faces (open mouth vs closed, sleepy vs bright)
- Notes for resizing parts
Those options are where uniqueness lives, and they're usually faster than freehanding.
If you like buying patterns online and want a clear comparison of formats (PDF, charts, photo-heavy instructions), use a beginner-to-advanced guide to buying custom crochet patterns online.
Choose an Advanced Pattern Only If You Enjoy the Challenge
Advanced plushie patterns are worth it if you like sculpted shaping, complex limbs, or very specific animals.
Expect:
- More sewing and more parts
- More "read the whole pattern first" moments
- Tighter tolerances (small mistakes show)
If you mainly want a unique stuffed animal to gift soon, advanced patterns can slow you down. A simpler pattern with one strong signature feature often looks more impressive than a complicated one you rush.
Common "Unique Plushie" Mistakes (and How to Avoid Them)
Most stuffed animals go from "wow" to "meh" for the same reasons. These fixes are small, but they change the final look a lot.

Mistake 1: Adding Too Many Details
A hat, a scarf, wings, spots, blush, and a belly patch all at once makes the design noisy.
Fix: pick one signature feature, then use one supporting detail. Stop there.
Mistake 2: Using the Wrong Yarn for the Job
Some yarns are perfect for wearables but frustrating for amigurumi.
In our experience:
- Smooth worsted yarn shows stitches well and is easiest for shaping
- Velvet yarn looks amazing but can "worm" (stretch out) if stitched too loose
- Faux fur yarn is best used as an accent unless you love a challenge
Fix: match yarn to your goal. If you want crisp shaping, go smooth. If you want maximum cuddle, use plush yarn and tighten your tension.
Mistake 3: Stuffing Too Early or Too Hard
Overstuffing makes a plushie look tense. Understuffing makes it sag.
Fix: stuff in small layers. Shape as you go. Add more filling right before closing, not at the start.
Mistake 4: Sewing Parts Without Pinning
One ear 3 millimeters higher changes the whole vibe.
Fix: pin everything first. Step back. Take a photo. Then sew.
FAQ
Can I Sell Stuffed Animals Made From a Pattern I Buy?
It depends on the pattern's license terms. Many designers allow selling finished items in small batches, but some don't.
Check the pattern listing or the first page of the PDF for "rights" or "terms of use." If it's unclear, message the designer.
What's the Best Stuffing for Crochet Stuffed Animals?
Most crocheters use polyester fiberfill because it's easy to find and washable.
If the plush is for a very young child, avoid parts that can come loose (like some plastic eyes). For safety guidance, follow the product warnings on any components you buy.
How Long Does It Take to Crochet a Unique Stuffed Animal?
Time depends on size, yarn, and how many parts you sew.
A small plush with simple parts can fit into a weekend for many crocheters. A larger plush with detailed shaping can take several sessions.
Pick a Pattern, Pick One Signature Feature, Start Tonight
Unique stuffed animals don't come from doing more. They come from doing a few choices on purpose. Grab a pattern you can actually finish, choose one signature feature, and make one clean proportion tweak.
If you want patterns built for that kind of customization, we design ours so you can swap ears, tails, and faces without starting over. Browse our crochet patterns on https://artncraftartncraft.art and turn your "I wish this plush existed" idea into a real, huggable thing.