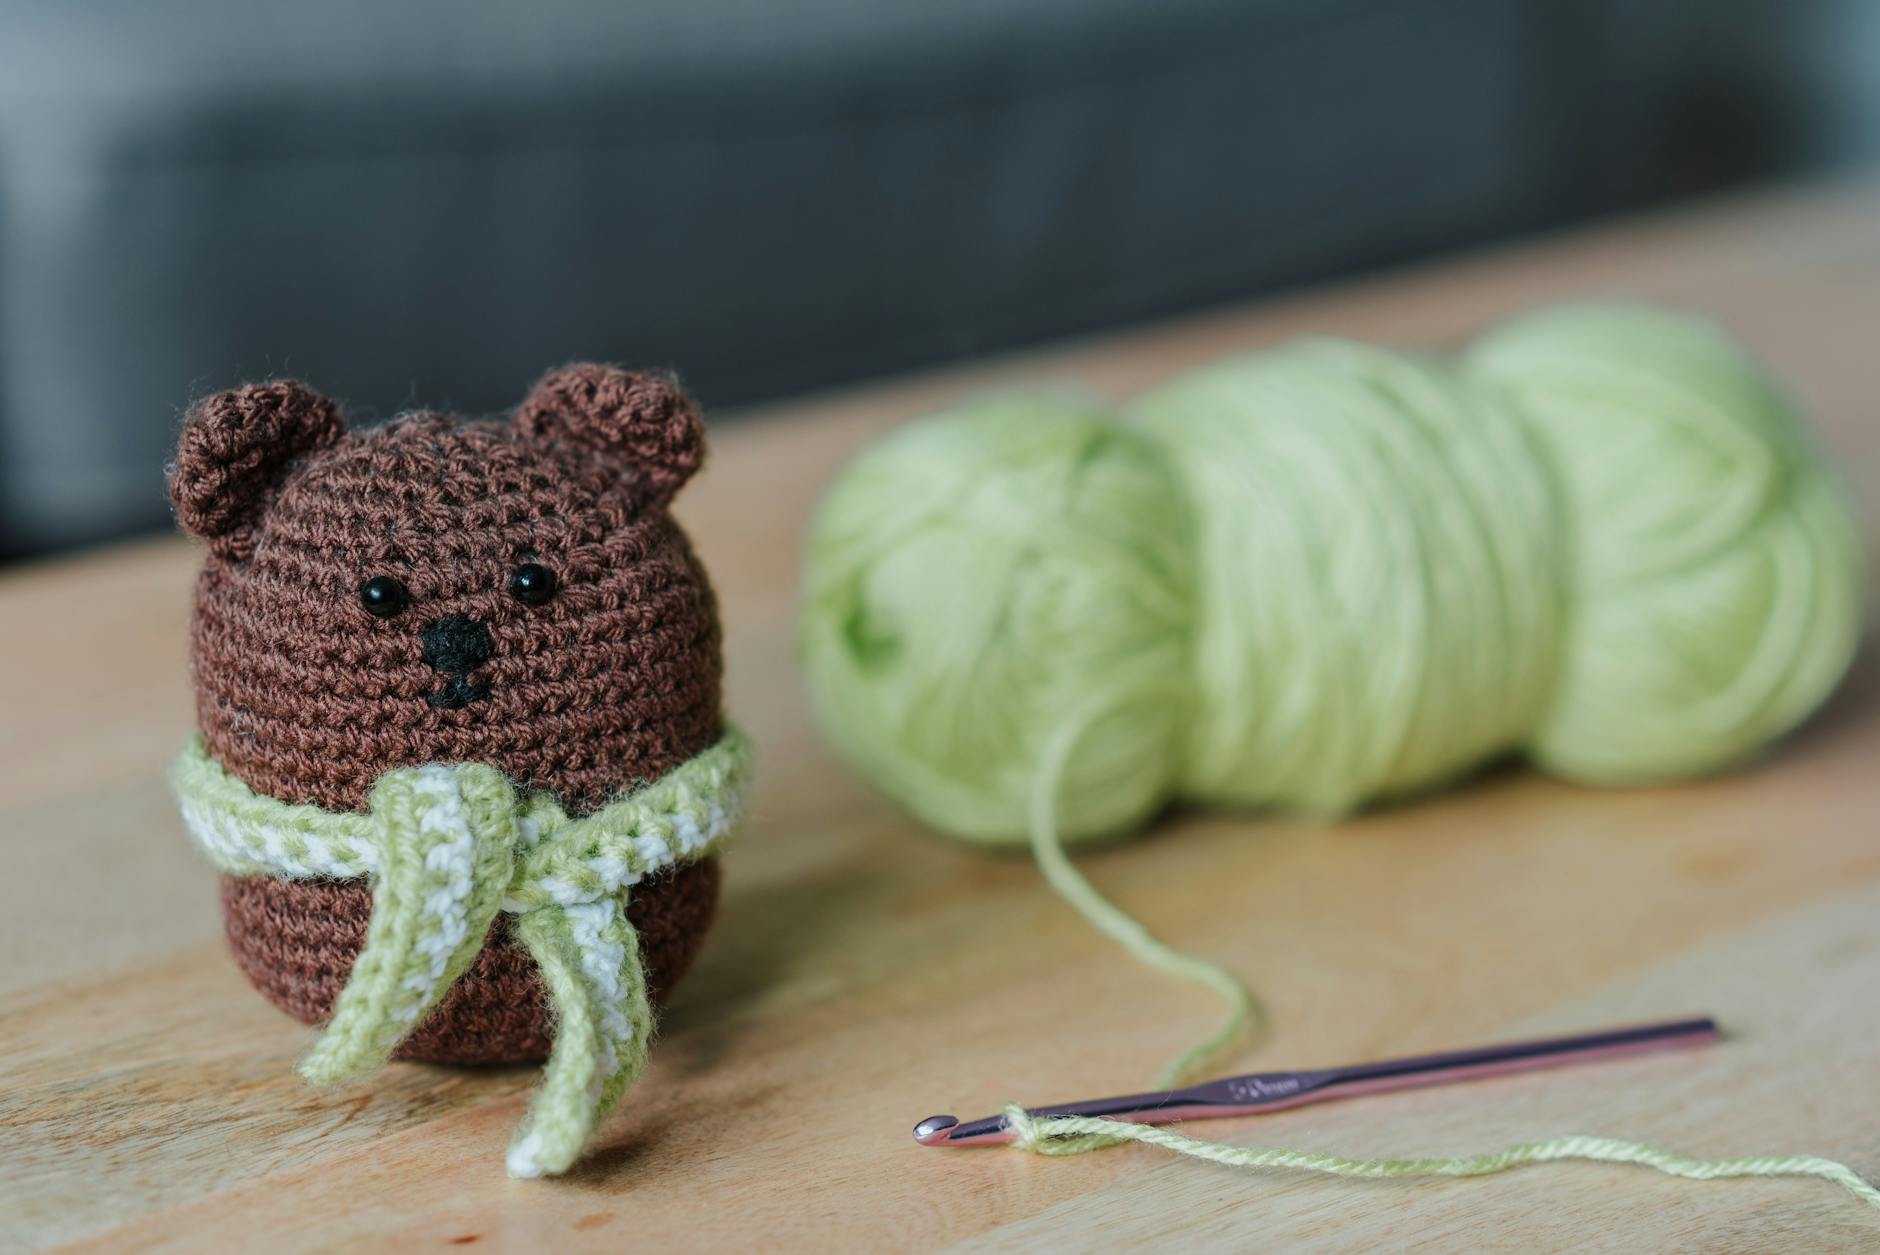
How to Crochet Stuffed Animals for Beginners: Master Skills and Sell Unique Plushies
Perfect stuffed animals aren't "hard", they're just unforgiving.
A tiny wobble in a round, a loose stitch, or a lumpy stuffing job shows up fast on a plushie face. That's why so many people who can crochet scarves still feel stuck on toys.
This guide is the straight path for how to crochet stuffed animals for beginners: what to learn first, what to skip, how to get a clean shape, and how to turn your first cute critters into sellable work (finished toys or patterns).
How to Crochet Stuffed Animals for Beginners Without Getting Overwhelmed
Beginner plushies (also called amigurumi, crocheted stuffed toys) aren't about fancy stitches. They're mostly single crochet in the round, plus a few shaping moves.
If you learn these in order, you'll feel "in control" of the toy instead of wrestling it.
The Four Skills That Make 90% of Plushies
Start here, and don't add anything else until these feel steady:
- Magic ring (or adjustable ring): starts a circle with no hole.
- Single crochet (sc): the main stitch for dense fabric.
- Increase (inc): two single crochets in one stitch to grow the circle.
- Decrease (dec): shrink the circle to shape bodies and heads.
Most beginner patterns also use:
- Slip stitch (sl st) to finish rounds.
- Chain (ch) for simple parts like ears or tails.
Choose Yarn Like You're Choosing "Difficulty"
This is the part beginners rarely hear: yarn choice can make the exact same pattern feel easy or impossible.
Here's the decision framework we use when we design or test plushie patterns:
- Choose smooth worsted weight cotton or acrylic if you want to see stitches clearly and fix mistakes fast.
- Choose chenille/velvet "plush yarn" if you want instant cuddly, but expect to count stitches slowly because they're hard to see.
- Avoid very dark yarn at first because you'll lose stitch definition, especially at night.
For stuffing, plain polyester fiberfill is the easiest to work with.
Hook Size and Tension (the "Stuffing Doesn't Show" Rule)
Plushies need tight stitches so stuffing doesn't peek out.
A simple rule: use a hook size smaller than the yarn label suggests, then test by stretching your fabric.
If you can easily see daylight through the stitches, go down another hook size or tighten your tension.
A Worked Example: a Beginner Bunny That's Cute Enough to Sell
Most first plushies fail for one reason: they try to do too much too soon. So here's a "sellable beginner bunny" blueprint that stays simple but looks polished.
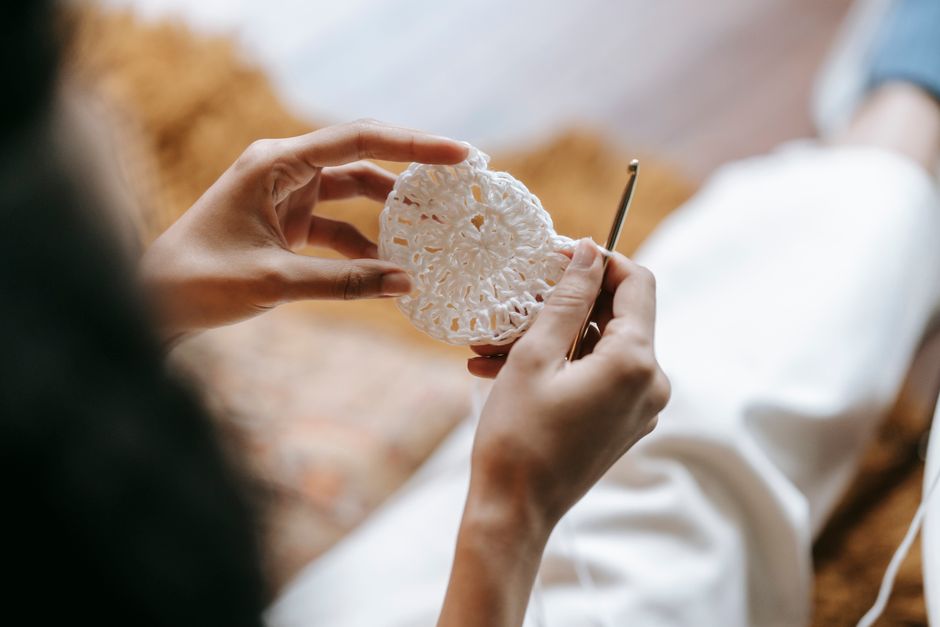
This is not a full pattern, it's a build plan you can follow with any basic bunny pattern you like.
What Makes This Bunny Beginner-Friendly
- Head and body are one piece (less sewing).
- Arms and ears are simple tubes.
- The face uses minimal embroidery (lower risk).
Step-By-Step Build Plan (with Real Numbers)
- Make the head as a sphere using single crochet in continuous rounds.
- Keep increases spaced evenly so the circle stays round, not hexagon-ish.
- Switch from increasing to "even rounds" to build height.
- Start decreasing to close the sphere.
- Before fully closed, stuff firmly, then finish decreases.
- Continue straight into the body by doing a few increase rounds again, then even rounds.
- Decrease at the bottom and close.
A common beginner head size is 36 stitches around at the widest point (that's typically reached with 6 increases per round). You'll see that structure in tons of patterns because it gives a nice "baby animal" look.
The Non-Obvious Part: Stuffing in Layers
Most people overstuff the last inch and get lumps.
Instead, stuff like this:
- Add small tufts of stuffing early, while the opening is still wide.
- Push stuffing into the edges first (cheeks, back of head), then the center.
- Add a final tiny tuft right before closing, just to smooth the surface.
The fabric should feel firm, but it should still have a little give.
Face Placement That Looks "Pro"
A face can make or break a plushie, even if the crochet is perfect.
Try this placement method:
- Put the eyes between 1/3 and 1/2 of the way down the head.
- Pin both eyes first, step back, and check symmetry.
- Add the nose one round lower than you think you should, it often reads cuter.
If you're using safety eyes, follow the package age guidance and use your best judgment for gifts. For small kids, embroidered eyes are usually the safest choice.
Clean Shapes and Fewer Headaches: Mistakes Beginners Make (and Fixes)
If your plushies look a little wonky, it's usually not your talent. It's one of these fixable issues.

"My Circle Turns Into a Hexagon"
That happens when increases stack in the same spots.
Fix: shift your increase placement slightly each round (many patterns do this on purpose). If the pattern doesn't, you can still stagger increases by starting the round with 1-2 single crochets before the first increase.
"I Lose Count and My Rounds Drift"
Continuous rounds spiral, so the start point moves.
Fix:
- Use a stitch marker in the first stitch of every round.
- Count every round until you're confident.
- Write down the stitch count you actually got, not what you hoped you got.
"There's a Gap on My Decreases"
Standard decreases can leave holes.
Fix: use an invisible decrease (also called a single crochet two together through the front loops). Many plushie patterns use it because it keeps the fabric tight.
"Sewing Parts on Ruins Everything"
Sewing is a skill, not a punishment.
Fix:
- Pin pieces in place first, then sew.
- Use the same yarn as the toy for invisible seams.
- Sew through stitches, not just through fluffy outer loops.
Once you're comfortable, you'll have more freedom to make realistic shaping and details. That's where How to Crochet Complex Patterns: crafting intricate stuffed animals that look real becomes a fun next step.
Create and Sell Unique Stuffed Animals (Without Burning Out)
Selling plushies is two different businesses: selling finished items, or selling patterns. Both can work. They just reward different strengths.

Finished Plushies vs Patterns: a Quick Decision Framework
Choose finished plushies if:
- You like making the same design repeatedly.
- You enjoy working with custom colors.
- You want to sell locally, at markets, or through small drops.
Choose patterns if:
- You'd rather design once and sell many times.
- You like writing clear steps and taking photos.
- You want to reach buyers who crochet, not just gift shoppers.
Many makers do both, but starting with one keeps it simple.
What Actually Makes a Plushie "Unique" (Even with Basic Skills)
Uniqueness doesn't require complex stitches. It often comes from constraints you choose on purpose.
Here are a few beginner-friendly ways to stand out:
- A signature shape language (chubby heads, tiny bodies, extra-long ears).
- A "theme set" (woodland babies, ocean minis, spooky-cute).
- One repeatable detail (a heart belly patch, sleepy eyes, textured paws).
- Color stories (limited palettes like cream + one accent color).
If you want to go deeper on designing for sales, our guide create and sell unique crochet plushie patterns lays out how we think about pattern structure and buyer expectations.
Pricing Reality: Time, Materials, and Repeatability
We can't price your items for you, but we can give you a practical way to think.
For finished plushies, track:
- Time to crochet
- Time to sew and finish (faces, weaving ends)
- Materials (yarn, stuffing, eyes)
- Packaging time
If a plushie takes so long you resent it, it's not a good product yet. Simplify construction, reduce parts, or adjust size.
For patterns, the hidden time is:
- Writing clean instructions
- Testing (at least once by you, ideally by someone else)
- Photos and formatting
Patterns sell best when they're consistent and beginner-proof.
A Simple "First Three Products" Plan
If you're starting from zero, this lineup builds skill and makes selling easier:
- Mini plush (about palm-sized): fast, low yarn cost, great for learning.
- Medium plush with one accessory (hat, scarf, tiny bag): adds personality.
- A themed pair (two animals that share the same body base): faster to design and repeat.
That third one is the secret. Reusing a base means you get better quality, faster.
FAQ
How Long Does It Take to Crochet a Stuffed Animal as a Beginner?
Expect your first small plushie to take a few sessions, especially if you're counting stitches carefully and learning sewing. After a couple projects, the same size often goes much faster because your hands learn the rhythm.
What's the Easiest Stuffed Animal to Crochet First?
Round animals with minimal parts are easiest, think octopus, whale, or a simple bunny with tube ears. Fewer sew-on pieces means fewer ways to feel frustrated.
Can I Sell Stuffed Animals Made From Someone Else's Pattern?
It depends on the designer's terms. Many pattern designers allow selling finished items, but not all do. Read the pattern listing carefully and follow the license terms.
Do I Need Safety Eyes to Make My Plushies Look Good?
No. Embroidered eyes can look clean and cute, and they work well for baby gifts. Safety eyes are fast and neat, but you still need good placement.
Make Your First Plushie, Then Make It Yours
If your goal is to master beginner crochet skills and create stuffed animals people want to buy, focus on repeatable basics: tight single crochet, clean shaping, and neat finishing.
Make one simple plushie first. Then make the same one again with one intentional change, better yarn choice, cleaner face, or a signature detail. That's how "beginner" turns into "recognizable style", and that's what sells.