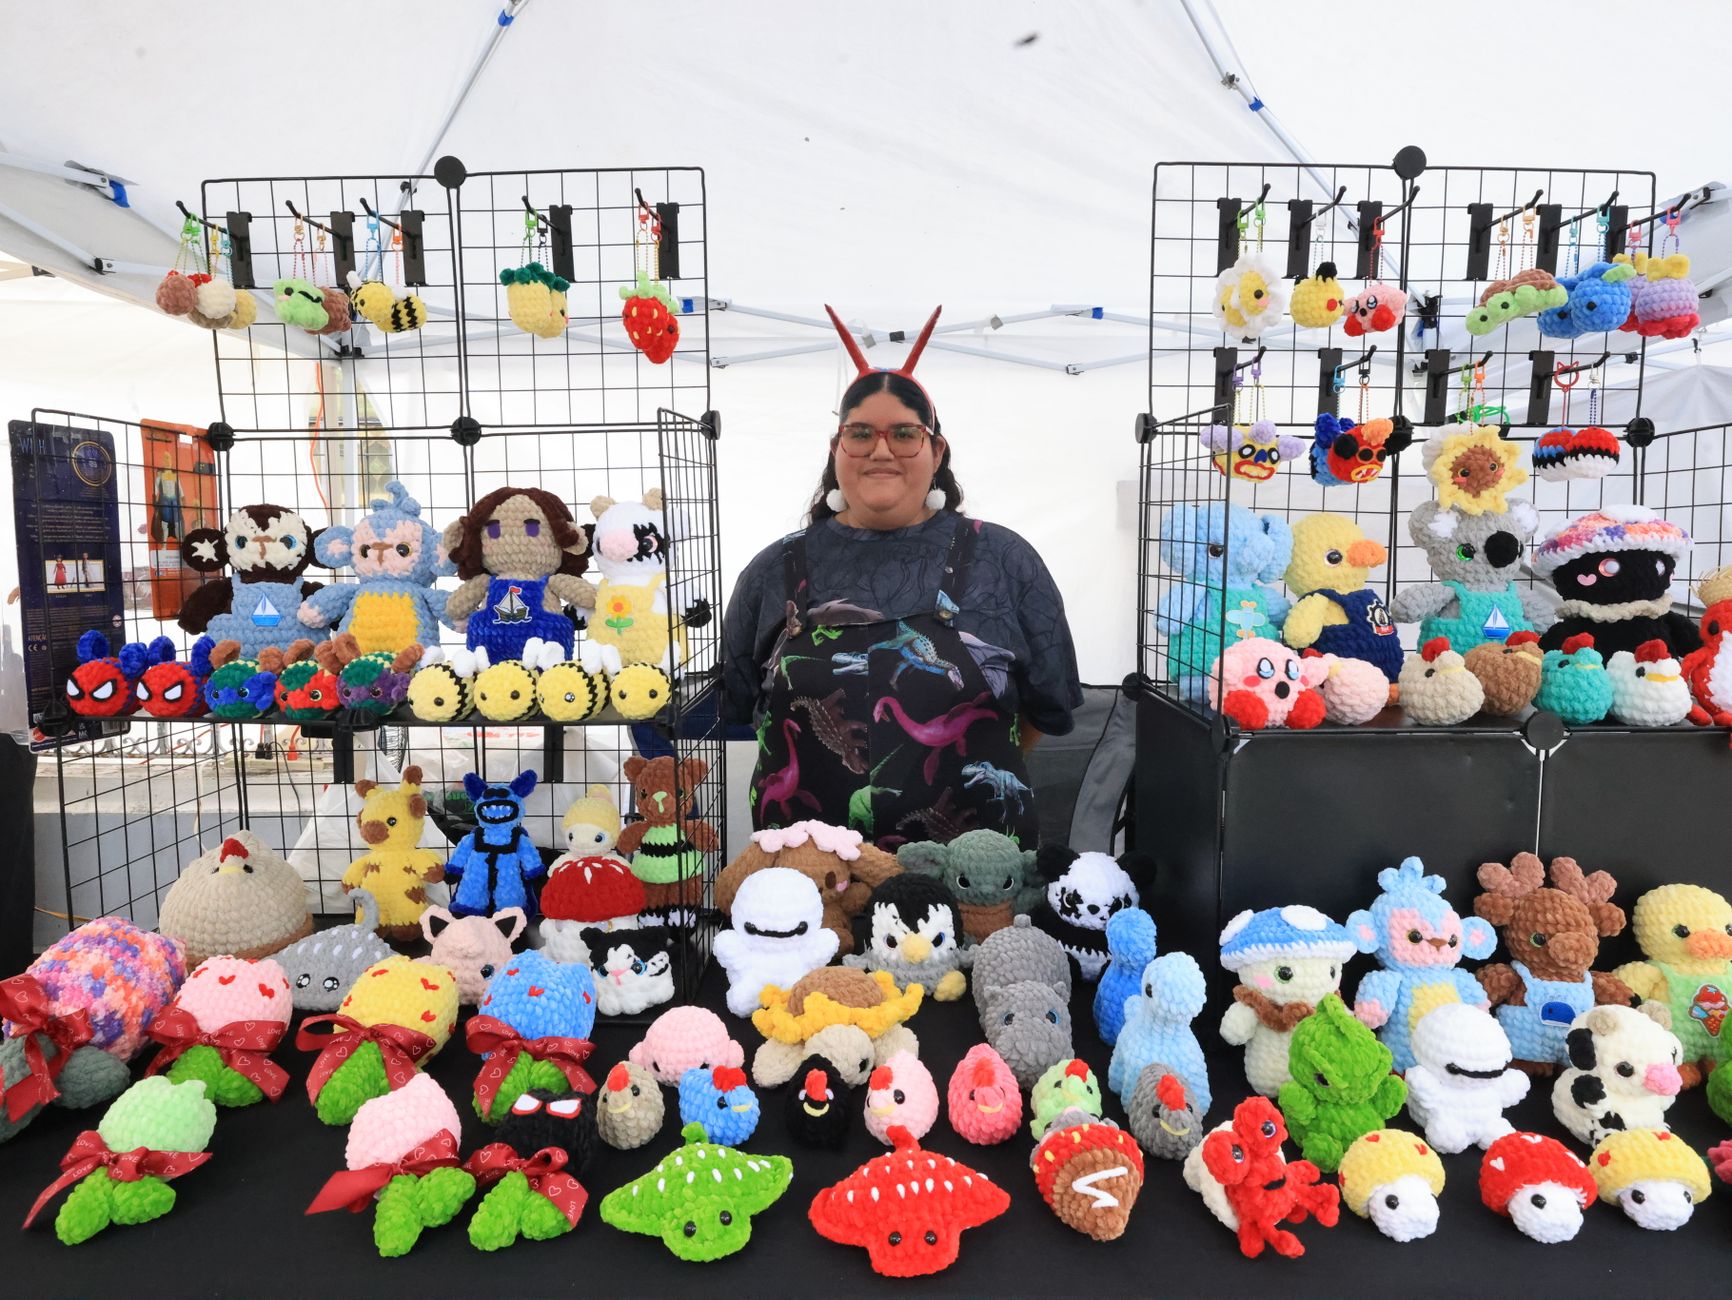
How to Crochet Amigurumi Patterns That Are Unique Enough to Sell
Copying the "standard cute plush" formula is the fastest way to make something that disappears in a sea of identical listings.
If you're searching how to crochet amigurumi patterns because you want to sell your own designs, your real problem isn't the stitches. It's building a pattern that looks distinct, works for other crocheters, and still stitches up smoothly.
This guide is my practical, maker-to-maker framework. It's the same way we think when we design patterns for our own shop at Art n Craft.
How to Crochet Amigurumi Patterns for Sale (Not Just for Fun)
A sellable amigurumi pattern has to do three jobs at once: it has to look great in photos, it has to be enjoyable to crochet, and it has to be repeatable by strangers with different tension (how tight someone naturally crochets).
Most "my first pattern" attempts fail in one of these spots:
- The shaping is generic, so the finished toy doesn't stand out.
- The instructions are vague, so testers get different results.
- The construction is fussy, so crocheters quit halfway.
Here's the approach we use to avoid that.
First, design for a strong silhouette. Amigurumi sells from six feet away on a screen. A tiny detail like embroidered lashes won't save a bland shape.
Second, design around tension-proof math. That means clean stitch counts, clear rounds, and shaping that doesn't rely on "feel." "Crochet until it looks right" is fine for a personal project, but it's risky for a pattern you're selling.
Third, choose one signature move. One small, repeatable feature can become your brand: a specific muzzle shape, a chunky paw style, layered spikes, or a particular ear construction. Unique doesn't have to mean complicated.
If you want a deeper design process for turning ideas into full patterns, this pairs well with How to create custom crochet patterns from scratch.
A Simple Decision Framework: What Makes an Amigurumi "Unique" Without Being Hard?
"Unique" can mean a few different things, and each one changes how you design.
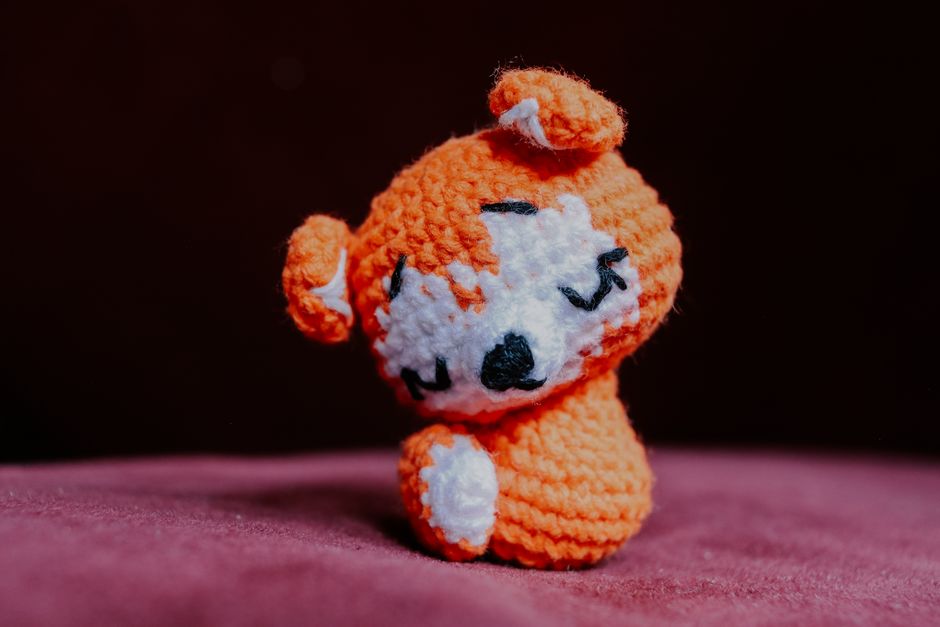
Choose your uniqueness lever first, then build the pattern around it.
Option a: Unique Character, Standard Build
This is the easiest way to start selling.
You use a familiar construction (round head, oval body, simple limbs), then win with styling. Think: unusual color blocking, themed accessories, or a strong facial expression.
Choose this if:
- You want faster pattern releases.
- Your audience likes quick wins.
- You plan to build a series (same base, new theme).
Trade-off: It's easier for competitors to "make something similar" unless your character concept is very clear.
Option B: Unique Shape, Minimal Extras
This is my favorite path for patterns that stand out in thumbnails.
You make one part structurally different, like a square-ish head, tapered body, oversized feet, or a dramatic snout. Keep the rest simple so crocheters don't feel punished.
Choose this if:
- You want a recognizable style.
- You care about a clean, modern look.
- You want fewer tiny sewn-on pieces.
Trade-off: Shape-forward designs need better shaping math and clearer instructions.
Option C: Unique Construction, "Wow" Factor
This is where you do things like seamless color changes, articulated limbs, reversible pieces, or built-in clothing.
Choose this if:
- You're selling to experienced crocheters.
- You can write very clear assembly steps.
- You're okay with longer testing cycles.
Trade-off: More emails from customers who get stuck. That's normal, but plan for it.
A practical middle ground is Option B. It photographs well and keeps your pattern approachable.
Worked Example: Designing a Signature Amigurumi Head (with Real Numbers)
Let's design a head that looks different from the usual sphere, a "cheeky chibi" head. It has a flatter face and subtle cheeks, so it reads as a character even before you add eyes.
This example assumes single crochet in a spiral (continuous rounds), with a stitch marker.
Step 1: Start with a Stable Base Sphere
You can use a standard increase rhythm, but we'll interrupt it to build cheeks.
- R1: 6 sc in magic ring (6)
- R2: inc x6 (12)
- R3: (sc, inc) x6 (18)
- R4: (2 sc, inc) x6 (24)
- R5: (3 sc, inc) x6 (30)
At this point you have a clean bowl shape. Now the "unique" part starts.
Step 2: Add Cheeks with Targeted Increases
Instead of increasing evenly around the whole round, you increase only on the front arc. That pushes fabric forward where the face will be.
- R6: 10 sc, inc, sc, inc, 16 sc (32)
- R7: 10 sc, sc, inc, 2 sc, inc, 16 sc (34)
Those two extra stitches are small, but they change the look a lot. The head becomes subtly heart-shaped from the front.
Important caveat: Targeted increases can create a tiny "step" in the fabric if your tension is tight.
Fix: Add one plain round after shaping.
- R8: sc around (34)
Step 3: Flatten the Face with Short Rows (Optional, but Powerful)
Short rows are partial rows that build extra height in one area. They scare people because they sound advanced, but they're just "turning early."
If you want to keep this pattern beginner-friendly, skip this and rely on cheeks plus embroidery.
If you do include short rows, write them like this (clear and testable):
- R9: 12 sc, turn
- Row 10: ch 1, 8 sc, turn
- Row 11: ch 1, 8 sc, sl st into next stitch of round, continue in spiral
That creates a slightly flatter, "face forward" look.
Step 4: Close Cleanly and Keep the Shape
Once your head reaches the size you want, do a few even rounds before decreasing. That's what makes it look intentional, not lumpy.
Then decrease with the same care you increased. If you added 4 extra stitches total, your decrease plan needs to account for them.
This is where many designers mess up: they copy a generic decrease schedule and end up with a pointy or twisted top.
If you want more ideas like this, especially for stuffed animals that sell well, unique crochet patterns for stuffed animals that sell is a good next read.
The Pattern-Writing Checklist That Prevents Bad Reviews
A cute finished plush doesn't equal a good pattern.

A good pattern is a set of decisions you've made obvious for someone else.
Here's the checklist we use before listing a new amigurumi design.
Clarity Checklist (Your Future Self Will Thank You)
- List finished size using the exact yarn and hook you used.
- Name the yarn weight and fiber (cotton, acrylic, plush).
- State if you crochet in spiral or joined rounds.
- Define any non-basic technique the first time it appears (like "invisible decrease").
- Include stitch counts at the end of every round.
Buildability Checklist (so People Actually Finish)
- Limit tiny parts unless they add real value.
- Make limbs symmetrical by writing "make 2" with identical rounds.
- Avoid "sew wherever it looks good." Give placement lines.
- Use landmarks like "center front" and "between rounds 12 and 13."
Photo Checklist (for Sales, Not Just Instructions)
You don't need fancy gear, but you do need intentional photos.
- One clear front photo, one side photo, one back photo.
- One close-up of the face.
- One in-progress photo for any confusing step (like cheek shaping).
Small note from experience: If your design relies on facial expression, include a full embroidery map (where to put eyes, mouth, blush). Many buyers can crochet but freeze at "make it cute."
Yarn, Hook, and Safety: the Stuff That Can Quietly Make or Break a Design
Materials are part of the pattern, not an afterthought.
Cotton yarn gives crisp stitches and sharp shaping, which is great for character faces. Acrylic can be softer and cheaper, but fuzzier stitches can hide details.
Plush yarn sells well in finished items, but it can be harder to count stitches. If you sell patterns, plush versions often lead to support questions unless your instructions are extremely clear.
Hook size changes everything. A smaller hook makes tighter fabric, which helps stuffing stay hidden.
If you're selling toys intended for children, safety matters. Small parts like plastic eyes can be a choking hazard for young kids. Many makers switch to embroidered eyes for baby gifts.
For a general reference on choking hazards, see the U.S. Consumer Product Safety Commission guidance for small parts.
Pricing and Positioning: Selling a Pattern Like It's a Product
Pattern buyers don't only pay for the final shape. They pay for confidence.
Your job is to reduce uncertainty: skill level, time, materials, and any tricky steps.
A simple way to position a new amigurumi pattern is to label it by buyer type:
- "Quick weekend make" (few parts, simple shaping)
- "Skill-builder" (one new technique, like short rows)
- "Detail lover" (more sewing, accessories, customization)
Then match your listing to that promise.
If your pattern includes options (like 2 ear styles), call that out. Options feel like value, and they help buyers imagine making more than one.
Also, don't hide the hard parts. If a pattern has 12 tiny spikes to sew on, say so. The right buyers will still purchase, and the wrong buyers won't leave angry reviews.
Final Notes From Our Pattern Bench
Mastering amigurumi for sale is less about finding a "secret stitch" and more about making strong design choices you can explain.
Start by picking one uniqueness lever, build a clean silhouette, and write rounds like you're teaching a smart friend who can't read your mind.
If you want, send us a message through our site with the type of amigurumi you want to sell (cute animals, food, spooky, mini keychains). We can point you toward techniques and pattern styles that fit your idea.