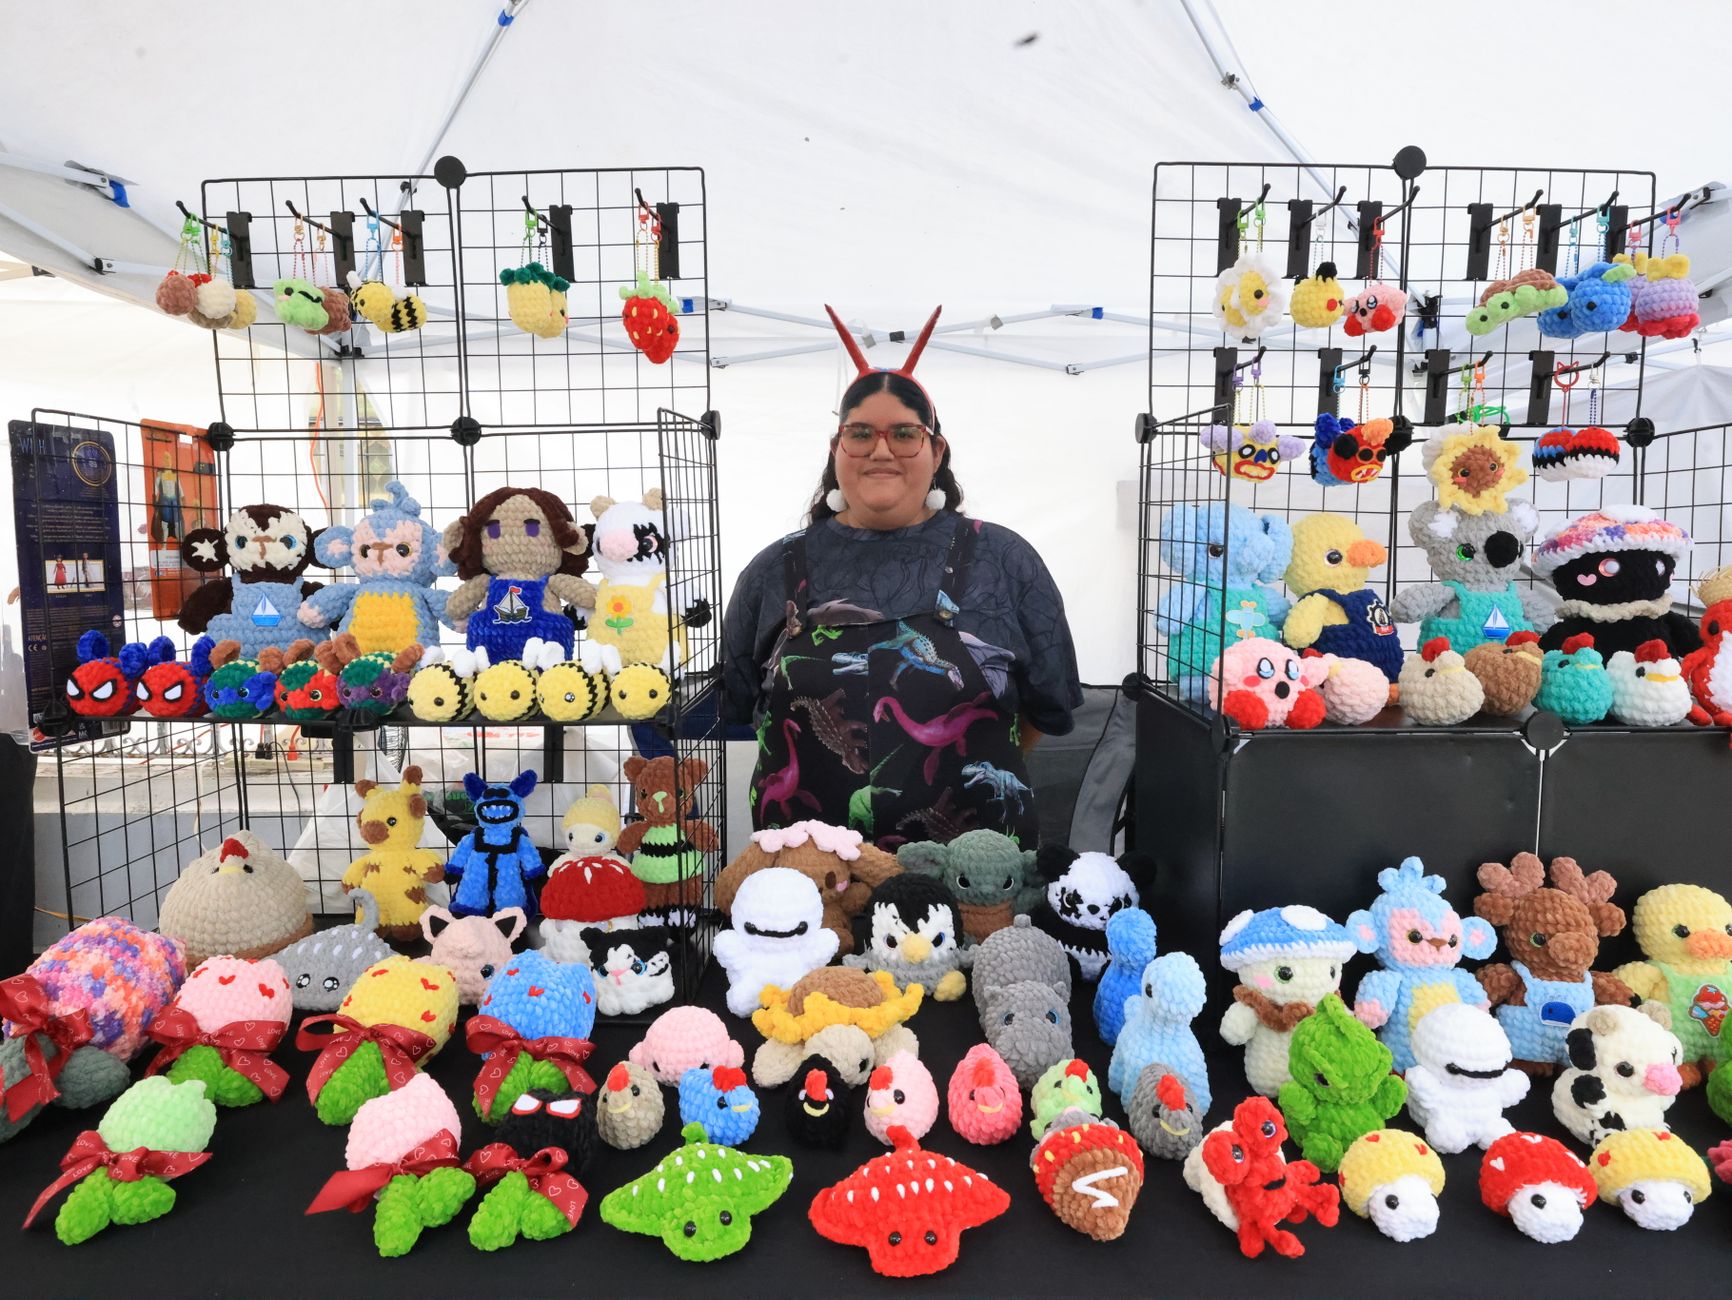
How to Crochet Amigurumi Animals: Create Unique Animal Patterns for Profit
Your cute animal looks perfect until you stuff it, then it turns into a lumpy potato with a crooked face.
If you're trying to figure out how to crochet amigurumi animals that look consistent enough to sell (or to write patterns people trust), the trick isn't "more practice" in general. It's a short list of repeatable choices: yarn, hook, stitch tension, shaping, and a clean assembly plan. We'll walk through those choices, then turn them into a product you can actually profit from.
How to Crochet Amigurumi Animals Without the Usual "Beginner" Problems
Amigurumi (small crocheted stuffed toys) is mostly single crochet in the round. The hard part is controlling shape and symmetry.
Here are the specific failure points we see most often, and the fixes that make your animals look "store-ready."
Choose Materials That Hold Shape (Not Just What's Cute)
If your goal is sales, pick materials that forgive handling and photos.
- Yarn: Smooth worsted or cotton blends show stitches clearly and resist fuzz. Plush yarn sells too, but it hides mistakes and makes counting harder.
- Hook: Go smaller than the yarn label suggests. Tight stitches stop stuffing from poking out.
- Stitch markers: Use them every round. "I'll remember where the round starts" is how faces end up off-center.
- Stuffing: Use small pinches and pack in layers. One big wad creates lumps.
A non-obvious tip: if you're selling finished items, pick yarn colors that still read as "animal" under warm indoor light. Some pale pastels vanish in photos unless you edit.
Master the Three Shaping Moves That Build Every Animal
Nearly every animal pattern is built from these three moves:
- Increase (make it wider): usually 2 single crochets in one stitch.
- Even rounds (keep it the same width): single crochet in each stitch.
- Decrease (make it narrower): use an invisible decrease (work through the front loops of the next 2 stitches).
If your spheres look bumpy, the fix is often your decrease style. Invisible decreases make a huge difference in a finished toy.
Keep Your Seam and Face Placement Under Control
A spiral round "drifts." That means your round start moves slightly each round.
If you attach a face straight on the round start without planning, it can look twisted. The solution is simple: decide where the face goes, then move the round start (by adding a few single crochets) until the seam sits at the back.
For sellers, this matters because consistency is brand. Two bunnies in your product photos should look like siblings, not strangers.
A Worked Example: Turn One Basic Body Into Three Sellable Animals
This is the fastest way we know to create unique listings without designing from scratch every time.
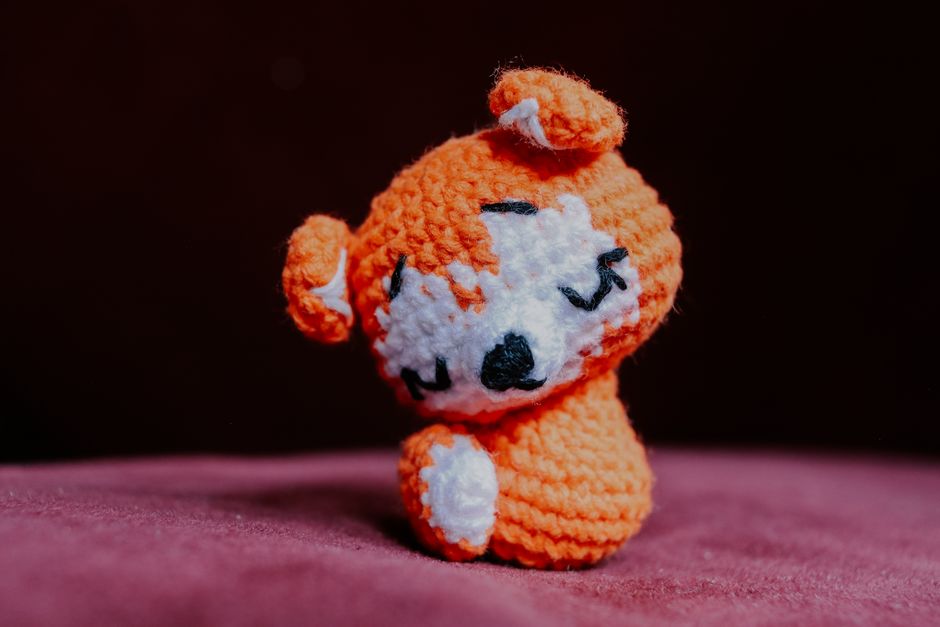
Start with one "base body" (a simple egg shape), then swap ears, tails, and colors to make different animals. You can sell finished toys, pattern downloads, or both.
The Base Body (Egg Shape)
Use tight single crochet in a spiral. Mark the first stitch of each round.
- Magic ring, 6 sc (6)
- inc around (12)
- (sc, inc) around (18)
- (2 sc, inc) around (24)
- (3 sc, inc) around (30)
- (3 sc, dec) around (24)
- (2 sc, dec) around (18)
- (sc, dec) around (12)
Stuff firmly now, then close.
- dec around (6)
- Fasten off, weave closed.
That's your body for a chick, bunny, bear, cat, or even a tiny dinosaur. The profit move is what you add next.
Swap Parts to Create Different Animals (Without Rewriting Everything)
Pick one base body, then add a "signature" set of parts.
- Chick: tiny wings (flat ovals), a small triangle beak, safety eyes.
- Bunny: long ears (thin rectangles that widen at the base), a pom tail, blush cheeks.
- Bear: small rounded ears, a snout bump (a little half-sphere), embroidered nose.
Keep the base body the same stitch count so your production time stays predictable.
A selling tip from our own pattern work: make the "signature" part something you can finish in under 10 minutes. It keeps your labor cost from creeping up.
If you want a more structured approach to making your own designs (and selling them), our blueprint is here: Unique Crochet Patterns for Beginners: a blueprint to design and sell.
Make Your Amigurumi Look Premium (so Buyers Pay Premium)
The difference between "cute" and "must-have" is usually finishing. Buyers don't know why one toy looks better, they just feel it.

Use a "Face Map" Before You Attach Anything
Before sewing, pin everything in place.
- Put eyes in first.
- Add the nose next.
- Then check the mouth line (even if you're not embroidering one).
- Only then sew ears and limbs.
Here's the rule we use: if it looks right from 3 feet away, it will look right in photos.
Safety Eyes vs Embroidery (Decision Framework)
Choose based on who you expect to buy from.
- Safety eyes: faster, very "polished" look, great for consistent batches. Not ideal for baby gifts.
- Embroidered eyes: slower, but they're soft and baby-friendly.
If you sell at markets, you'll hear "Is this safe for infants?" a lot. In the US, safety requirements depend on age grading and testing. If you're selling toys for children, review the CPSC (Consumer Product Safety Commission) guidance: CPSC small parts and toy safety resources.
That link isn't there to scare you. It's there so you can choose clear product labeling and avoid awkward conversations.
The Stuffing Trick That Fixes Lumps
Lumps happen when you push stuffing straight into the middle.
Instead, build "walls." Add small tufts and press them outward against the crochet fabric, working around the shape. Then fill the center last.
If you're making tall heads or long necks, add a small roll of stuffing like a spine, then pack around it. It keeps the shape from collapsing over time.
Pricing and Profit: What Actually Scales (and What Doesn't)
Selling amigurumi can mean two different businesses:
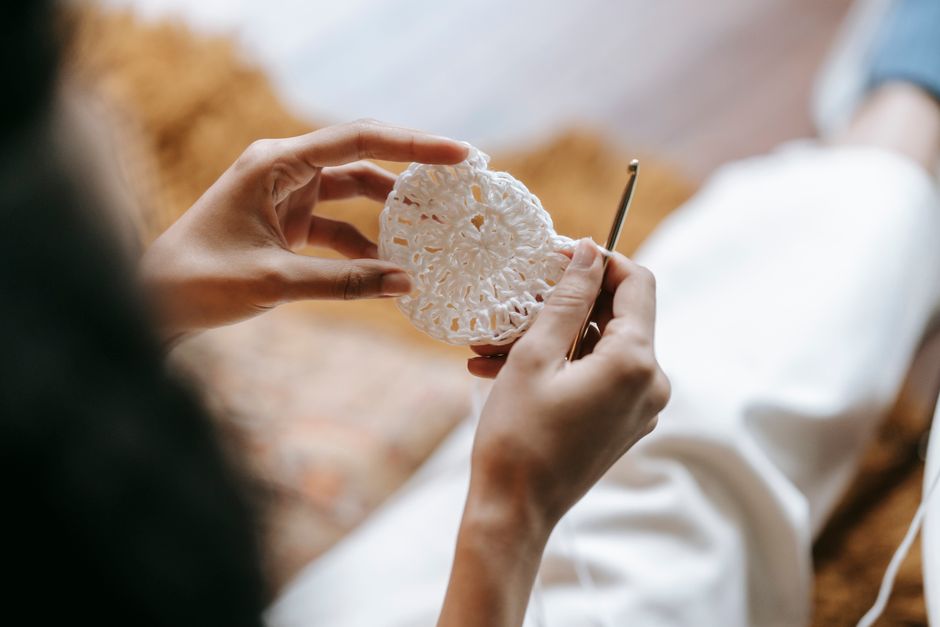
- Selling finished plushies (more time per item).
- Selling patterns (more upfront work, but it scales better).
We do patterns and crochet work, and the biggest profit shift usually comes from choosing the right model for your schedule.
A Simple "Choose This If..." Plan
Choose finished animals if:
- You like production crochet.
- You can batch work (make 10 bodies, then 10 sets of ears).
- You sell in person and buyers want to touch the plush.
Choose patterns if:
- You enjoy writing and photographing steps.
- You want income that doesn't depend on more hours crocheting.
- You're willing to test and edit for clarity.
Many makers do both: sell the finished plush at a premium, then sell the pattern to people who ask, "Do you have the pattern?"
Worked Example: One Design, Multiple Listings
Let's say you create one base body (the egg) and three "signature sets" (chick, bunny, bear).
You can turn that into:
- 3 finished products (different colors, different faces).
- 3 pattern listings.
- A "bundle" listing of all three patterns.
- A seasonal colorway (spring pastels, autumn neutrals) without changing the stitches.
That's the non-obvious part most people miss. Variety sells, but new stitch counts slow you down. Re-skinning a base shape keeps your work predictable.
If you want more ideas for designs that buyers already look for as gifts, this pairs well with How to Crochet Patterns for Gifts: buying stuffed toy designs that turn out cute every time.
Don't Skip This If You're Selling Patterns
Pattern buyers want two things: they want it to be cute, and they want it to be readable.
Include:
- A materials list with exact yarn weight and hook size.
- Clear stitch abbreviations (and define them once).
- Stitch counts at the end of each round.
- Photos of the tricky parts (usually decreases, ear placement, and face).
We also recommend a test crochet by someone who isn't you. If they stumble, your customers will too.
FAQ
How Long Does It Take to Make an Amigurumi Animal?
It depends on size, yarn, and how detailed the face is. A small, simple animal can be a quick make, while detailed limbs and color changes add a lot of time. If you plan to sell finished items, time yourself once, then batch parts to cut your average time.
What's the Best Yarn for Amigurumi That You Plan to Sell?
Smooth yarns with good stitch definition are easiest for consistent results. Cotton and acrylic blends are common because they're durable and photograph well. Plush yarn can sell fast, but it makes counting harder and can hide shaping problems.
Can I Sell Items Made From Someone Else's Amigurumi Pattern?
Pattern rules vary by designer. Some allow selling finished items, some don't, and some require credit. Read the pattern's terms and respect them. If you want full control, designing your own patterns removes that headache.
Your Next Step: Build One "Base Animal" and Make It Yours
If you take one thing from this guide, let it be this: pick one base body you can crochet cleanly every time, then create 3 signature animals by swapping parts and faces.
That's how you go from "I made a cute toy" to a small product line that looks intentional. If you want patterns that are built with that kind of repeatable structure, we sell crochet patterns at https://artncraftartncraft.art.