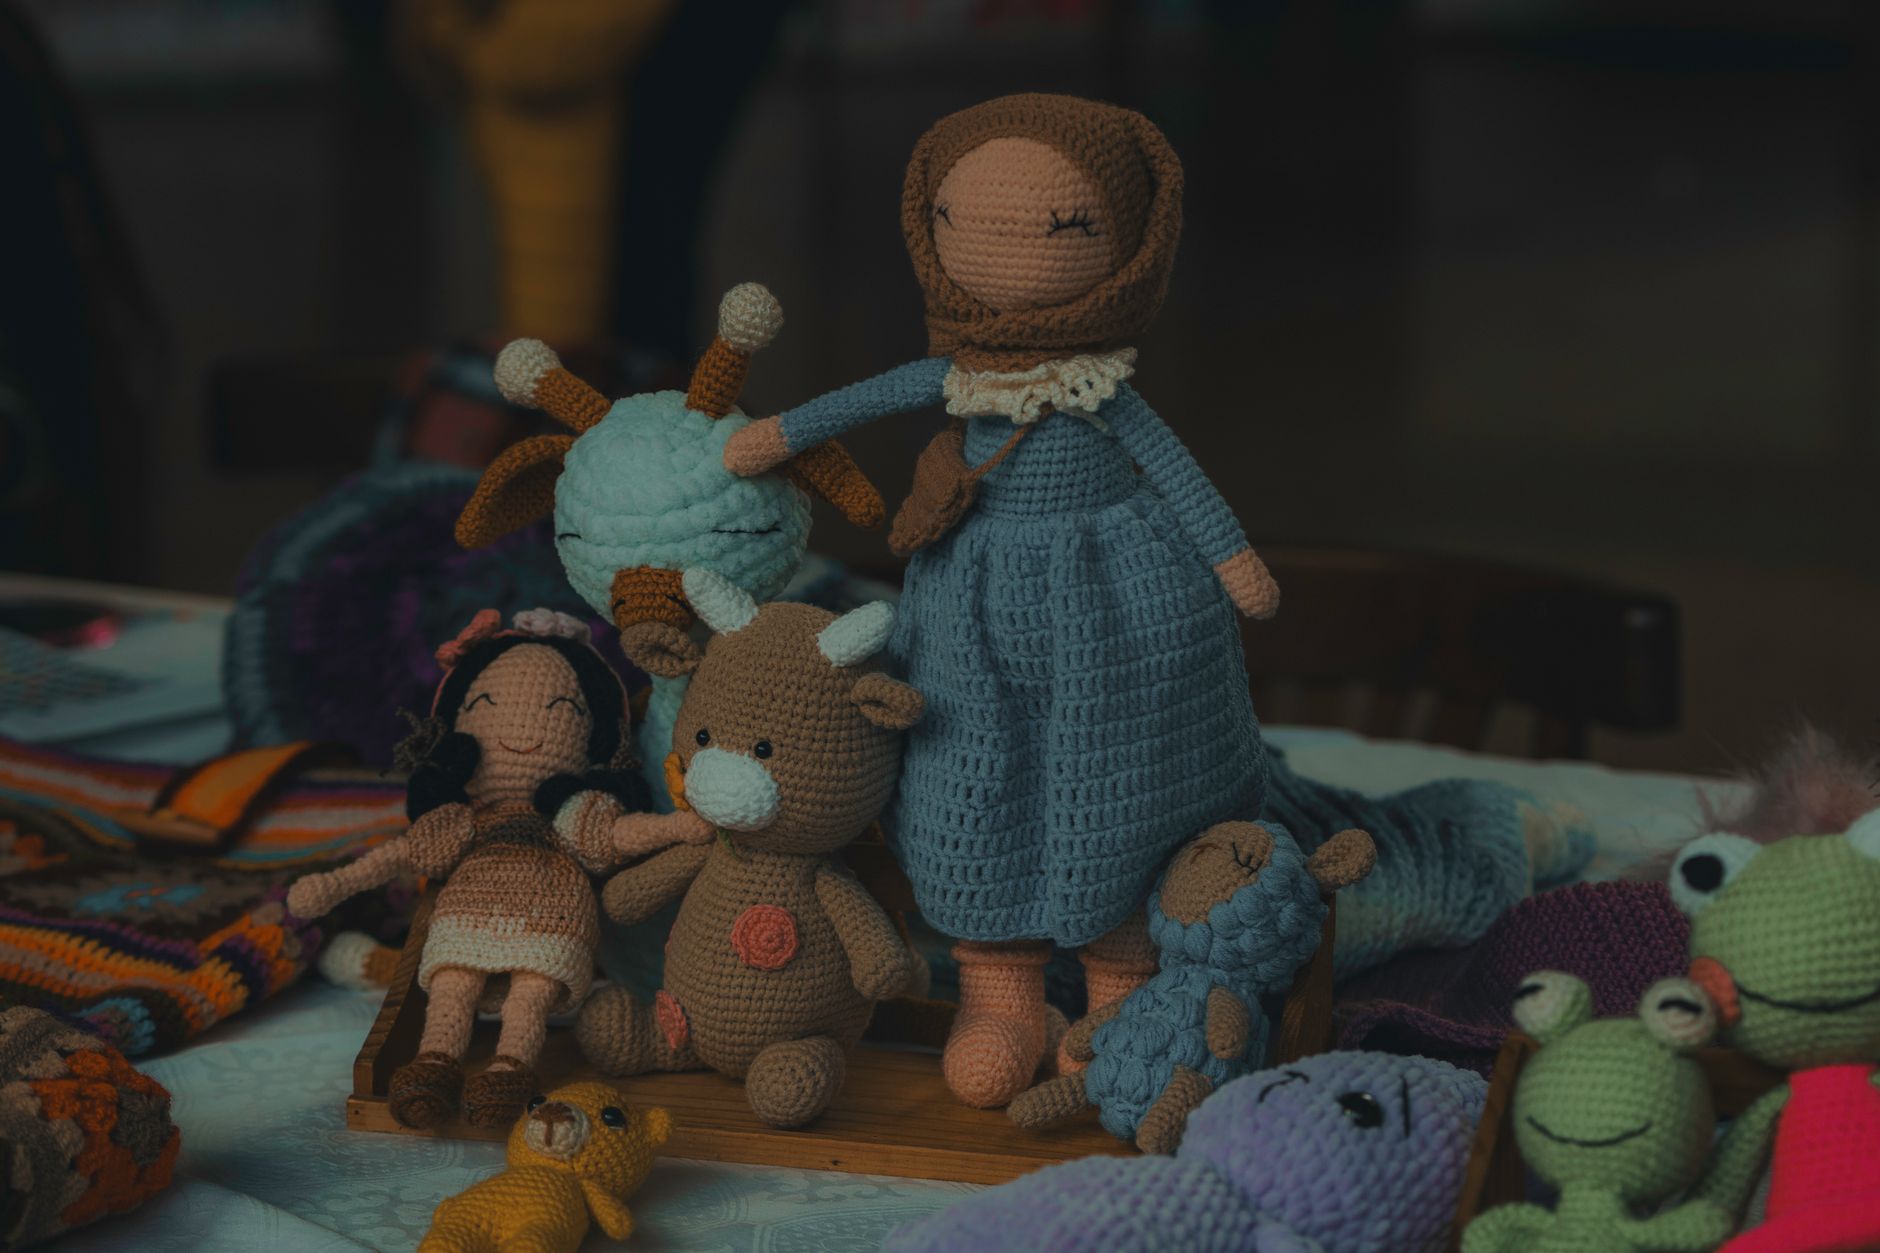
How to Crochet Advanced Stuffed Animals with Unique Patterns for Sale
"Your stitches can be perfect and the plush can still look a little... off."
That's the moment most crocheters hit when they try how to crochet advanced stuffed animals. The hard part isn't only tight single crochet. It's shaping that reads clean, details that sit where they should, and design choices that don't fall apart once the toy is handled.
This guide focuses on what actually makes an amigurumi (crocheted stuffed animal) feel advanced, plus a practical way to build unique patterns that sell. We'll cover shaping, structure, finishing, and the pattern decisions that turn "cute" into "I need that."
How to Crochet Advanced Stuffed Animals Without Weird Shapes
Advanced plushies look smooth because the shaping is planned, not guessed. Beginners often "add until it's big enough" and then "decrease until it closes." That works for balls. It fails on snouts, cheeks, hips, paws, and anything with a profile.
Start by thinking in landmarks, not rows. You want to decide where these features live:
- Widest point (belly, head, hips)
- Narrow points (neck, wrists, ankles)
- Planes (front of face vs sides of head)
- Directional details (muzzle pointing forward, toes pointing down)
A few shaping tools we use constantly in our own designs:
- Short rows (partial rows) to build a brow ridge, cheeks, or a curved back without adding bulk everywhere.
- Invisible decreases and paired increases so the surface stays smooth. Scatter increases evenly, then mirror them as decreases later.
- Strategic stitch counts. If you want a crisp snout edge, use stitch counts that divide cleanly into quarters or sixths so your increase spacing stays consistent.
Keep your "seam" under control, too. In continuous rounds, the start of the round drifts. For advanced pieces with stripes, face markings, or symmetrical limbs, that drift can wreck the look.
Two reliable fixes:
- Use a stitch marker and re-center your start-of-round every few rounds by adding or removing a single crochet in a hidden spot (like the back of the head). Write it into the pattern so it's repeatable.
- Switch to joined rounds for colorwork areas that must stack straight (then return to continuous rounds for speed).
If you want more pattern-level guidance on pushing detail further, our deeper breakdown is here: How to crochet detailed stuffed animals with sellable features.
Choose a "Signature Hook" for Unique Patterns That Sell
Most unique designs are not random. They're consistent choices that become your style. If you're selling patterns, this matters because buyers recognize a look.
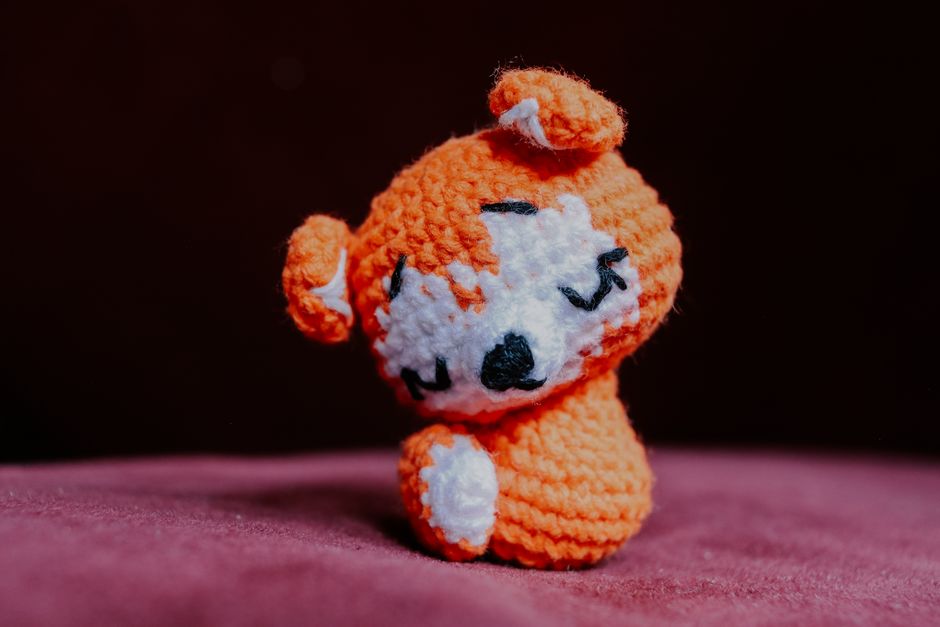
Pick one "signature hook" (a repeatable design idea), then build animals around it. Here are options that reliably read as unique without making the pattern impossible:
- A shape language: extra-round head with tiny body, or long body with small head, or chunky paws.
- A texture rule: velvet yarn for body plus smooth cotton for eyes and nose details, or all cotton with bobble "fur" accents.
- A construction style: no-sew (crochet-on limbs), or classic sew-on but with hidden anchoring for posing.
- A detail system: removable accessories (hats, capes, backpacks) that fit multiple animals.
Then add one "surprise" element per pattern. One is enough. Examples:
- A hidden pocket in the belly.
- Weighted beads in the feet for standing (secured inside a fabric pouch, then stitched into the body so nothing leaks).
- A two-part muzzle (base muzzle plus overlay) for a crisp mouth line.
This is also where yarn choice quietly makes your pattern feel premium. Soft, splitty yarn can blur details. Stiff cotton shows sculpting and clean edges.
If you want a clear yarn decision guide for plushies that hold their shape, use how to choose crochet yarn types for gift-worthy stuffed animals.
Worked Example: a Standing Fox with a Shaped Snout and Clean Color Blocks
Here's a concrete build plan you can steal and remix into your own unique pattern. The goal is a fox that stands on its own, has a snout that points forward (not just a flat circle), and has clean white-orange transitions.

Step 1: Build the Head Like a "Face Mask," Not a Ball
Instead of making a sphere and sewing on a muzzle, shape the face early.
- Crochet 6 single crochet (sc) in a magic ring.
- Increase to your head width as usual, but stop increasing sooner than a full sphere.
- Add short rows across the front third of the head for 3 to 5 passes. This makes the front protrude.
- Resume rounds, but place a few increases only on the front quadrant for 2 rounds. Now the snout has room.
Result: the head looks like it has a forehead and muzzle plane, even before you add details.
Step 2: Get Crisp White Markings Without Jaggies
For the fox face and belly, you want the white area to look intentional.
- Use joined rounds for the face marking area, so the color change stacks vertically.
- Change color on the last yarn-over of the previous stitch.
- Carry yarn only if the jump is short and hidden inside the head. If it will shadow through, cut and rejoin.
If you're writing patterns for sale, spell this out. Buyers hate fuzzy instructions like "switch colors when it looks right."
Step 3: Make It Stand (Without Making It Heavy)
Standing plushies fail because the feet compress and the ankles fold.
- Crochet feet with a flatter oval base, then build a straight "boot" wall for a few rounds.
- Add a small amount of weight at the bottom (poly pellets or steel shot) inside a sewn fabric pouch.
- Stuff ankles firmly, then use an internal "post" (a tight stuffed tube or a folded pipe-cleaner inside a secured sleeve) up into the leg.
Safety note: if the finished animal is meant for young kids, avoid anything that can leak or poke. For toys intended for children, follow your local toy safety rules. In the U.S., that often means reviewing the CPSC guidance on toy safety.
Step 4: Assembly That Doesn't Drift
Advanced plushies look better because parts are placed consistently.
- Pin limbs in place, then step back and check silhouette from front and side.
- Stitch through both layers twice at stress points (shoulders, hips).
- Add a hidden "tack" stitch from the back of the head into the chest to control head tilt.
That last trick is small, but it makes photos look professional.
A Pattern-For-Sale Checklist That Saves You Refund Headaches
A pattern can be cute and still be hard to follow. If you're selling, clarity is part of the product.

Write your pattern like you're preventing the most common mistakes.
Include These Details Every Time
- Hook size, yarn type, and total yardage estimates (if you can't estimate, say "1 skein" style guidance instead).
- Whether rounds are continuous or joined, and when that changes.
- Finished size based on your materials, plus a note that size changes with yarn and hook.
- Exact placement instructions using counts ("place eyes between rounds 10 and 11, 8 stitches apart"), not vibes.
Add "Design Intent" Notes Where Buyers Get Stuck
A short line can prevent a support email:
- "Stuff the snout lightly so it keeps a point."
- "The ears will look too long until you sew them on at an angle."
- "Round start should be centered at the back before you begin the face marking."
Decide Your Difficulty Honestly
If the pattern uses short rows, colorwork, and shaping, label it advanced. Buyers who want simple will move on, and that's good.
If you're also designing from scratch, this pairs well with how to create custom crochet patterns step by step.
Common Advanced Issues (and Fixes We Use)
Even strong crocheters run into these.
"My Plush Looks Lumpy"
Lumps usually come from uneven stuffing or loose tension changes.
- Stuff in small tufts, not big chunks.
- Use a smaller hook than the yarn label suggests, so stuffing won't show.
- Steam-block accessories (not the stuffed body) to smooth edges, if the yarn allows it.
"My Limbs Twist After Sewing"
That's a placement and anchoring problem.
- Sew through the limb, through the body, and back through the limb in long passes.
- Add one anchor stitch from limb to limb across the inside, like a belt.
"My Color Changes Look Like Steps"
Use joined rounds for stacked stripes and surface slip stitch for crisp borders. For tiny shapes, embroidery can beat crochet colorwork.
Make One 'Hero' Pattern, Then Build a Series
The fastest way to develop unique patterns for sale is to design one hero animal with a signature style, then reuse the same system.
Keep the body base, change:
- Head silhouette (round bear, pointed fox, long dragon)
- Ear shapes and placement
- Tail construction
- Accessories that create theme (forest, space, spooky, cozy)
Buyers love collections because they already trust your sizing, instructions, and results.
If you want help choosing patterns to sell or you'd rather start from a proven design, we sell patterns on our site that are built with these exact techniques in mind.