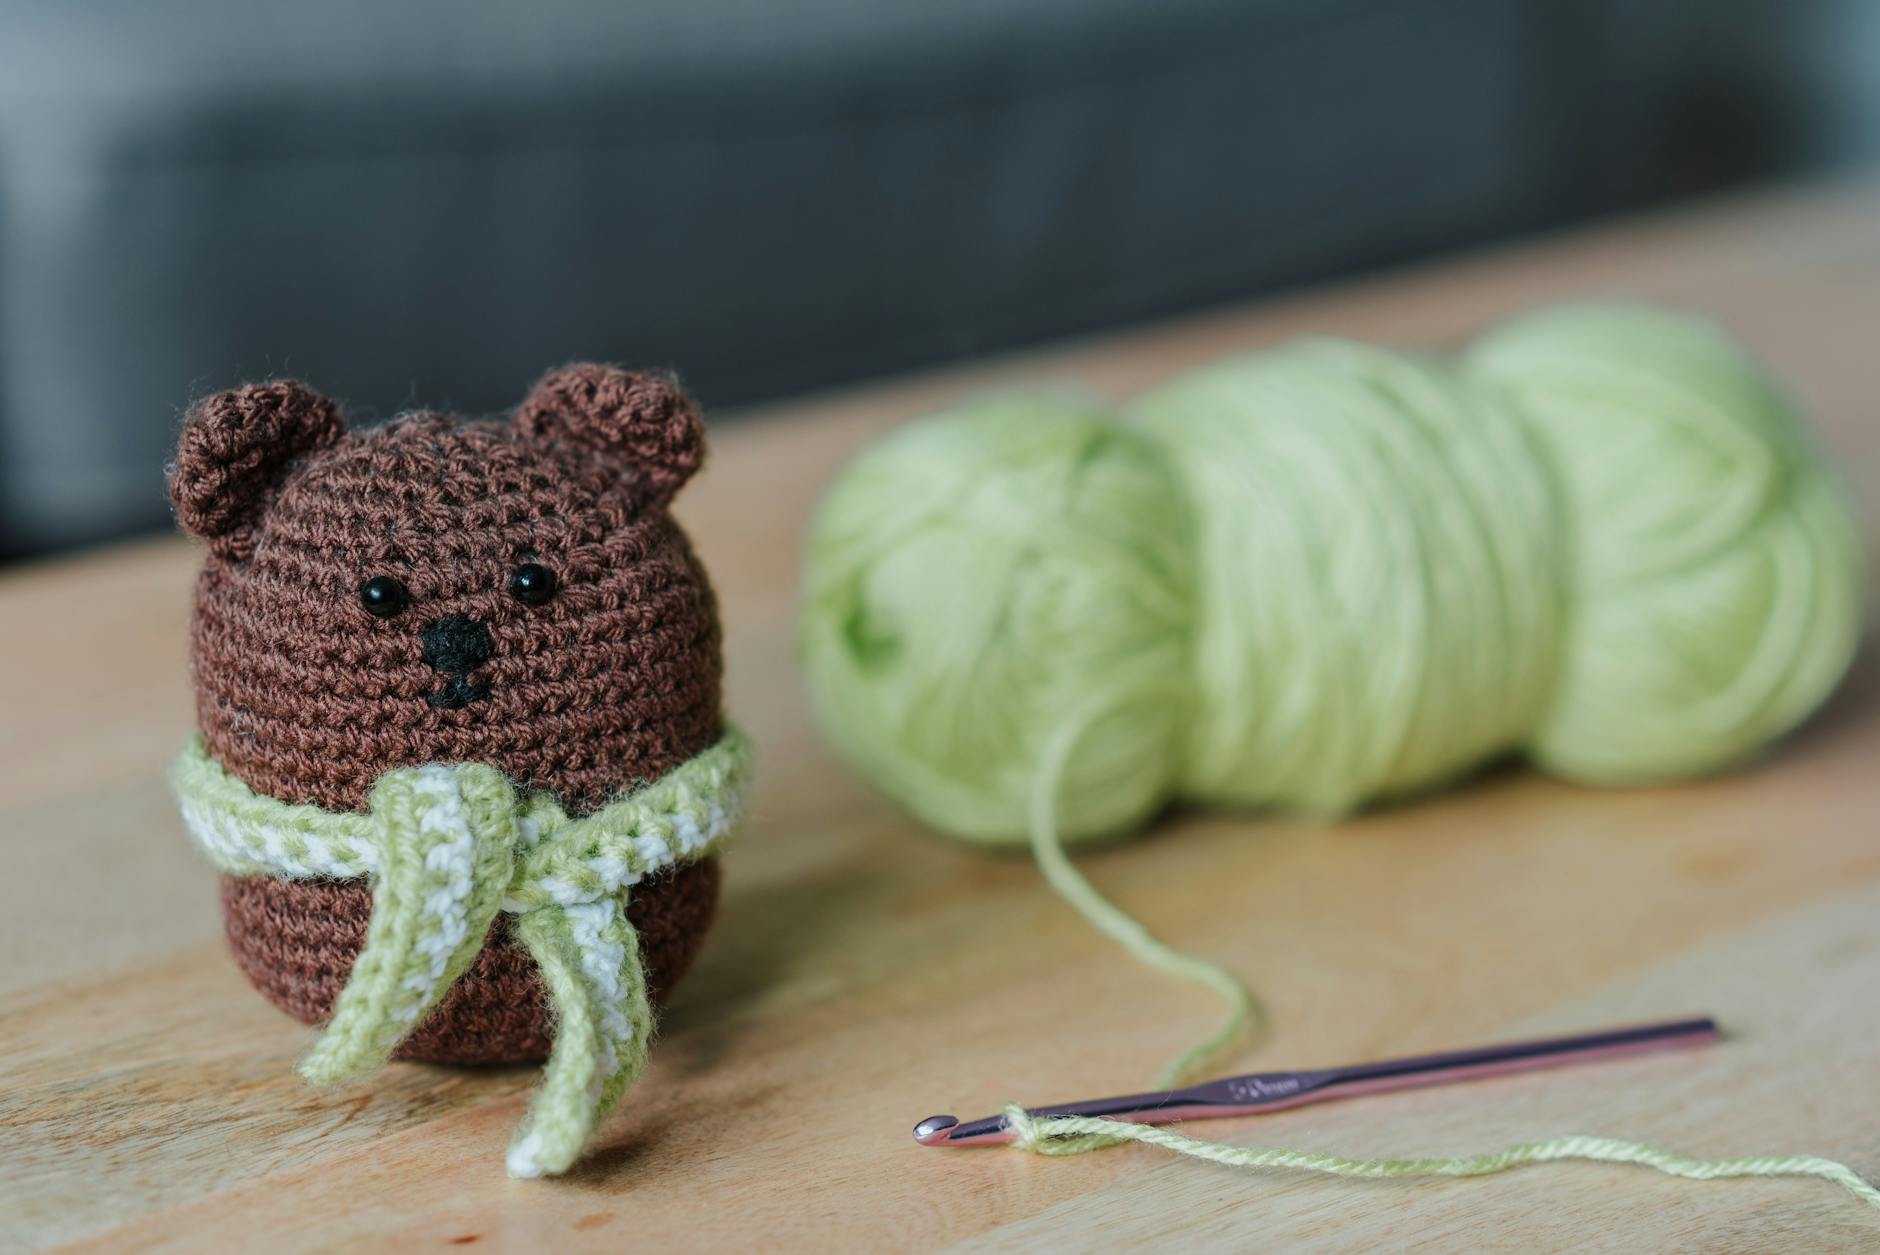
Custom Crochet Patterns for Beginners: a Guide to Crafting Custom Patterns for Profit
Pattern buyers have gotten pickier in the last year. They still want "cute," but they also want patterns that feel finished, clear, and worth paying for.
If you're searching for custom crochet patterns for beginners, you're probably trying to do two things at once: make something original, and make money from it without guessing. This guide gives you a practical workflow we use when we design patterns to sell, plus a worked example you can copy.
1) Pick a "Sellable Custom" Idea (Not Just a Cute One)
A custom pattern sells best when it solves a specific making problem for a specific buyer. New designers often start with "I like turtles," then get stuck in the details. A better starting point is "What will someone actually finish and gift, or wear, or use?"
Here's a decision framework we recommend:
- Choose quick-win designs if you're new to pattern writing: small plush, hats, headbands, simple bags, mug cozies. These teach you sizing and repeats fast.
- Choose "personalization hooks" if you want custom requests later: swap colors, add initials, change ear shapes, change strap length, add pockets.
- Avoid high-fit items at first (sweaters, fitted tops) unless you already understand garment grading (making sizes). Fit issues create refunds and bad reviews.
A non-obvious tip: "Custom" can mean customizable, not one-of-a-kind. Buyers love patterns that let them make many versions.
Good examples of customization points you can build in from the start:
- Scale: mini, regular, jumbo by changing yarn weight and hook size
- Mix-and-match parts: 3 ear options, 2 tails, 4 facial expressions
- Style add-ons: bows, hats, pockets, applique patches
If you want ideas that already sell well as gifts, pair this with best crochet patterns for gifts and how to make them feel custom-made.
2) Draft the Pattern Like a Product, Not a Notebook
A pattern that earns money has to work for strangers, not just for you. That means your first job is clarity.

We write patterns in a "product format" every time:
- Materials list (yarn type/weight, hook size, notions)
- Skill level + stitches used (and short notes if something is tricky)
- Finished size (and what changes the size)
- Abbreviations and notes (US terms or UK terms, gauge if needed)
- Pattern instructions (chunked into parts)
- Assembly and finishing (sewing, stuffing, weaving ends)
- Optional mods (custom features)
If you're brand new to writing, keep your first drafts plain. Fancy layout comes later.
The "Three-Layer Instruction" Trick
This is one of the fastest ways to make beginner-friendly patterns without writing a novel.
- Round-by-round (or row-by-row) instructions: the core steps
- One sentence of intent: what the piece should look like after this section
- One checkpoint: a stitch count, length, or shape check
Example of a checkpoint sentence:
"After Round 6, you should have a flat circle and 36 stitches."
That single line prevents most support messages.
Keep Customization Separate From the Main Flow
Put custom options under a clear heading like "Optional: Add Spots" or "Optional: Longer Strap."
Mixing options inside the main steps is the #1 way beginners get lost, and the #1 way you get complaints.
3) Worked Example: Build a Custom Pattern That's Easy to Sell
Let's build a real product idea: a "Mood Octopus Keychain" with three facial expressions and two tentacle styles. It's small, it's giftable, and it screams "make five more."
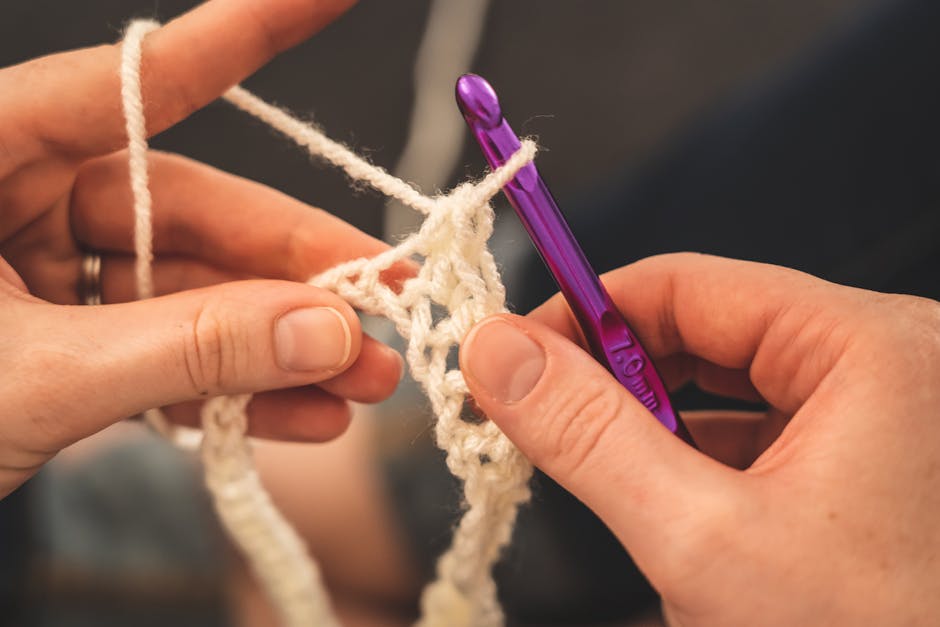
Step a: Define the Base (What Never Changes)
- Shape: classic amigurumi (stuffed crochet) octopus
- Size: keychain, about palm-sized
- Construction: one body piece + tentacles + face details
You write the base pattern first and keep it stable.
Step B: Define the Custom Options (What Buyers Get to Choose)
Pick options that don't break the base math.
- Face Option 1: sleepy (half-lid eyes)
- Face Option 2: happy (smile)
- Face Option 3: grumpy (angled brows)
- Tentacle Option A: curly (spiral strips)
- Tentacle Option B: stubby (small legs)
Why this works: faces are surface details, and tentacles attach at the bottom. You can swap them without changing the body rounds.
Step C: Write the Pattern in Modules
Your table of contents might look like this:
- Body (Rounds 1 to X)
- Stuffing and close
- Tentacles A (curly)
- Tentacles B (stubby)
- Face options (3 mini-guides)
- Assembly
This is how you "mass-produce" custom without rewriting the entire pattern each time.
Step D: Add a Simple Custom Sizing Note
Include one short "scale" note so buyers can change yarn and hook.
Example:
"If you use plush yarn and a larger hook, the octopus will come out bigger. Use less stuffing so it stays squishy."
You didn't promise exact inches, but you gave a real, helpful result.
4) Test, Price, and Sell Without Undercharging Yourself
Designing is only half the profit. The other half is reducing returns, confusion, and support time.
Testing: What You Actually Need (and What You Don't)
You don't need a giant test group to start. You do need proof that the pattern works.
Do this minimum test loop:
- Crochet it once from your draft, and mark every confusing line.
- Crochet it again without looking at your own photos, using only the text.
- If it's size-sensitive (hat, bag strap), test one variation (different yarn or hook).
If you can, ask one other crocheter to run it. Tell them to highlight anything they had to "guess." Those guesses become your clarifying notes.
Pricing: a Simple Framework That Matches Buyer Expectations
Pattern pricing is part math and part market. We won't give a "correct" dollar amount because your niche and audience matter.
Use these anchors instead:
- Charge more if the pattern has multiple options (faces, sizes, add-ons) because it replaces several patterns.
- Charge more if it includes photo support (step photos for assembly) or detailed checklists.
- Charge less if it's a very short, single-purpose pattern with no customization.
A practical way to sanity-check your price is to compare your pattern to similar ones in your category, then ask if yours is clearer, more flexible, or more unique. If yes, price should reflect that.
Selling: the Listing Details That Actually Convert
Your listing has one job: reduce uncertainty.
Include these, every time:
- Skill level and stitches used
- Finished size and what affects it
- What's included (PDF, photo steps, customization options)
- Clear photos of at least two variations (different face, different color)
If your brand is built around unique designs, your catalog matters. A small set of strong patterns sells better than a pile of rushed ones. If you're ready to push into harder designs later, follow how to crochet complex patterns that stand out and sell.
Common Mistakes That Kill Profit (and How to Avoid Them)
Most pattern profit leaks are small problems that stack up.
- Vague stitch counts: always include counts at key points, especially after increases and decreases.
- Too many options too soon: start with 2 to 3 variations, then expand in a version update.
- Unclear rights language: say what buyers can do (sell finished items, not resell the pattern). Keep it simple and readable.
- Skipping finishing notes: "sew on" isn't enough. Tell them where to pin, what to align, and how tight.
A quiet truth: support time is part of your cost. Clear patterns pay you twice, once in sales and again in fewer messages.
Your Next Pattern Can Be Custom and Simple
Start with a base design you can repeat, then add a few customization modules that don't break the structure. That's how we turn one idea into a small product line.
If you want more patterns and crochet goodness, browse our shop at https://artncraftartncraft.art and grab a design you can learn from, remix, and build on.