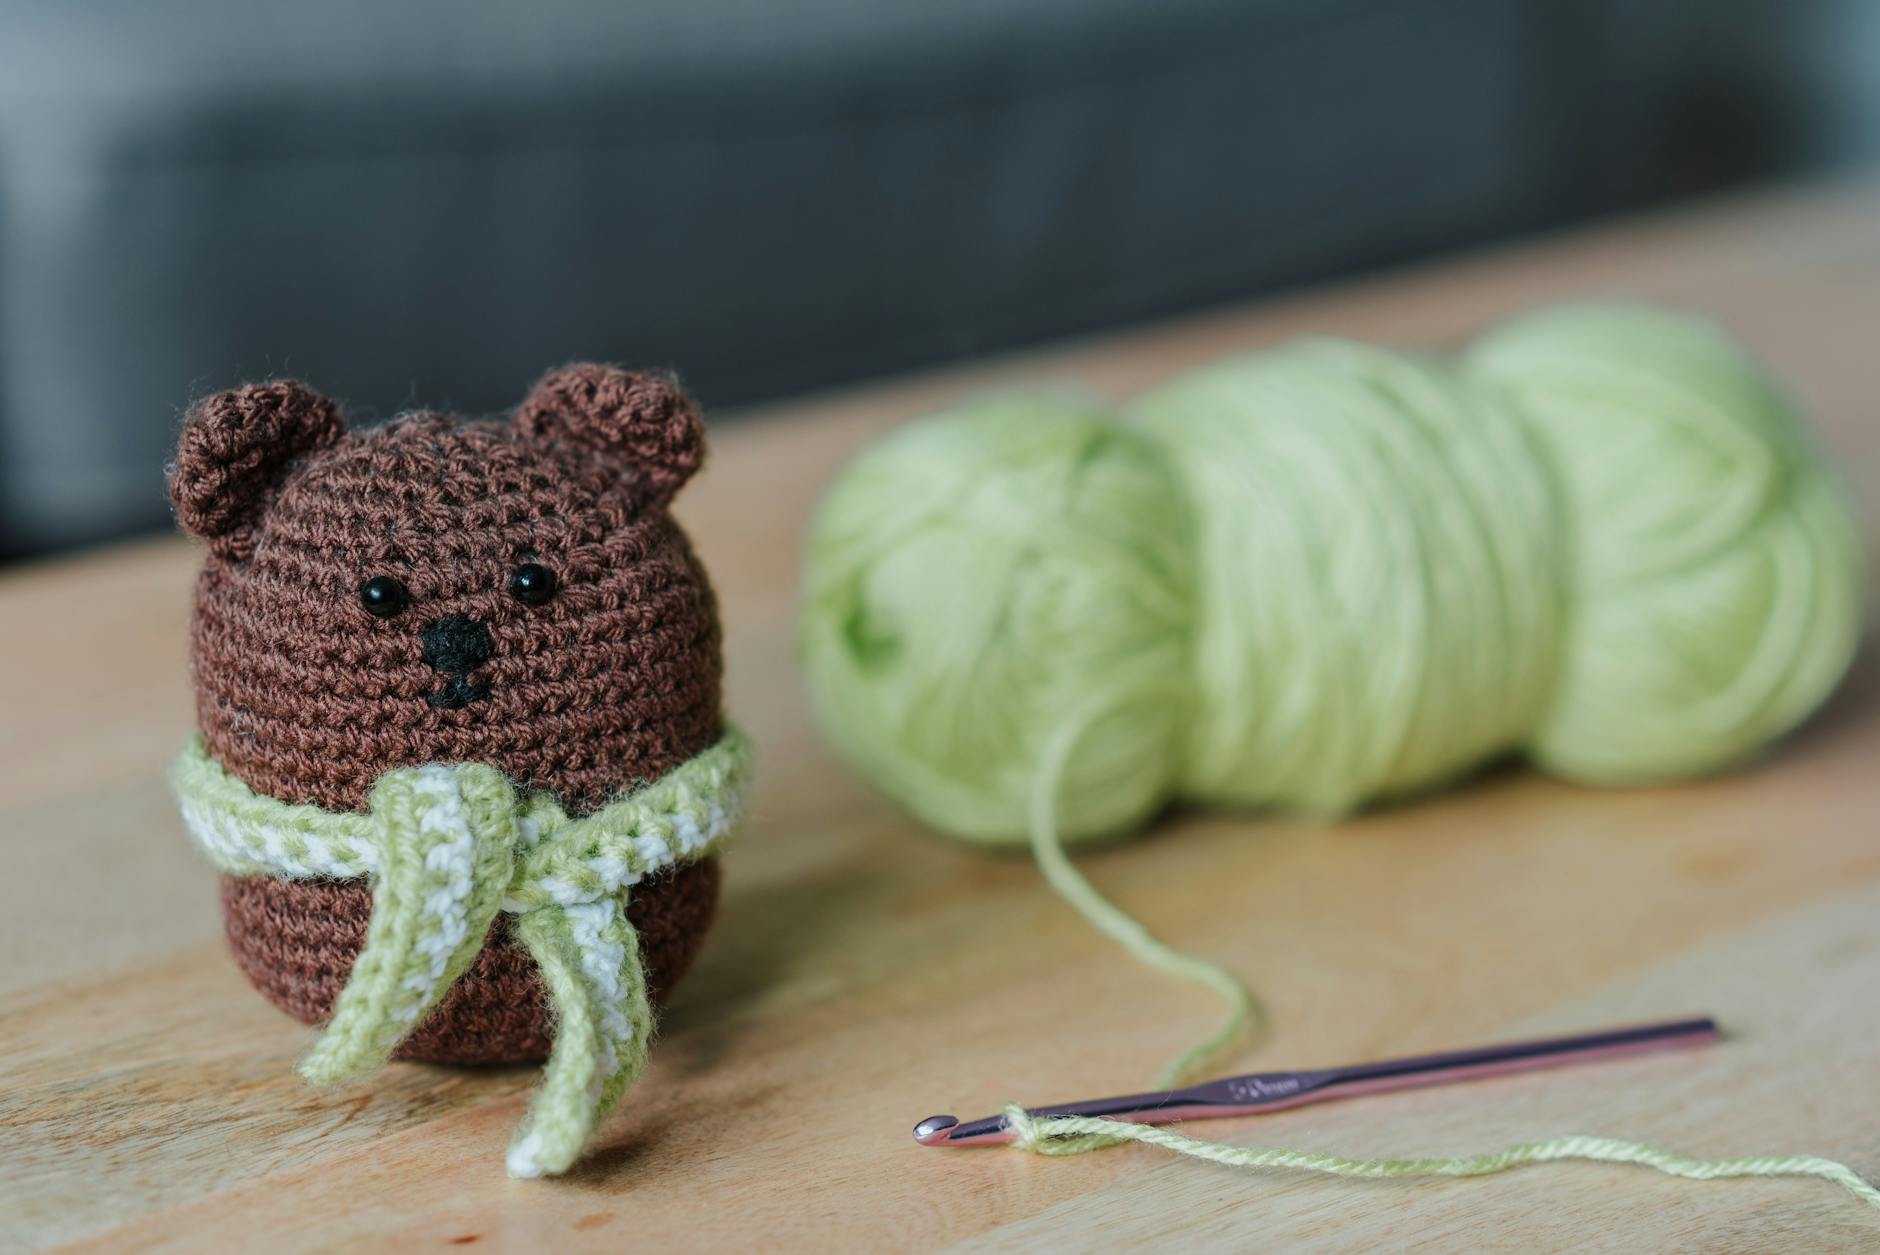
Crochet Pattern Tutorials for Beginners: Craft Unique Patterns to Sell with Ease
A lot of new crocheters hit the same wall: you can follow patterns fine, but the idea of writing one to sell feels like trying to invent a new language.
If that's you, you don't need "more creativity." You need a simple process. This guide is built like crochet pattern tutorials for beginners, but with one extra goal, patterns that are clear enough to sell without constant customer questions.
Start with a Sellable "Small Win" Pattern (Not Your Dream Project)
Selling gets easier when your first pattern is small, repeatable, and easy to explain.
Many beginners start by designing a huge plush with ten parts and custom shaping. That's a fast track to confusion during writing and testing. A "small win" pattern teaches you the whole pattern-making loop with fewer places to get stuck.
Pick a project with these traits:
- One main shape (tube, ball, flat panel)
- One stitch family (single crochet is perfect)
- Two to three simple upgrades (ears, spots, a ruffle, a pocket)
- A finish people care about (cute, giftable, or useful)
Good first pattern ideas that still feel unique:
- Mini whale plush with a choice of fins (two styles)
- Simple pouch with a fun closure (button loop, drawstring, flap)
- Mug cozy with a texture strip and size options
If you want to sell plush designs long term, you'll grow faster by practicing on small stuffed toys first.
We focus a lot on that style in our shop, and if you want inspiration for the "one-of-one" toy vibe, this pairs well with how to crochet unique patterns for sale.
The Beginner-Friendly Design Framework (Shape, Style, Signature)
A pattern that sells usually has one clear "hook" (the feature someone falls in love with). You don't need a complicated build to create that.
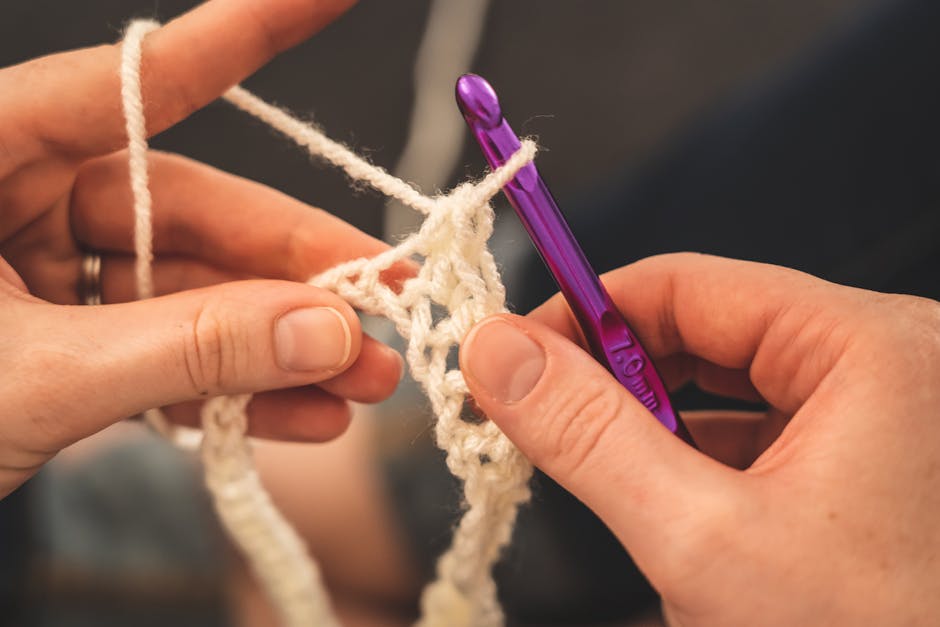
Use this 3-part framework:
- Shape: the base structure (ball, oval, cylinder, flat piece)
- Style: the surface look (smooth, bobble, ribbed, striped)
- Signature: one special detail (tiny accessory, face style, color placement)
Here's the key trade-off most people miss: more "signature details" can make a pattern feel premium, but they also create more places for beginners to make mistakes. If your target buyer is also a beginner, keep the signature detail simple and very explainable.
Choose A if you want fewer support emails:
- One signature detail
- Minimal seaming (joining pieces)
- No strict gauge (stitch size) requirement
Choose B if you want a higher price point:
- Two to three signature details
- Optional upgrades (so buyers can choose simple or fancy)
- Clear finishing steps (shaping, sewing, and placement)
A practical way to do "premium" without scaring people off is to offer options inside one pattern, like two ear shapes, two tail styles, or three color layouts.
Worked Example: Turning a Basic Ball Into a Sellable Mini Plush Pattern
Let's build a real pattern concept you could sell, using a base almost everyone can crochet: a sphere.

Step 1: Define the Buyer and the Promise
Write one sentence you're designing for.
Example: "A palm-size mini turtle plush that works in worsted yarn and takes under an evening."
That sentence tells you what to cut. If it needs special yarn, complex colorwork, or fragile pieces, it no longer matches the promise.
Step 2: Build the Base Shape First
Design the body as a simple ball or oval with single crochet.
Keep notes as you crochet:
- Starting method (magic ring or chain-2 start)
- Increase rhythm (how you grow the shape)
- The round where you place safety eyes (if used)
- Stuffing point (before the opening gets small)
Non-obvious tip that makes your pattern feel "pro": mark landmarks.
Instead of "place eyes between rounds 8 and 9," add placement logic like "centered on the widest part of the body, about X stitches apart." That helps when yarn or hook changes shift the exact round count.
Step 3: Add the Signature Detail as an Option
For the turtle, your signature is the shell.
Offer two shell options inside one pattern:
- Shell A (beginner): a flat circle you sew on
- Shell B (textured): a slightly domed circle with a simple texture round
Now your pattern serves two buyers: someone who wants fast and easy, and someone who wants "cute details."
Step 4: Write the Instructions Like You're Preventing Mistakes
This is where most first-time designers lose sales. Not because the crochet is hard, but because the writing assumes too much.
Include:
- A short "You'll Make" list (body, 4 flippers, shell, optional blush spots)
- A materials list with ranges (some people crochet tighter)
- A stitch glossary (sc, inc, dec) and how you use them
- One line on how you count rounds (spiral vs joined)
If you sell patterns, clear language is customer service. Every sentence that prevents confusion is time you get back later.
Testing, Pricing, and Listing: the Parts That Make Selling Feel Easy
Designing is only half the job. Selling with ease comes from testing and packaging the pattern so it behaves well in the real world.
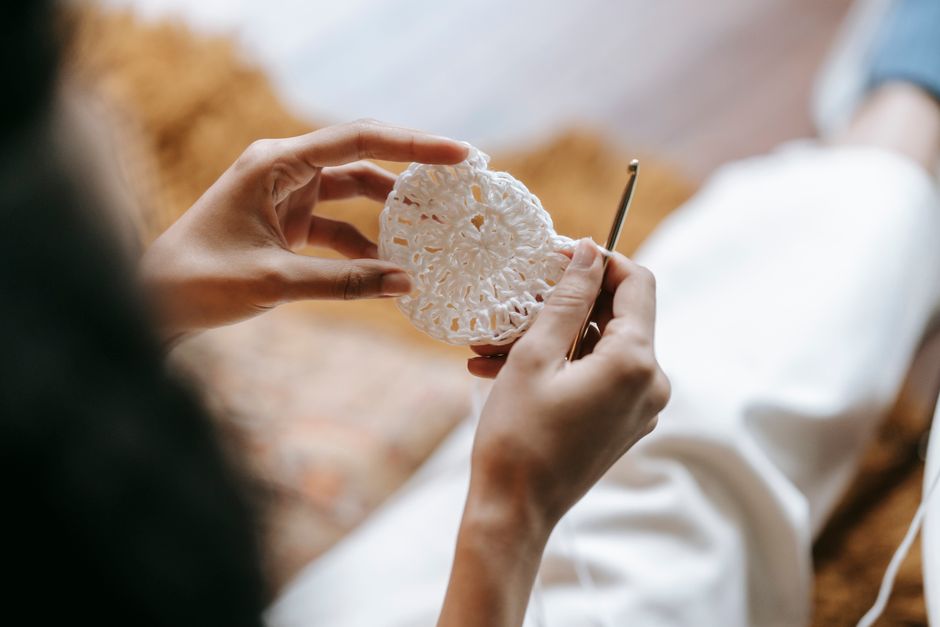
Pattern Testing: What to Test (and What Not to Overthink)
A beginner-friendly test plan is simple:
- Crochet it once from your own notes without "fixing as you go."
- Rewrite any step that made you pause.
- Make it again in a different yarn weight or hook size to check proportions.
- Ask one other crocheter to follow it and highlight confusing lines.
Don't overtest colors first. Colorways are fun, but they hide instruction problems.
If you plan to use safety eyes, include a safety note. Small parts can be a choking hazard for young children.
You can point readers to established guidance like CPSC small parts information (U.S. Consumer Product Safety Commission).
Pricing: a Practical Way to Choose a Number
Pricing a pattern isn't just "how long did it take." It's also about clarity, uniqueness, and buyer confidence.
A simple decision framework:
- Price on the lower end if the pattern is very short, has one size, and uses basic stitches.
- Price in the middle if it includes options (two ears, two shells, size notes) and strong photos.
- Price higher if it includes multiple sizes, detailed shaping, or advanced techniques, plus clean formatting.
In our experience, buyers pay for fewer headaches. A well-tested, well-formatted beginner pattern can outperform a complicated pattern that's hard to follow.
Listing: What Helps a Beginner Actually Buy
A strong listing does three jobs: it shows the result, explains difficulty honestly, and reduces "what if I mess this up" fear.
Include:
- A clear cover photo plus 2 to 4 progress photos
- Skill level with specifics (example: "single crochet, increases, decreases, simple sewing")
- Finished size range (varies by yarn and hook)
- What's included (photo help, chart, video links if you have them)
If your pattern style is detailed toys, keep your product line consistent. People who buy one plush pattern often come back for the next one.
If that's the direction you want, you'll like how to create unique crochet patterns for detailed stuffed animals.
Common Beginner Mistakes That Create Refunds (and How to Avoid Them)
Most "bad reviews" on patterns come from avoidable issues, not from the crochet itself.
Here are the big ones we see, plus fixes you can apply today:
- Unclear counting: State whether you work in continuous rounds (spiral) or joined rounds, and tell people to use a stitch marker.
- Missing abbreviations: Define every abbreviation you use, even common ones.
- No seaming guidance: Add placement notes like "pin first, then sew," and show the piece orientation.
- Only one yarn assumption: Give a quick note on how results change with chunky vs worsted yarn.
- Too many "attach wherever" steps: "Wherever" creates wonky results. Give alignment points (center, edges, stitch counts).
One more non-obvious issue: naming parts.
If you call something "ear" in one section and "fin" later, someone will make the wrong piece twice. Pick one term and stick to it.
A Simple Next Step: Make One Pattern, Then Make It Better
Your first sellable pattern doesn't need to be your masterpiece. It needs to be clear, tested, and enjoyable to make.
Pick one small project, use the Shape, Style, Signature framework, and build in one optional upgrade so your listing feels special.
If you want to skip the "blank page" phase, browse our patterns at https://artncraftartncraft.art and study how the formatting, options, and photo steps work. Then build your own in that same easy-to-follow style.