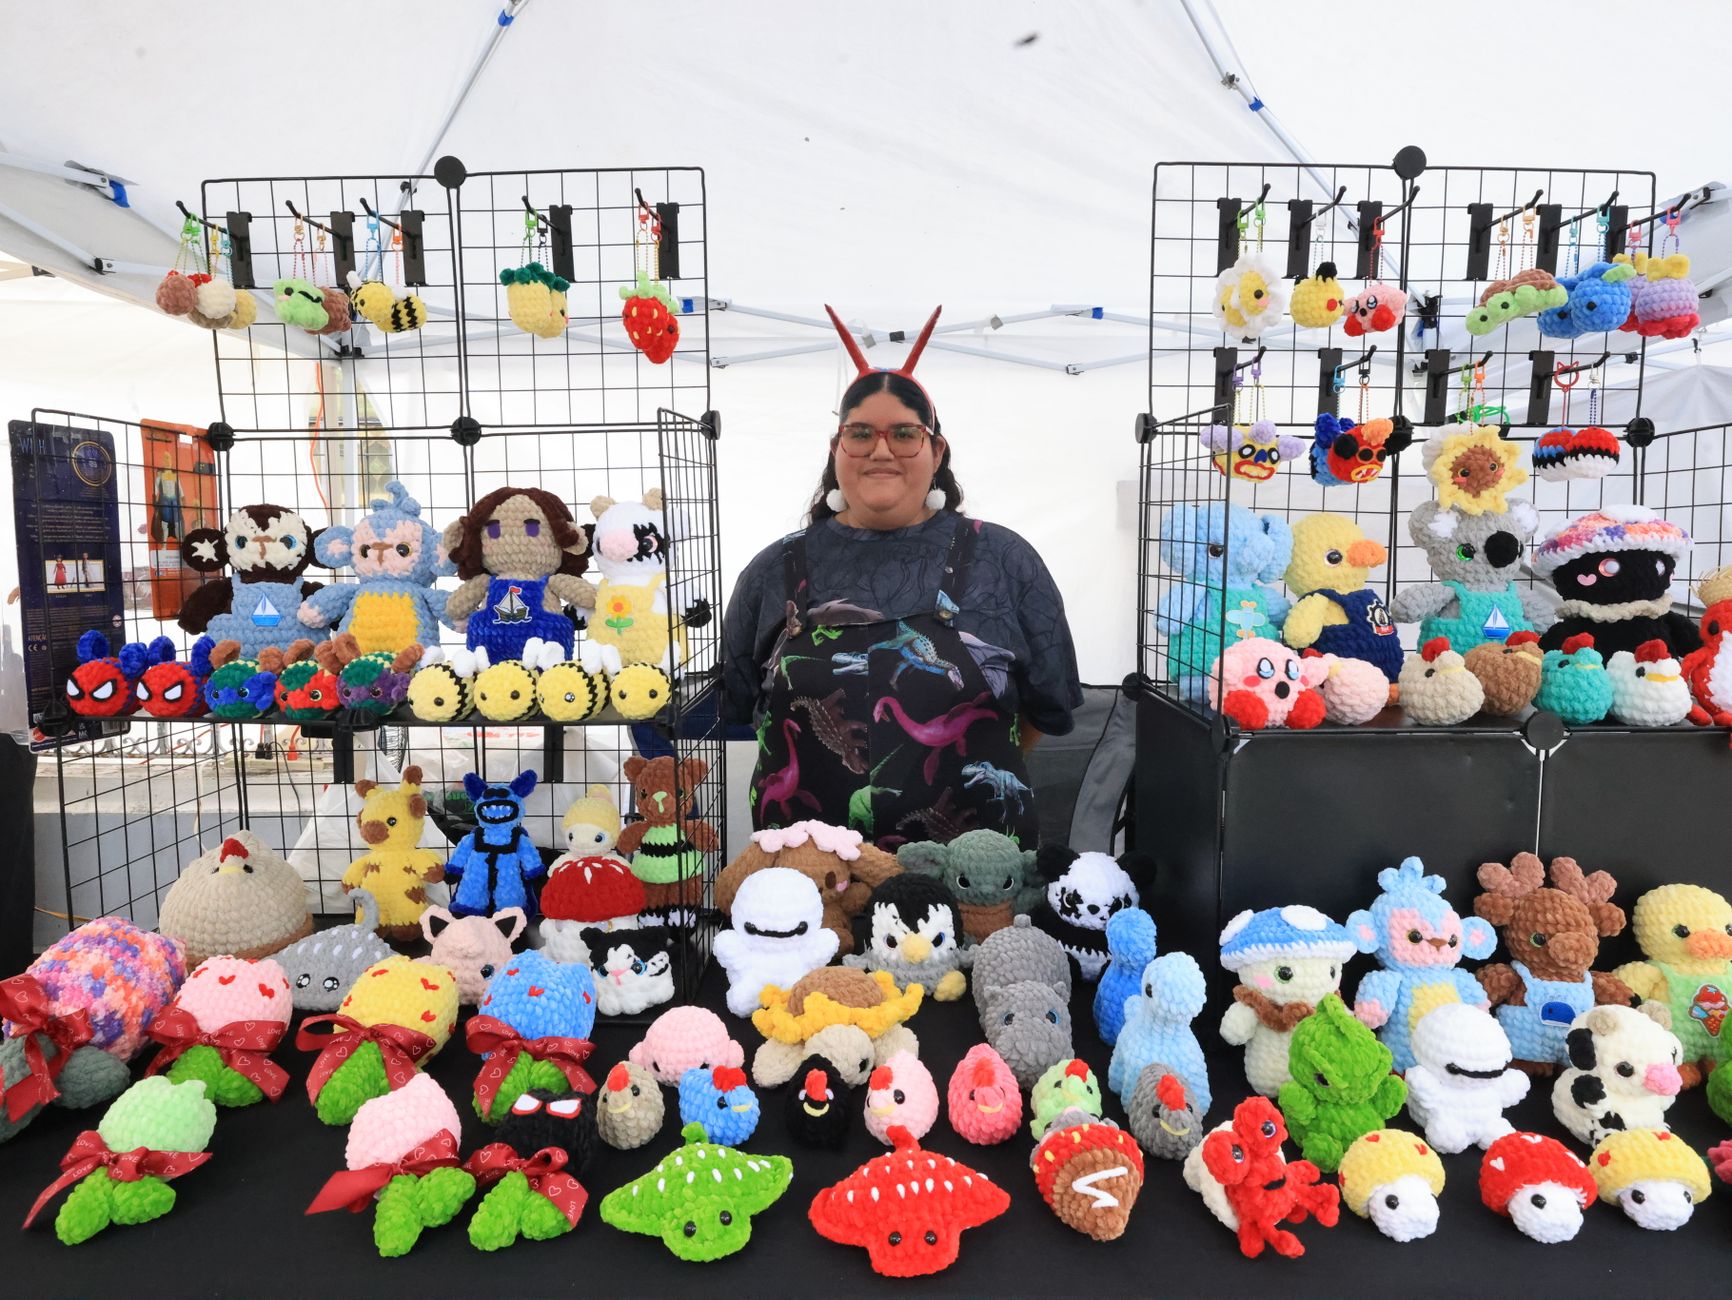
Complex Crochet Patterns for Stuffed Animals: Craft Unique Plushies to Sell
That moment when your cute bunny pattern looks like every other bunny on the market can feel brutal.
If you're ready to stand out, complex crochet patterns for stuffed animals are one of the best ways to do it, because details (shaping, texture, and personality features) are what make a buyer stop scrolling.
This guide is a step-by-step process we use when we design stuffed animal patterns that look "impossible," but still stitch up cleanly for real customers.
Step 1: Pick a Concept That Sells Because It's Specific
"Fox plush" is fine. "Mushroom fox with removable cap, tiny pockets, and a curly tail" is the kind of idea people remember.
Complex doesn't have to mean huge. It means intentional. You're adding design choices that create a signature look, while keeping the build doable.
Use this quick decision framework to choose the kind of complexity that fits your selling goal:
- Choose shape complexity (3D sculpting, curves, unusual silhouettes) if you want a "wow" photo and higher price.
- Choose surface complexity (textures, colorwork, embroidery, faux fur) if you want the same base body to support many variants.
- Choose interactive complexity (poseable limbs, removable clothes, pockets, magnets or buttons) if you want gift buyers and collectors.
- Choose character complexity (expression, face shaping, accessories that tell a story) if you want strong branding and repeat customers.
A useful constraint: limit yourself to one "hero feature" plus one "supporting feature." Too many hero features often turns into a pattern that's hard to follow and hard to finish.
If you're still building confidence with advanced construction, our deeper walkthrough on crocheting detailed stuffed toy patterns that hold their shape can help you level up without getting stuck.
Step 2: Build a Clean Base Body First (Then Add the Fancy Parts)
Most complicated plushies get messy because the base body changes while you're also trying to design ears, horns, wings, and outfits.
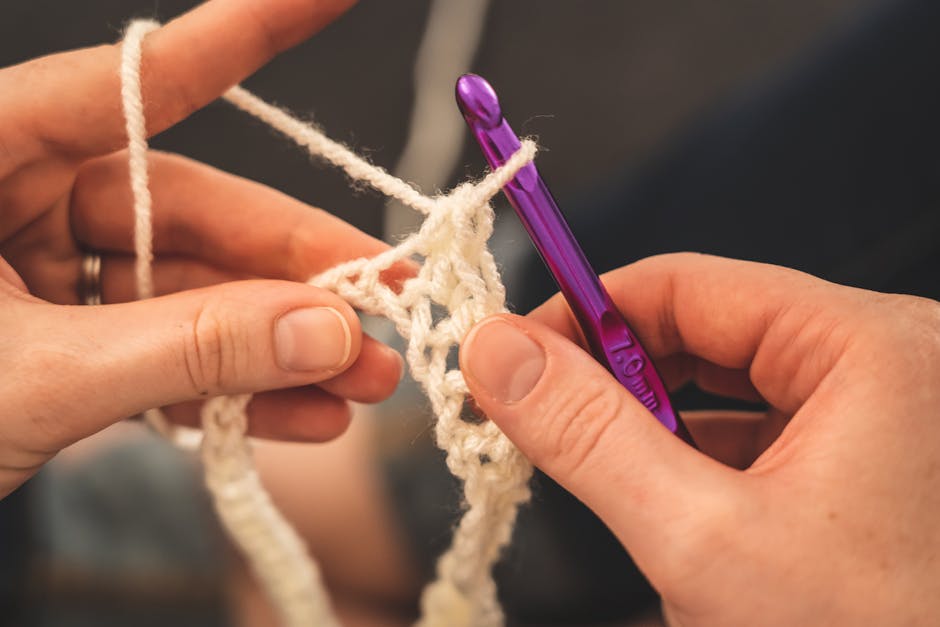
Start with a plain "under-structure" that fits your concept. This is your boring prototype. It makes the final version faster and cleaner.
Here's a simple order that prevents headaches:
- Sketch the silhouette (front and side). Mark the widest point and where features attach.
- Crochet the base in one color (no details). Focus on proportions and balance.
- Lock in attachment zones (where limbs, ears, and accessories will sit). Place stitch markers and count rows.
- Add one feature at a time (tail, then ears, then muzzle, then accessories). Test placement as you go.
Two non-obvious tips that save hours:
- Plan "flat spots" for attachments. A wing attached to a sharp curve tends to wobble. A slightly flatter area (made by a short section of even increases) gives you a stable seam.
- Design for stuffing behavior. Tight stitches and dense fabric hide stuffing better. If your fabric is looser, add a fabric liner or choose a less contrasty stuffing color.
If your base bodies often twist or your rounds drift, that's not a "you" problem. It's a construction choice. Switching to joined rounds for certain sections, or using a traveling stitch marker method, can fix it.
Step 3: Add Complexity the Right Way (so It's Still Repeatable)
Sellable complexity is repeatable complexity. Your pattern has to work for more than your own hands on your own day.
These are the upgrades we reach for most when we want a plush to look custom, not mass-market.
Sculpting with Increases, Decreases, and Short Rows
Short rows (partial rows that don't go all the way around) are a secret weapon for cheeks, bellies, and sloped backs.
Use them when you want a curve without adding a separate piece. Example: a dinosaur belly that sticks out, but the back stays smooth.
Practical guardrails:
- Keep short-row sections short, usually 3 to 8 rows.
- Mirror them on the opposite side if you need symmetry.
- Write them in plain language in your pattern notes, because short rows confuse people fast.
Texture Without Chaos
Textures sell because they photograph well, especially in close-ups.
Pick one texture that matches the animal's "story":
- Bobbles for warts or bumpy skin.
- Front loop only (FLO) ridges for armor plates or segmented bodies.
- Surface slip stitch for markings that don't bulk up the fabric.
Avoid stacking multiple textures on the same tiny area. It can turn stiff and hard to stuff.
Clean Color Changes and Markings
If you want crisp markings (panda eyes, fox mask, tiger stripes), decide early if you want:
- Tapestry crochet (carrying yarn inside). Great for small shapes, can add bulk.
- Intarsia in the round (separate yarn sections). Clean look, more ends to weave.
- Surface embroidery (stitching on top). Fast to edit, depends on your embroidery skill.
For stuffed animals to sell, we often prefer surface embroidery for small facial markings because you can tweak expression without rewriting half the pattern.
Step 4: Worked Example, Designing a "Luna Moth Cat" Plush
Here's a concrete example of how we'd turn a weird idea into a pattern people can actually follow.

Goal: A cat plush inspired by a luna moth. The hero feature is big scalloped wings. The supporting feature is fluffy antennae.
Base body plan:
- Head and body in one piece, starting at the nose.
- Slight cheek shaping with short rows.
- Body taper that creates a natural "neck" without sewing.
Feature plan:
- Muzzle and face: Small oval muzzle piece sewn on, then embroidered mouth and sleepy eyelids.
- Ears: Two triangles with a tiny fold at the base so they tilt forward.
- Wings (hero feature):
- Antennae (supporting feature):
Pattern-writing choices that make it sellable:
- Include a "simple wing" option that uses fewer scallops.
- Call out exact wing placement, counted from the center back.
- Add a checklist for embroidery steps so the face doesn't drift.
Trade-off to consider: Big wings look amazing in photos, but they can flop.
Two fixes that keep it buyer-friendly:
- Use a firmer yarn for wings than the body, even if the color matches.
- Crochet wings with a smaller hook size to make a stiffer fabric.
That's the kind of complexity customers notice, but it doesn't make the plush frustrating to build.
Step 5: Test Like You're Selling It (Because You Are)
A "finished object" isn't the same as a tested pattern.
If you're planning to sell patterns, test for the spots where crocheters get stuck, even advanced crocheters.
Run this quick testing pass before you publish:
- Re-crochet from your own notes without looking at the finished plush. Fix missing counts and vague steps.
- Check every seam line. If two pieces don't align cleanly, rewrite the piece, not the sewing instructions.
- Stress-test attachments by tugging ears, tails, wings, and limbs. Add reinforcement rounds or a wider base if needed.
- Write a "yardage honesty" note (approximate yarn use) if you can do it confidently. If you can't, don't guess.
If you also sell finished plushies, think about safety.
Small parts can be a choking hazard for young kids. In the U.S., toy safety rules and small-parts guidance are covered under the Consumer Product Safety Commission (CPSC). If you're selling items marketed for children, read the official info first: CPSC Small Parts Regulations and Guidance.
Step 6: Price Your Pattern Based on Effort, Not Just Size
A tiny plush can be harder than a big plush.
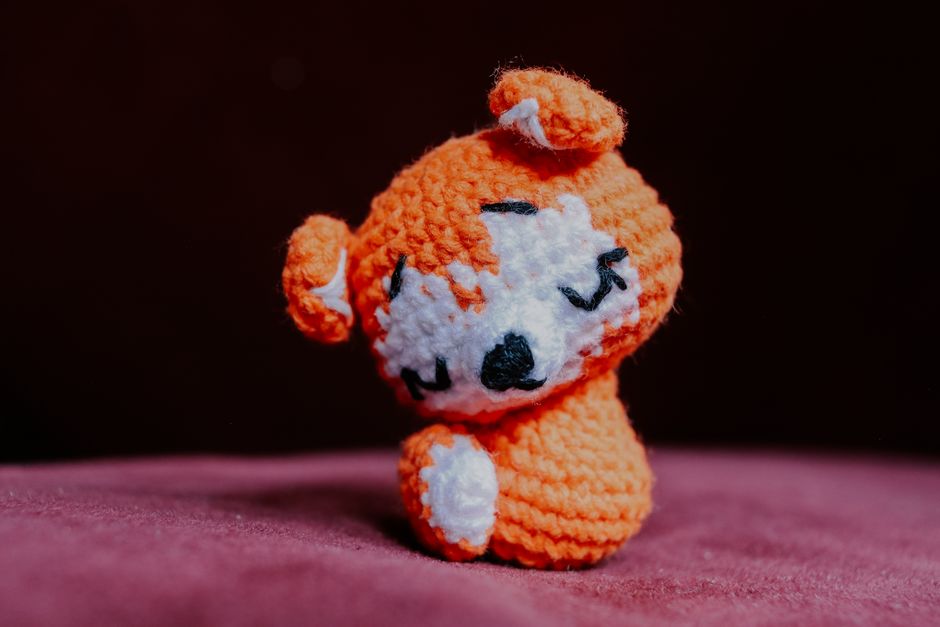
Pricing gets simpler if you base it on what the buyer is really paying for: the time you spent designing, the clarity of your instructions, and the uniqueness they can't get elsewhere.
Use this practical framework:
- Lower price fits patterns with a simple body, minimal sewing, and few special techniques.
- Mid price fits patterns with shaping, multiple pieces, and a few advanced steps.
- Higher price fits patterns with several options (alternate ears, wing styles, outfits), complex shaping, and detailed finishing.
Also consider support load. The more complex your pattern, the more messages you may get. If you don't want that, simplify the hardest section or add clearer photos and troubleshooting notes.
If you want more technique ideas for raising the "wow" factor without making the pattern unreadable, advanced crochet techniques that create stunning designs is a good next step.
Step 7: Photograph and List Like a Designer (Not Just a Crafter)
Unique stuffed animals sell with clear photos and clear promises.
Your listing should show what makes the pattern special in the first image. Don't hide the hero feature on slide five.
A simple photo plan:
- Front view (face and vibe).
- 3/4 view (shows depth and shaping).
- Back view (shows wings, tails, spines, or colorwork).
- Close-up (texture, eyes, embroidery detail).
- Scale photo (in hand, next to a common item).
In your description, say what the buyer needs to know before buying:
- Finished size (approximate is fine).
- Skill level, plus 2 to 3 techniques they should know.
- What's included (options, outfits, accessories).
- What's not included (finished plush, yarn).
Clarity reduces refunds and unhappy messages. It also makes buyers trust you.
Make Your Next Pattern Harder in the Right Way
The best-selling complex plush patterns aren't complicated everywhere. They're simple where they can be, and detailed where it counts.
If you want, you can grab one of our patterns at https://artncraftartncraft.art and use the step-by-step process above to remix it into your own signature creature. Choose one hero feature, test it like you mean it, then price it like a designer who respects their time.