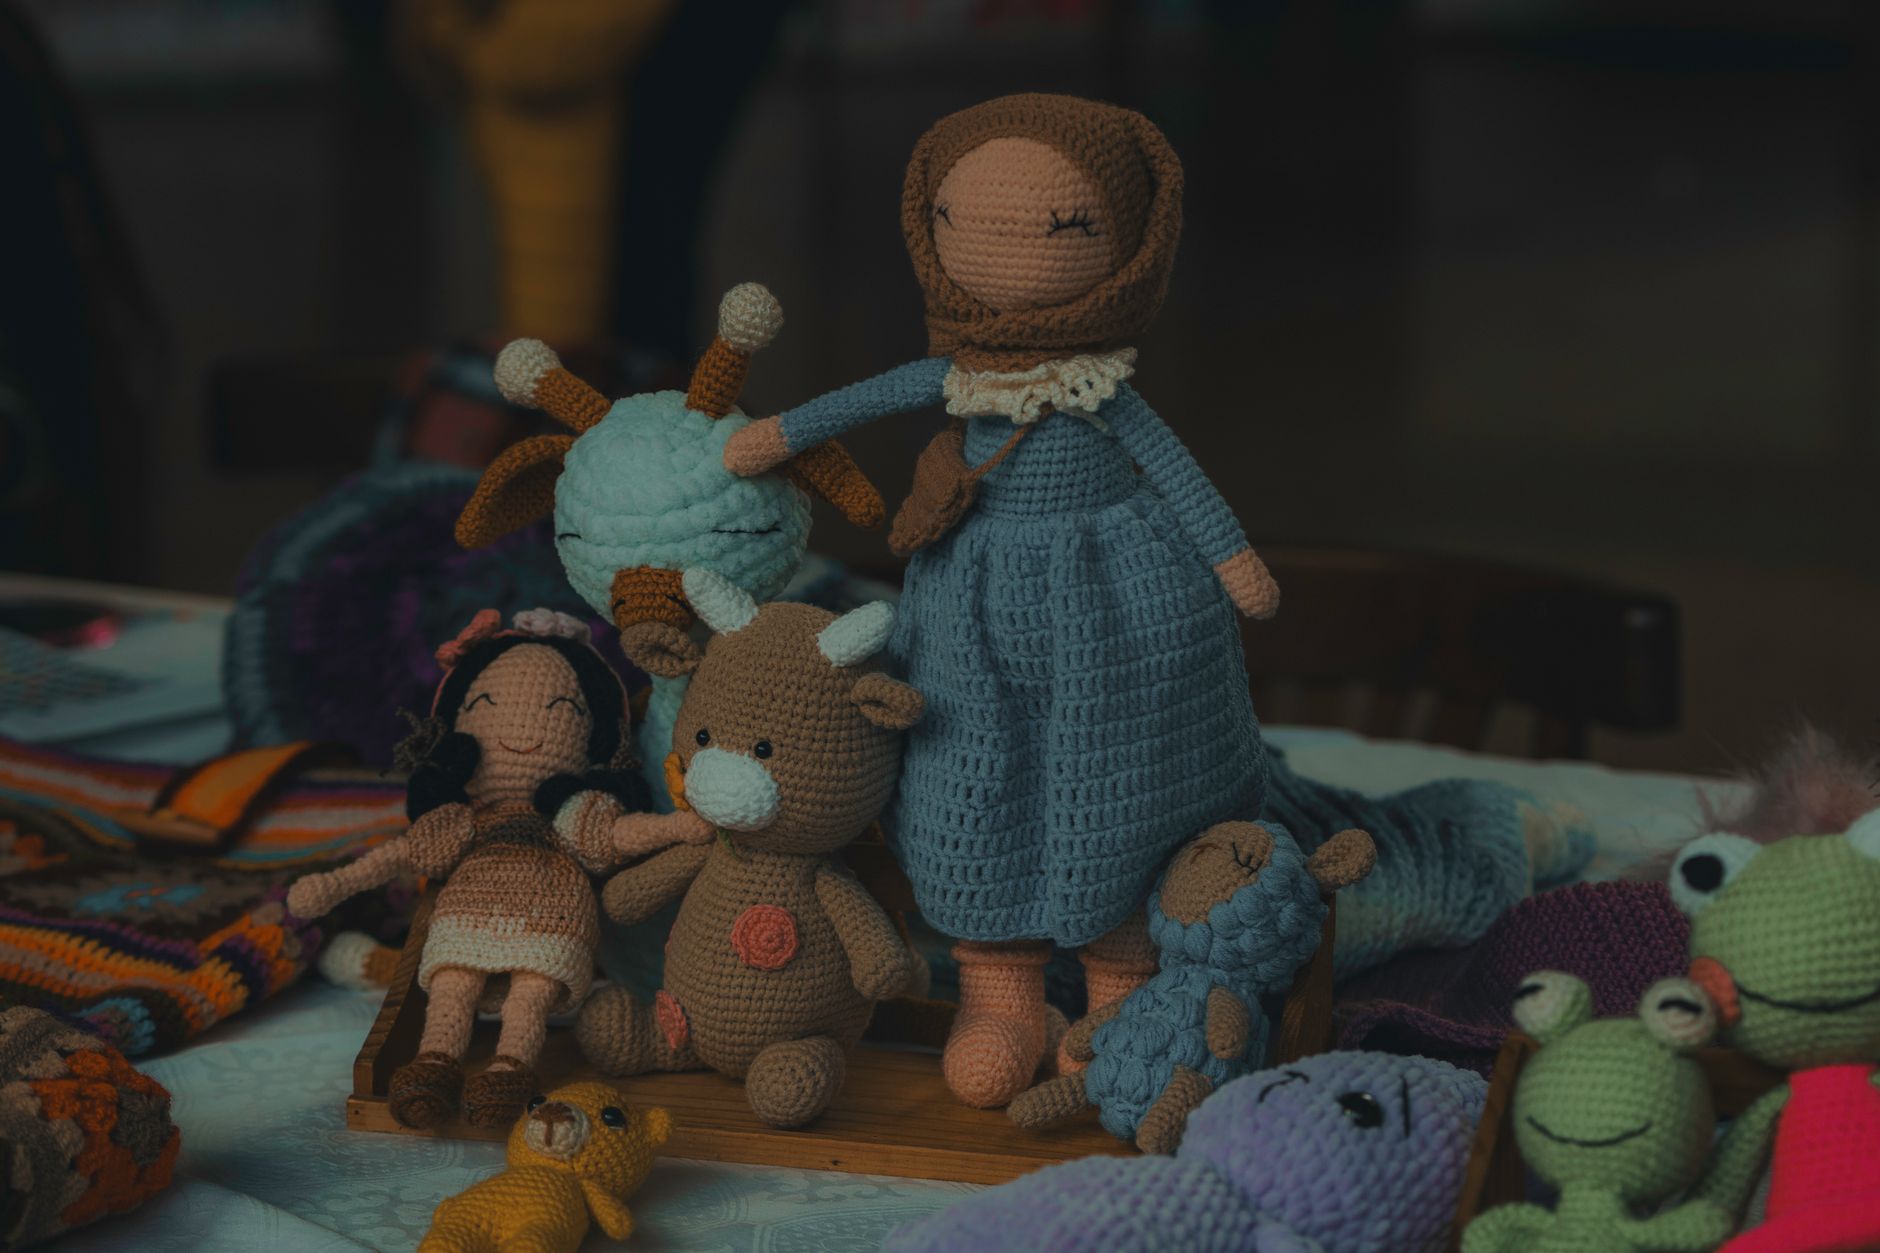
Crocheting Tips for Unique Stuffed Animals with Complex Patterns (That Actually Work)
The trend we keep seeing in 2026 crochet feeds is "hyper-specific plushies", beetles with shiny wing cases, dragons with spines, frogs with tiny backpacks. The patterns look amazing, but the pain is real: your rounds drift, limbs sit crooked, color changes look messy, and the face ends up not matching the sketch.
If that's you, these crocheting tips for unique stuffed animals focus on the stuff that actually makes complex patterns behave: how to control shape, how to plan joins, how to keep details crisp, and how to troubleshoot the two spots that ruin most toys (heads and attachments).
Complex Pattern or Simple Pattern with Complex Styling
A lot of "complex" stuffed animals aren't complex because they use exotic stitches. They're complex because they combine many small decisions that must line up: shaping, placement, symmetry, and clean finishing.
Here's a comparison framework we use when choosing or designing a toy pattern.
- Choose a truly complex pattern if you want built-in structure: muzzle shaping, sculpted limbs, layered parts (ears on ears), or strong character features.
- Choose a simpler base pattern with complex styling if you want the look without the engineering: a plain body, then you add spikes, spots, wings, clothing, or props.
The trade-off most people miss is sewing time. A "simple" base with lots of accessories can take longer than a sculpted all-in-one body, because every accessory is another attachment point to align.
If you're still picking a pattern, it helps to start from a design approach you can scale. Our guide on how to crochet stuffed animals for gifts with complex design choices goes deeper on choosing complexity that matches your patience and skill.
Crocheting Tips for Unique Stuffed Animals: Shape Control vs Detail Control
Complex toys fail in two ways: the shape is off, or the details are messy. You usually have to prioritize one first, then layer the other.

If Your Toy Looks "Lumpy": Fix Shape Control First
Most amigurumi shaping is just increases and decreases, but placement is everything.
- Use invisible decrease (decrease through the front loops only) for smoother curves. Regular decreases can leave little corners.
- Stagger your increases instead of stacking them. If a round has 6 increases, don't do them in the same spots each round.
- Add "buffer rounds" (a plain round between shaping rounds) if your yarn is stiff or your toy needs a smoother dome.
- Track your true start point. In continuous rounds, stitches drift into a spiral. Place a marker and accept the drift, then use it on purpose for seam placement.
Non-obvious trick: if you need a head to be wider at the cheeks but not at the back, you can "bias" increases to the front half for two rounds. That gives a face shape without adding extra parts.
If Your Details Look Messy: Fix Detail Control Next
Details usually break at the transitions.
- Color changes: change color on the last yarn-over of the stitch before the new color. That keeps the top "V" clean.
- Surface slip stitch (embroidering with a slip stitch on top of fabric) can draw sharp lines for mouths, eyebrow ridges, and seams without adding bulk.
- Back loop only rounds create a crisp ridge. Great for wing edges, turtle shells, boot cuffs, and "armor plates."
- Tighten up your stuffing strategy: overstuffing rounds that are about to be decreased makes holes appear. Stuff firmly, but leave the last 3 to 4 decrease rounds a little softer, then close and shape.
If holes show between stitches, go down a hook size or switch to a yarn with better "memory" (springs back). Stuffing will always try to escape through loose fabric.
A Worked Example: Designing a Complex "Moth Cat" Without the Head Going Weird
Here's a concrete build plan you can copy. The goal is a unique stuffed animal that looks complex, but is still stable: a cat body with moth antennae and layered wings.

Materials and Setup
- Worsted or DK yarn for the body, plus a contrast color for wing markings
- A hook 1 to 2 sizes smaller than the yarn label suggests (for tight fabric)
- Safety eyes or embroidered eyes
- Stitch markers, tapestry needle, stuffing
Body Plan (Simple Base, Structured Face)
- Head (sphere with cheek bias): Start with a standard magic ring and increase to your widest point.
- Cheek rounds: For 2 rounds, place 2 of your increases closer to the "front" marker. Keep the back half as-is.
- Eye line: Work one round in back loop only. This creates a ridge that visually separates forehead and face.
- Muzzle pad (optional): Crochet a small oval, sew it on, then lightly stuff it before closing the seam.
This is the difference between "ball with eyes" and "character face." You didn't add a complicated stitch, you added intentional geometry.
Wings Plan (Layered Parts That Don't Sag)
Make each wing as a flat shape, then add a second layer for markings.
- Base wing: crochet in rows with increases at the outer edge only, so the inner edge stays straight for attaching.
- Marking layer: crochet a smaller wing in contrast color, then sew it down using a whip stitch through the back loops only. That keeps the stitch line clean.
- Attachment: stitch the wing to the body along the inner straight edge, but also add 2 "tack points" near the outer edge. Those hidden tacks prevent flopping.
Antennae Plan (the Part That Usually Looks Cheap)
Antennae look best when they have intentional ends.
- Crochet a thin tube (or even a chain with single crochet back down).
- Add a small bobble or teardrop at the tip.
- Sew the base into the head with a deep anchor stitch (go in, come out 1 cm away, go back in). Repeat 3 times.
Deep anchors matter. Most antennae fall over because they're only stitched at the surface.
Face Placement Checklist (so It Looks Symmetrical)
Before you commit with sewing or safety eyes:
- Pin both eyes first.
- Count stitches from the center marker to each eye.
- Check height by counting rounds from the top.
- Turn the head and check the side view. If the muzzle is added, the eyes usually need to move slightly forward.
This is slow, but it's the difference between "handmade" and "pro."
The Big Trade-Offs: Yarn Choice, Hook Size, and How Much Sewing You're Signing up For
Unique stuffed animals often fail because the materials don't match the design.

Cotton vs Acrylic vs Plush Yarn
- Cotton: crisp stitches, great for sharp details and clean colorwork. It can feel firm and show stuffing gaps if your tension is loose.
- Acrylic: forgiving, springy, easy to reshape by squishing. Stitch definition varies by brand.
- Plush/chenille: fast and cuddly, but details disappear and counting stitches is harder. Magic rings can loosen if you're not careful.
If your pattern has lots of small parts (toes, horns, tiny ears), cotton or a smooth acrylic will keep the shapes readable.
Hook Size and Tension
A smaller hook gives tighter fabric, but it also makes it harder to insert your hook cleanly.
Choose smaller hook size if:
- stuffing is poking through
- you're using safety eyes and want a firm hold
- you need the toy to stand up without wire
Choose a slightly larger hook if:
- your hands hurt
- your fabric is so stiff it won't curve smoothly
- you're doing lots of color changes and the stitches are getting too tight
Sewing Time Reality Check
Complex patterns aren't hard only because of crochet. They're hard because assembly needs accuracy.
If you hate sewing, lean toward patterns with:
- fewer separate limbs
- ears and tails crocheted on (joined-as-you-go)
- minimal accessories
If you love sculpting, separate parts are your friend. You can reposition and adjust until the toy has personality.
For more ways to design toys that look one-of-one, our article on crochet unique patterns for sale and one-of-a-kind stuffed toys is a good next read.
Common Failure Points and How to Fix Them Fast
These are the issues we see most when someone is pushing into complex patterns.
"My Head Has a Pointy Top"
That usually means your first few increase rounds were too steep.
Fix options:
- add one extra increase round early
- add a plain round between increase rounds
- tighten your magic ring and round 2 tension
"My Limbs Aren't Even"
Even with the same stitch count, placement can be off.
- Mark limb positions on the body using pins first.
- Count stitches between limbs on the front and back.
- Sew with the toy stuffed, so the fabric is in its final shape.
"My Colorwork Looks Jagged"
Color changes in the round naturally stair-step.
- Put the design on the back if it's not the focal point.
- Use surface crochet for clean lines on top of a solid base.
- For big motifs, consider working the body in joined rounds so each round starts in the same place (it reduces drift, but adds a seam).
Final Build Checklist (Print This in Your Head)
Before you call a complex stuffed animal finished:
- Shape: squeeze and roll the head and body. Add or shift stuffing if needed.
- Symmetry: check ears, eyes, and limbs from the front, side, and top.
- Seams: hide yarn tails inside the toy and pull them through the stuffing so they don't pop out later.
- Durability: tug gently on wings, horns, and antennae. Add extra anchor stitches where it moves.
If you want your next project to be truly "unique" instead of just "a variation," start by changing one core design choice (silhouette, face shape, or texture). Then add details.
We sell crochet patterns built for that kind of customization. If you want help picking a pattern that matches your skill and patience, start with one project you love, then make it weird in a controlled way.