
Crochet Braids: Unique Patterns for Sale with Complex Designs
A crochet braid pattern can look gorgeous in photos and still be a headache to make. The usual culprit is not your skill. It's missing details, unclear stitch counts, or a design that only works in one exact yarn.
If you're shopping for crochet braids patterns with complex designs, this guide helps you pick patterns you'll actually finish and love. We'll cover what makes a "complex" braid pattern worth buying, how to spot a well-written one, and what trade-offs come with intricate cables, overlays, and colorwork.
What "Complex" Means in Crochet Braid Patterns (and When It's Worth It)
Complex crochet braids usually mean one or more of these things: lots of stitch texture, multiple strands, shaped edges, or color changes that need planning. Complexity is only "good" if it gives you a result you can't get from a simpler repeat.
Here's how we define "worth it" in our pattern shop. A complex braid pattern should give you at least one of these benefits:
- A cleaner braid edge (no wavy sides, no random bulges)
- A braid that lays flat without aggressive blocking
- A repeat that's logical (easy to memorize after a few rows)
- Multiple size options, or clear instructions for resizing
- A chart (symbol diagram) plus written instructions, not one or the other
Complexity is not worth paying for if it's only "complex" because it's confusing. If a pattern uses five special stitches but never explains them (or points you to a stitch tutorial), that's not advanced, it's unfinished writing.
A smart way to decide is to ask what the braid is for.
- Wearables (headbands, belts, sweater panels): You want stable edges, predictable stretch, and a braid repeat that looks good at different widths.
- Bags and straps: You want dense fabric and low stretch. Complexity should support strength, not just looks.
- Home decor (pillows, runners): You can go wild with texture. A complex braid can be mostly visual, since stretch matters less.
A Buyer's Checklist: How to Tell a Complex Pattern Is Actually Well Written
Beautiful listing photos don't tell you if a pattern is usable. A good complex pattern reads like a set of guardrails, not a mystery novel.
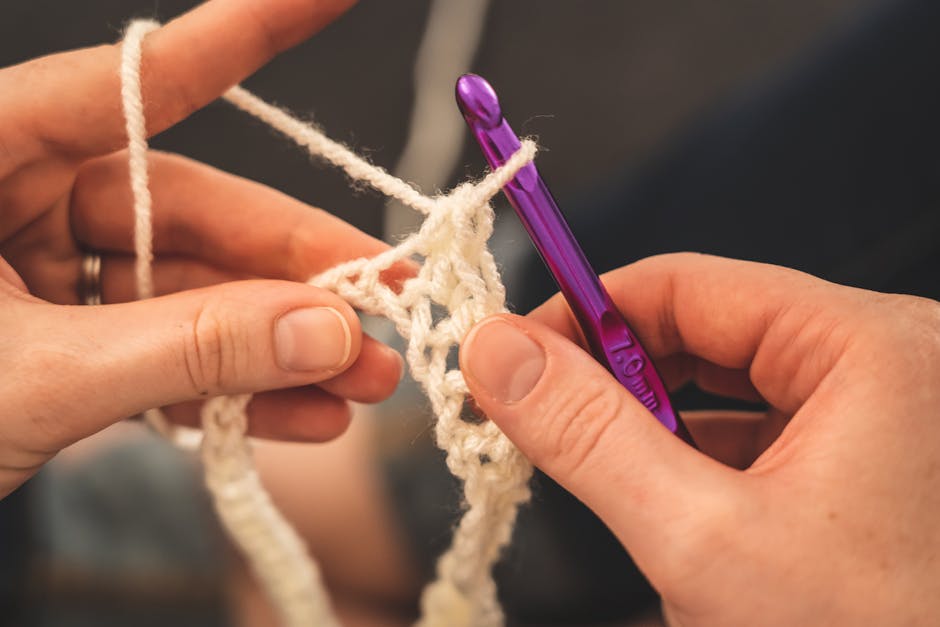
Use this checklist before you buy crochet braids patterns online.
Pattern Clarity Signals
Look for these signs the designer did the hard work for you:
- Stitch counts at the end of each row or round. For braid work, this is huge because one missed decrease can warp the whole panel.
- A clear repeat bracket. Example: "Repeat rows 3 to 8 until piece measures..." not "Continue pattern."
- Abbreviations list plus US or UK labeling. Mixing terms is a common reason people think a pattern is "too hard."
- Notes on yarn behavior. A complex braid in cotton will sit differently than in acrylic.
- Finishing steps that match the design. If the pattern depends on blocking, it should say so and explain how.
Skill Requirements That Should Be Stated
Advanced braid patterns often rely on techniques that aren't obvious from the photos. A listing should tell you if it includes any of these:
- Front post and back post stitches (posts wrap around the stitch "post" instead of the top loops)
- Cables (crossing groups of stitches to create a twist)
- Overlay crochet (layering stitches on top of prior rows)
- Working into rows below (reaching down to anchor a stitch in an earlier row)
- Tapestry colorwork (carrying a second color through the row)
If you want a broader skill roadmap for building up to complex work, our guide on unique crochet patterns for advanced crocheters is a good next stop.
Decision Framework: Choose the Right Crochet Braids Pattern for Your Goal
Not all "fancy" braid patterns behave the same. The same design can be perfect for a bag strap and terrible for a headband.
Use this choose-this-not-that framework.
If You Want a Braid with Crisp Definition
Choose patterns that use:
- Post stitches (front post, back post)
- Raised ribs around the braid
- Fewer color changes
Avoid:
- Fuzzy yarns (halo hides the braid)
- Very open stitches (holes swallow the braid shape)
In our experience, smooth yarn plus strong post work gives the most "braid looks carved" effect.
If You Want a Braid That Stays Flat
Choose patterns that include:
- Edge stitches (like a border built into every row)
- Symmetry (the left and right sides match)
- Notes on tension and blocking
Avoid:
- Heavy cables without balancing stitches on the sides
- Large stitch crossings in very stretchy yarns
Flatness is the hidden cost of complex braids. More crossing often means more pull.
If You Want Something Fast, but Still Looks Advanced
Choose patterns that:
- Use a short repeat (4 to 8 rows)
- Use one "feature row" that does the heavy lifting
- Include a chart so you can crochet without rereading paragraphs
Avoid:
- Patterns that change instructions every row for the whole piece
A pattern can look complicated because it's textured, not because it's long.
Worked Example: Designing a Complex Braid Panel You Can Actually Finish
Here's a concrete example of how we think through a complex braid panel, the same way we design patterns for sale. This isn't a full paid pattern, it's a peek at the structure that makes complex work feel doable.

Goal
Make a 5-inch wide braid panel for a headband front or bag accent. It needs crisp texture and edges that don't flare.
Yarn and Hook Choices (What Changes the Outcome)
- Cotton: crisp stitches, heavier drape, less bounce. Great for bags and summer headbands.
- Acrylic: springy, forgiving, holds warmth. Great for cozy ear warmers.
- Wool blends: elastic and plush, but can "relax" over time.
Hook size affects braid definition more than people expect. A slightly smaller hook (still comfortable to stitch) makes cables pop and reduces edge waviness.
Structure (the Non-Obvious Part)
A complex braid panel is easier if you separate it into zones:
- Edge rails: 2 to 3 stitches on each side that stay consistent every row.
- Braid field: the center section where crossings happen.
- Spacer stitches: small "buffers" that prevent the braid from squeezing the edges.
This prevents the classic issue where the braid pulls inward and the whole strip turns into a banana.
Example Row Logic (How a Pattern Stays Readable)
Instead of writing 40 different rows, we build a repeat. One clean example:
- Rows 1 to 2: establish height and rails
- Rows 3 to 8: braid repeat (crossing happens once or twice)
- Repeat rows 3 to 8 until length
- Last rows: mirror the setup so the ends match
The key is that the braid "event" happens on a known row, like row 5. That makes it hard to lose your place.
Sizing Rule You Can Use
If you're adjusting width, keep this relationship:
- Edge rails stay the same.
- Add width in the spacer zones, not inside the crossing group.
Why: changing the crossing group changes how the twist looks. Adding spacer stitches keeps the braid look consistent and just gives it room to breathe.
If you want a stronger foundation for modifying patterns (not just braids), our tutorial on how to crochet any item with a simple planning method explains the "build it in zones" approach in a more general way.
Common Mistakes with Complex Crochet Braids (and How to Avoid Them)
Complex braid patterns fail in predictable ways. Fixing them is often a one-row adjustment, not a full restart.
The Braid Looks Flat
Most often, the yarn is too fuzzy or the fabric is too loose.
Try:
- Going down one hook size
- Switching to a smoother yarn
- Choosing a pattern with post stitches framing the braid
The Panel Twists or Curves
That usually means the braid is pulling tighter than the edges.
Try:
- Adding 1 spacer stitch on each side of the braid field
- Blocking lightly (pin edges straight and steam if yarn allows)
- Checking if you're tightening tension on crossing rows
The Stitch Count Keeps Going Off
Crossings and "reach-down" stitches are easy places to miscount.
Try:
- Placing stitch markers every 10 stitches
- Counting only the braid field first, then the rails
- Choosing patterns that show stitch counts every row
The Finished Piece Stretches Too Much
This matters for straps, belts, and anything that needs to hold shape.
Try:
- Using cotton or a cotton blend
- Lining the strap (sew in ribbon or fabric backing)
- Picking denser stitches around the braid
Buying Patterns vs. Free Tutorials: the Real Trade-Off
Free braid tutorials can be great for learning a stitch. Paid patterns are worth it when you want repeatable results.

Here's the trade-off we see most often.
- Free tutorial advantage: quick inspiration, one technique taught step by step.
- Free tutorial downside: sizing, yardage planning, and finishing are often missing.
- Paid pattern advantage: tested sizing, consistent formatting, and support notes.
- Paid pattern downside: if it's poorly written, it's just a prettier mess.
If you're collecting crochet braids patterns specifically to sell finished items later, prioritize patterns that clearly state finishing, sizing, and what you're allowed to do with the finished make.
For the business side, our guide on how to sell crochet patterns online without cutting corners covers how we think about pattern quality and what buyers expect.
FAQ
Can Beginners Make Crochet Braids Patterns Labeled "Complex"?
Yes, if the pattern is written clearly and you're willing to practice the special stitches first. The easiest "complex" braids use short repeats and strong edge rails.
What Yarn Shows Braid Texture the Best?
Smooth yarns with good stitch definition show braids best. Cotton and many acrylics work well. Very fuzzy yarns hide crossings.
How Do I Know If a Braid Pattern Will Stretch Too Much?
Look at the stitch type and the yarn suggestion. Post stitches and dense stitches stretch less. Springy yarns and open stitches stretch more, especially on straps.
Do Complex Braid Patterns Always Need Blocking?
Not always, but many look cleaner with light blocking. A good pattern should tell you if blocking is part of the design and how to do it safely for the yarn.
If you're ready to pick a design, start with one complex feature you really want (a bold cable, overlay texture, or colorwork), then choose a pattern that supports it with clear counts and stable edges. That's how you end up with crochet braids you're proud to wear, gift, or sell.